Book Makeover

mary-summers-home-decor-2 mary-summers-home-decor-8 mary-summers-home-decor-11 mary-summers-home-decor-13 mary-summers-home-decor

Growing up in school I was always the book covering whiz. I could cover a book in 5 seconds flat. A seriously cool trait that I was quite proud of. I mean, having a book that was neatly covered was important to me. It was an accessory that went with the rest of your outfit. Sloppy book = sloppy look. I couldn’t have that. I was also always paranoid of damaging the book and having to pay for it at the end of the year. Again, seriously cool trait. I never bought special paper to cover the book, I always used the back of the typical cover they gave us. They were always neat, all white, and clean. No fuss! Fast forward almost nine years (yikes has it been that long) and I needed a new and fresh way to spruce up a few empty spaces in my home. Oh, and I wanted to do it low cost (you’re welcome hubby).

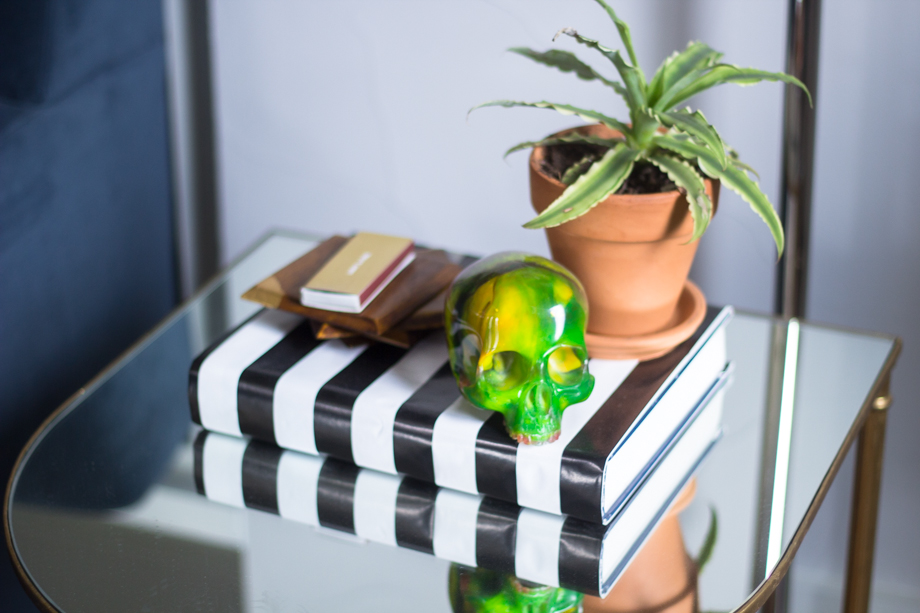
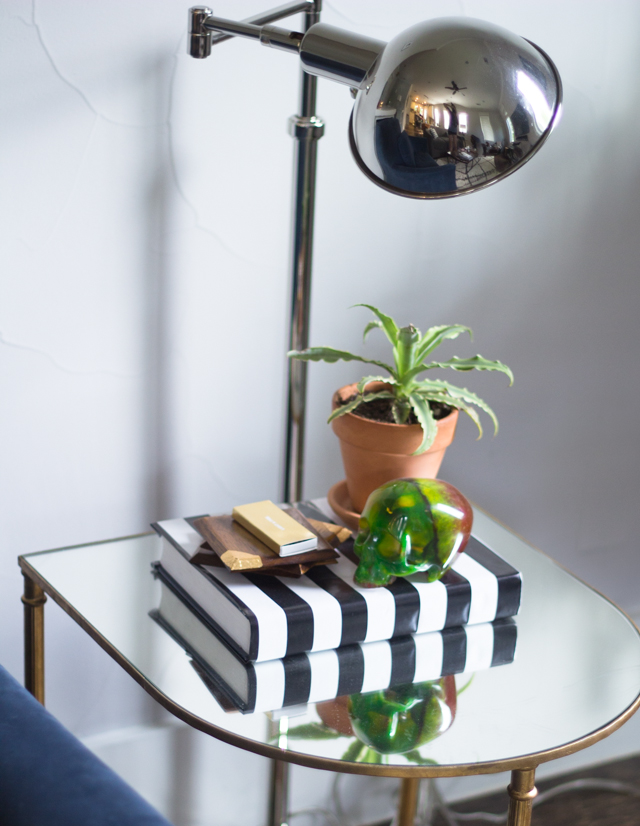
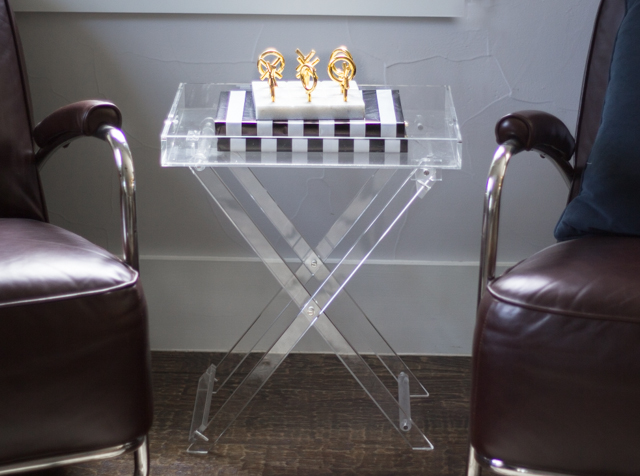
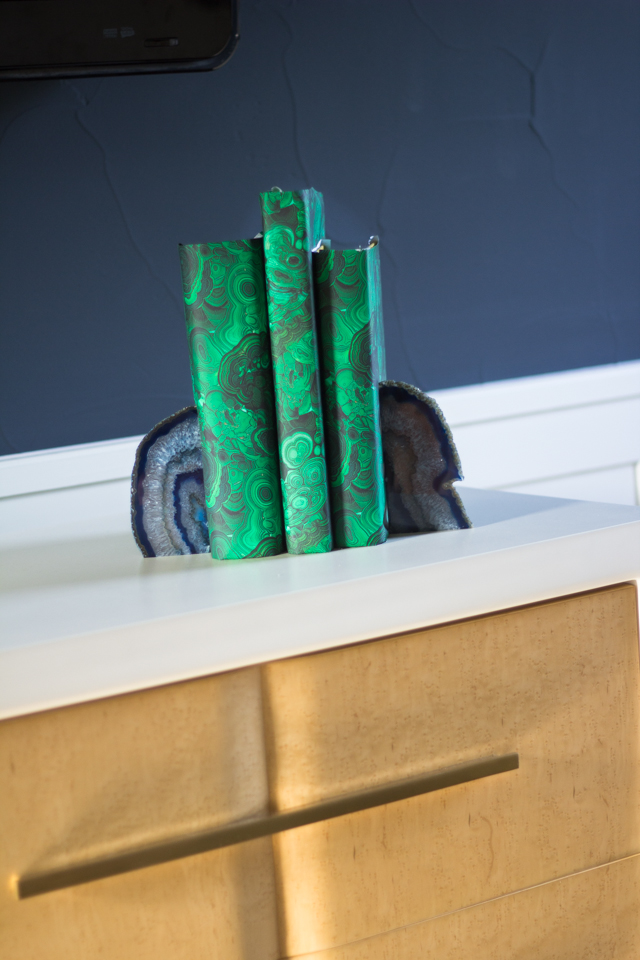
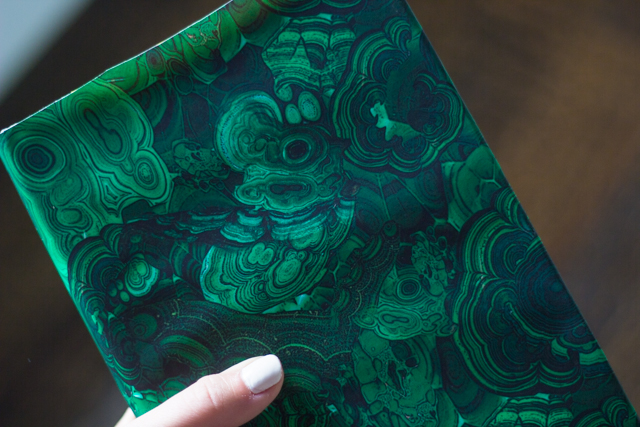
Being the self-proclaimed book covering expert that I am, I had an idea. I could go to the half-priced books, buy as many $1 as I could, and then cover them with beautiful paper. Done and done. I have been obsessing over Malachite for months and since the hubby vetoed me making curtains (for now) I had a brilliant idea – book covers! I first searched for malachite wrapping paper and settled on this beautiful print from Spoonflower. The paper itself is stunning and really sturdy! I definitely feel like I got my money’s worth.  After purchasing that I thought it would be cool to mix the Malachite print with a stripe (I LOVE stripes) and purchased a roll of that from Zazzle. I was set and so excited to get this project started – which is extremely rare because I HATE crafts (little known fact).

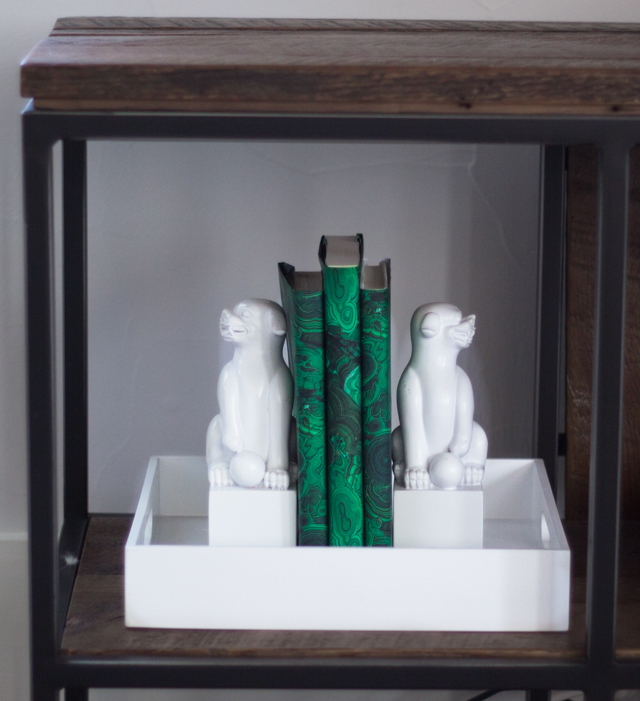
When the paper arrived I cleaned off my counter and started to cover some books. Only one minor problem – okay the entire project – but I totally forgot how to cover a book. After a few you tube videos and a few books that look less than perfect I got back into my groove. I was so frustrated because I had just learned how to wrap a great book again and I was on my third to last one. Uhg! I placed the books throughout the home (some examples above) and am feeling really great about my day of crafting! They added so much pop and pattern to the rooms and I believe I spent a total of $50. You couldn’t even buy ONE accessory for that! Proud moment in the Hafner House!

psst…need a bedding makeover? My FAVORITE home store, Biscuit Home, is having a 20% off sale now through Wed.!

Use code Biscuit20 at checkout! GO, GO, GO!!!

 —

Denise Roobol Bags

mas-fashion-Denise-Roobol-4mas-fashion-2 mas-fashion-3 mas-fashion-4 mas-fashion-5 mas-fashion


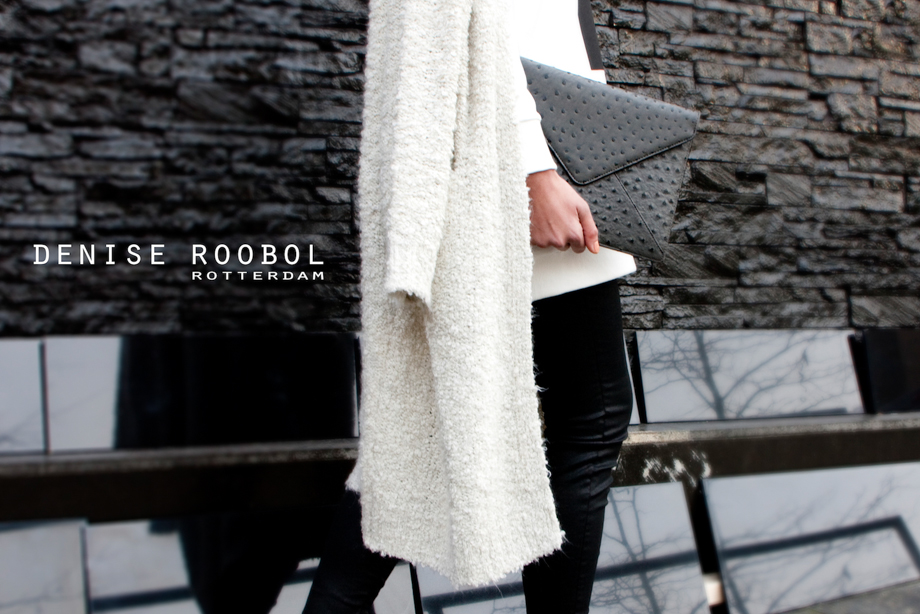
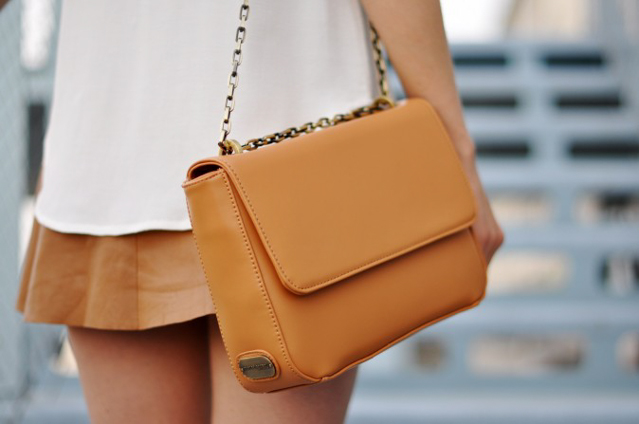
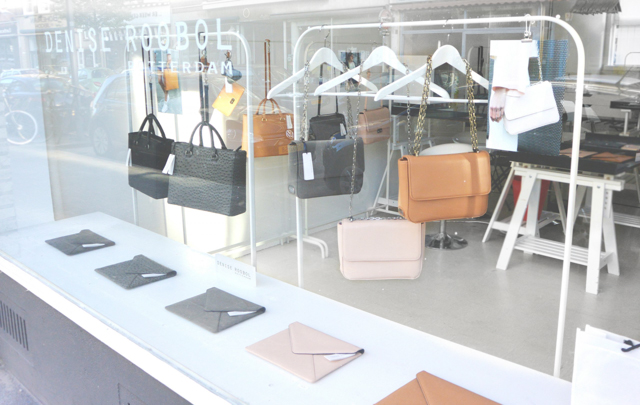
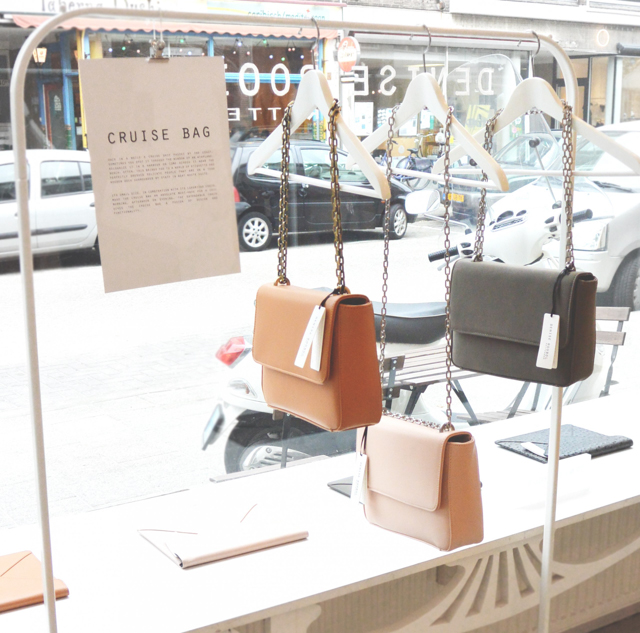
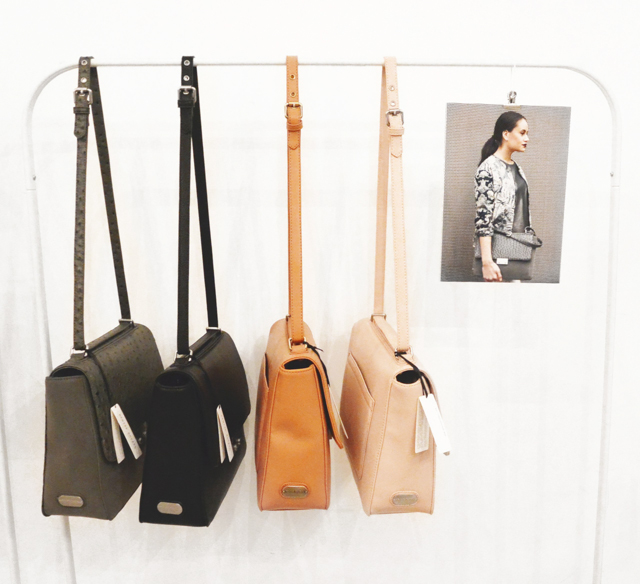
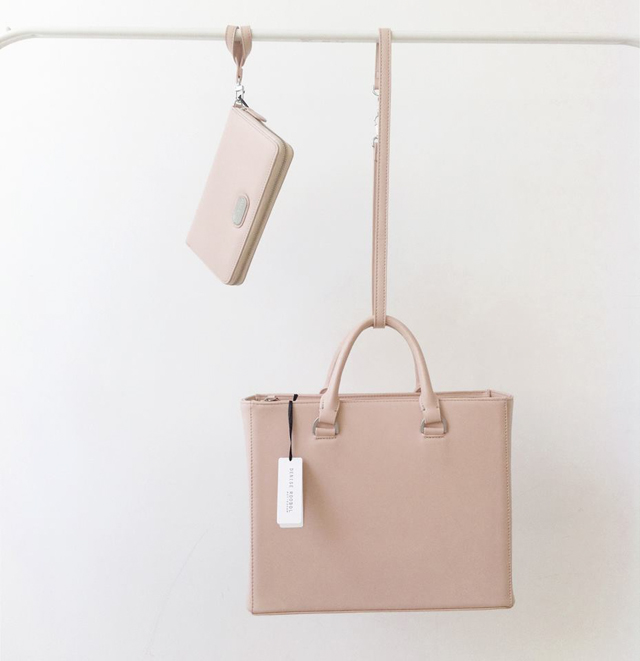
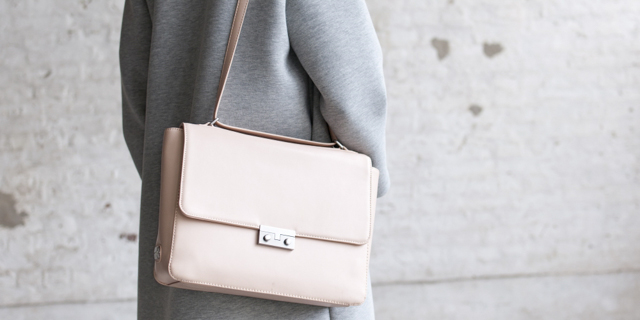
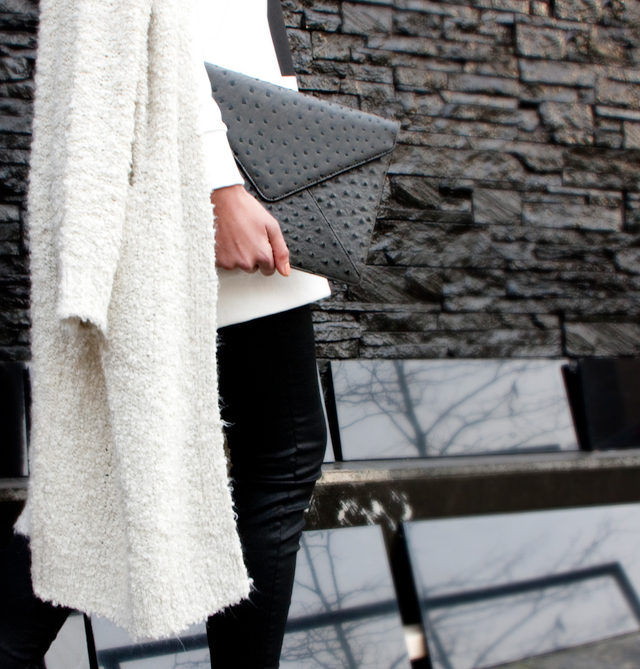
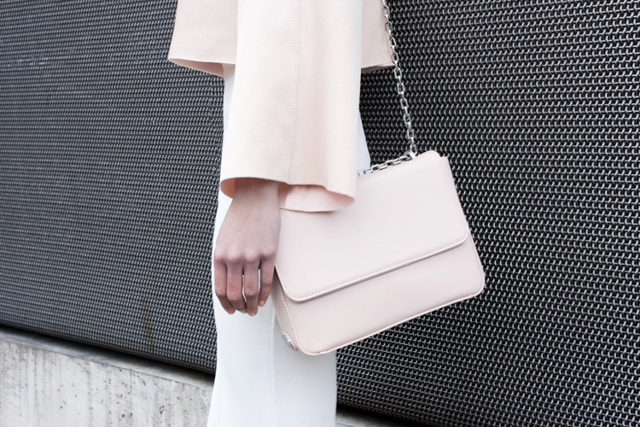
When I am carousing around Instagram my eyes are always peeled to who people are mentioning and what they are wearing. Since I love the minimalist approach to european style I try to fill my feed with those influencers. While on my daily scroll I came across a post of the most amazing bags. I quickly clicked on the name tagged and was directed to the dutch designer, Denise Roobol. Denise’s bags instantly struck me! They were minimal, clean, classic, and chic – four things I love in a bag. I also love her process of designing bags and how she creates a story and scenario each bag will best fit. To name a few, there is the Cruise Bag designed around those summer days you sit on a dock sipping champagne with your friends, the Road Bag for those days bike around your city and discover new settings and the Daily Bag which is designed for using public transportation for a casual visit into the city or to attend a business meeting.

Denise has also spent her time working on finding the highest quality faux leather. To be honest, in the past I have never been a fan of faux leather. It always seems too stiff, looked too plastic, or didn’t seem high quality but Denise has found a way to work with and create such a classic and beautiful product, faux is easily overlooked. While her bags are everything I want and more – minimal, classic, chic, under $250, she doesn’t yet ship to the U.S. I will continue to check-in for the day she ships stateside but for now I thought it was a brand you should know about! And if you are ever in the Netherlands, be sure to check her out!

images via denise roobol, we heart fashion, for fashion lovers

mas-fashion-Denise-Roobol-6 mas-fashion-Denise-Roobol-5

How To :: Lavender Hair

Lavender-hair

I have always been big into experimenting with my hair. I still remember in Junior High I tried to do a new hairstyle every week. One week I remember doing the Britney Spears combover and another week I remember braiding strands of my hair all over my head and unravelling them in the morning to get chunky waves. Not so cute now but very cool back then. And how could I forget high school? I am not joking when I say I once made my mom glue in black extensions (think Christina in her dirty faze) and ended up wearing them around for at least a week. After that little stint I decided I wanted to be platinum blonde and after a few months of that I added red – which turned pink – and so on and so on.  Whether I was cutting it short or growing it really long, dying it or adding extensions I have always had fun with it. You just can’t take hair too seriously. My philosophy – it will always grow back.

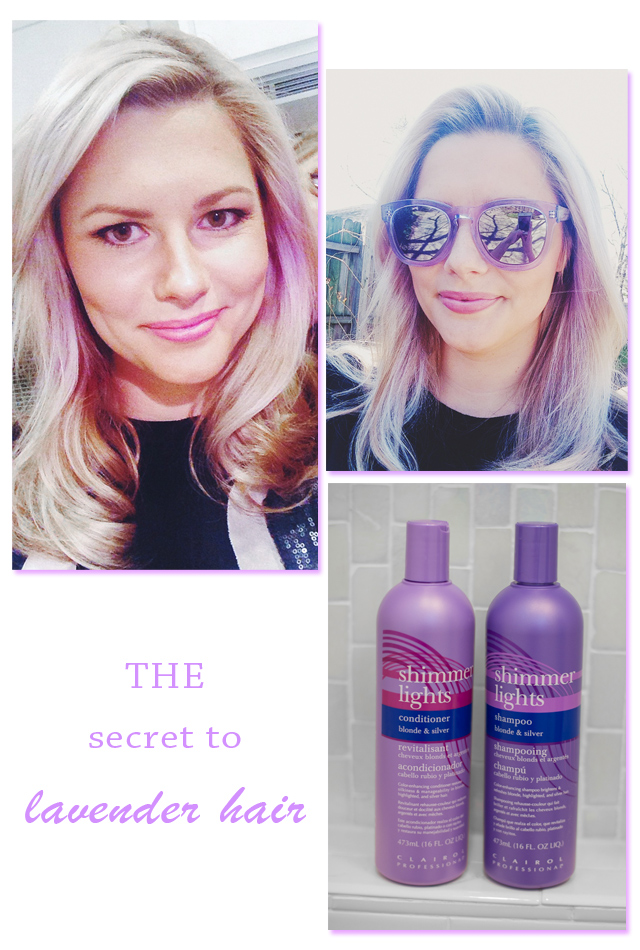
When I first saw a few bloggers and celebs rocking a lavender look I was so inspired. It has been far too long since I have done anything fun with my air and I had the itch. Knowing I am now 26 and married, changing your look and getting away with it isn’t as easy as it once was. When you are younger you can always just blame it on, “I am young and this is just a faze,” but when you are older, no excuses. To make sure I was dedicated to this look I decided to try out a very temporary but easy method – Shimmer Lights. I have used this for YEARS to keep my blonde bright but after a trip to the hair salon she told me if I left it on for a while it would turn purple. The.wheels.were.turning. She was definitely warning me to only leave it on a few seconds but she didn’t know who she was talking to. At last I could try my lavender hair.

Since I have had it in my hair I have had numerous people ask how I did it. So my lady friends, here it is! After washing my hair in the shower I towel dried it and then took some of the shampoo and conditioner in my hand. I sectioned off a few of my front pieces (under sides and bangs) and lathered the mixture on. I actually used tin foil to hold it in place, as I learned the hard way the first time that this stuff runs everywhere, and then left it on for about an hour. Take it out, rinse, and voila! The key to this sticking is having the white blonde hair. If your hair is brown or more of a brassy blonde it won’t hold as well.

I hope this inspires you to do something fun with your hair! If you love the lavender I suggest going to get it permanently done like I am doing next week. Shimmer Lights is amazing but it doesn’t last very long. Perfect for all of you who just want something for the weekend.

*** As if the secrets of lavender wasn’t enough – Today is the day!!! Yes, THAT day! Shopbop friends and family sale! 25% off site wide when you enter INTHEFAMILY14. I already did my damage and bought this BB Dakota tunic (posted about yesterday), this beautiful day to night Rory Beca dress, and these aviators I have been crushing on for years!!! Very basic pieces that can be worn lots of ways!

Back to the top