I have always been fascinated by photography. I have spent countless hours studying photographs of people, while considering the angles, the lighting, and the editing the photographer used. I love the fact that photography has the amazing ability to transport us to a different time, or place with one single shot.
It was not until I started blogging that I decided to take photography more seriously. With camera in hand, I started experimenting with photographs of my apartment, of friends, and family. It was after experimenting in this way that I realized my passion for photography. I have no formal training or background in this field, but I realize that passion can open your eyes to the impossible, so not only did I invest in the proper equipment I also spent the necessary time to learn everything I could to enhance the skill it takes to be proficient with this passion.
I enjoy, and appreciate the opportunity to photograph bloggers, couples, influencers who make an impact in their profession, families, and also lifestyle type setting. I take an individual approach to each person I photograph. I make every effort to embrace and highlight the focus of what they are trying to convey to their audience with each session.
I look forward to working together and capturing the potential magnificence of your moments through my eyes and the lens of my camera.
During this quarantine I have found some pretty amazing products. From dresses, to hair, to home, to beauty. From the latter catagory one of my favorites has to be the Chanel Les Beiges Tint. It is so light, fresh, and gives an amazing sun-kissed glow. I wear it almost everyday as it also feels very moisturizing on my dry skin. There are three ways to wear it: alone, as a primer, or as the last step. I use it as my last step so my face feels fresh and has a nice glow.
To use: 1. I squirt one pump of the product on my hand
2. I rub it into the tips of my fingers
3. I pat it along the top of my forehead and the apples of my cheeks
4. I use the brush that comes with it to blend the product around my hairline and cheeks
5. Et voilà ! You look like you have been perfectly sun-kissed
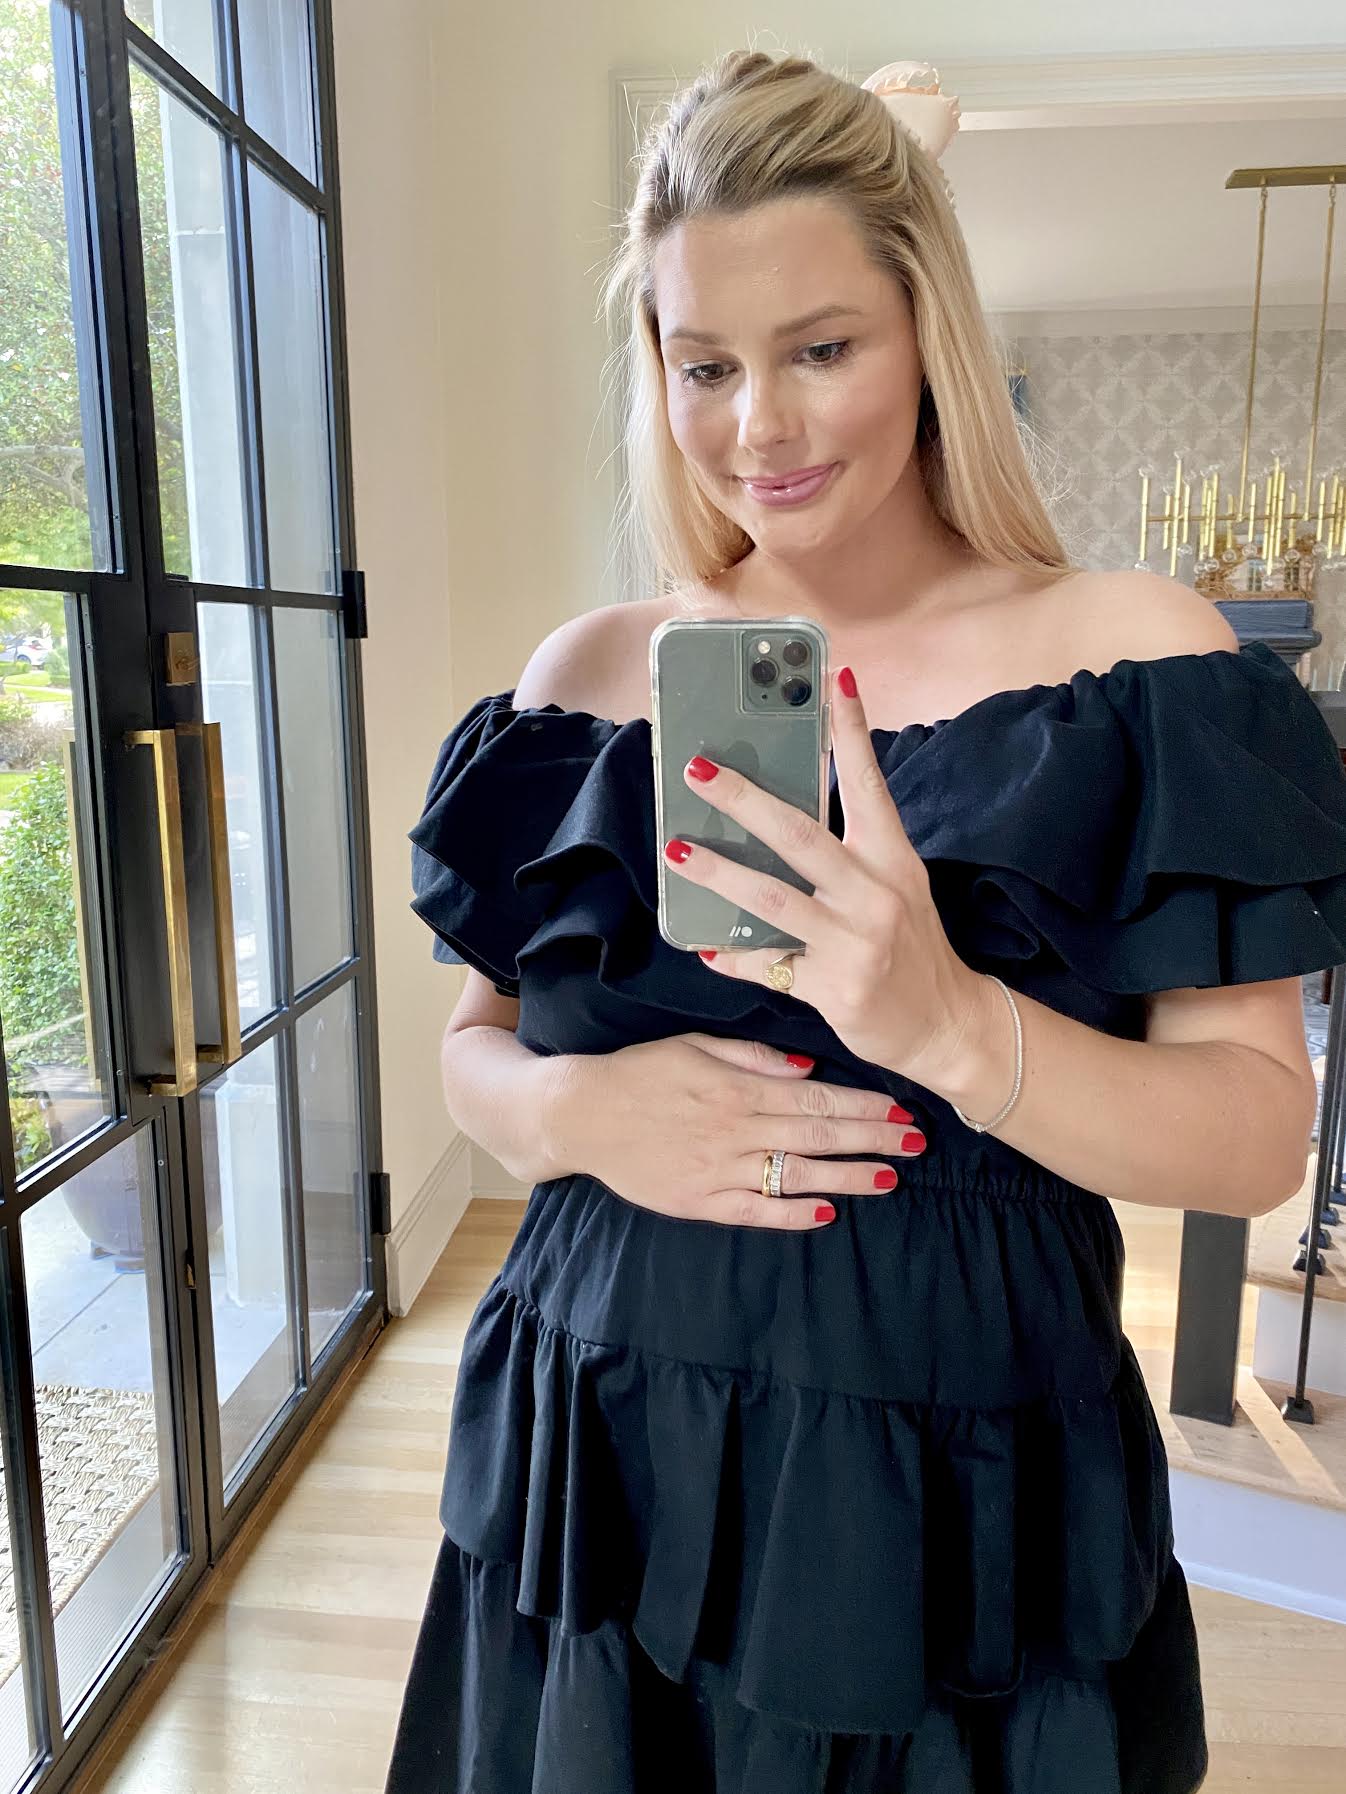
My most requested blog post has definitely been, “How do I use Hot Rollers?” To be honest, I have been using hot rollers since junior high. They always worked for me so I never paid much attention to the process. It wasn’t until recently that people have really been wanting to know what I do to my hair which made me take notice. Over the past year I have noticed a difference in my hair as well. I truly believe it is not only the hot rollers but the process I use before even placing a roller in my hair. Below I outline what I do, but I also have a video herethat walks you step by step though the process. I think it will be helpful to see the technique I use when applying the curlers.
As for products I use, the blog post will have everything linked and the order in which I use them.
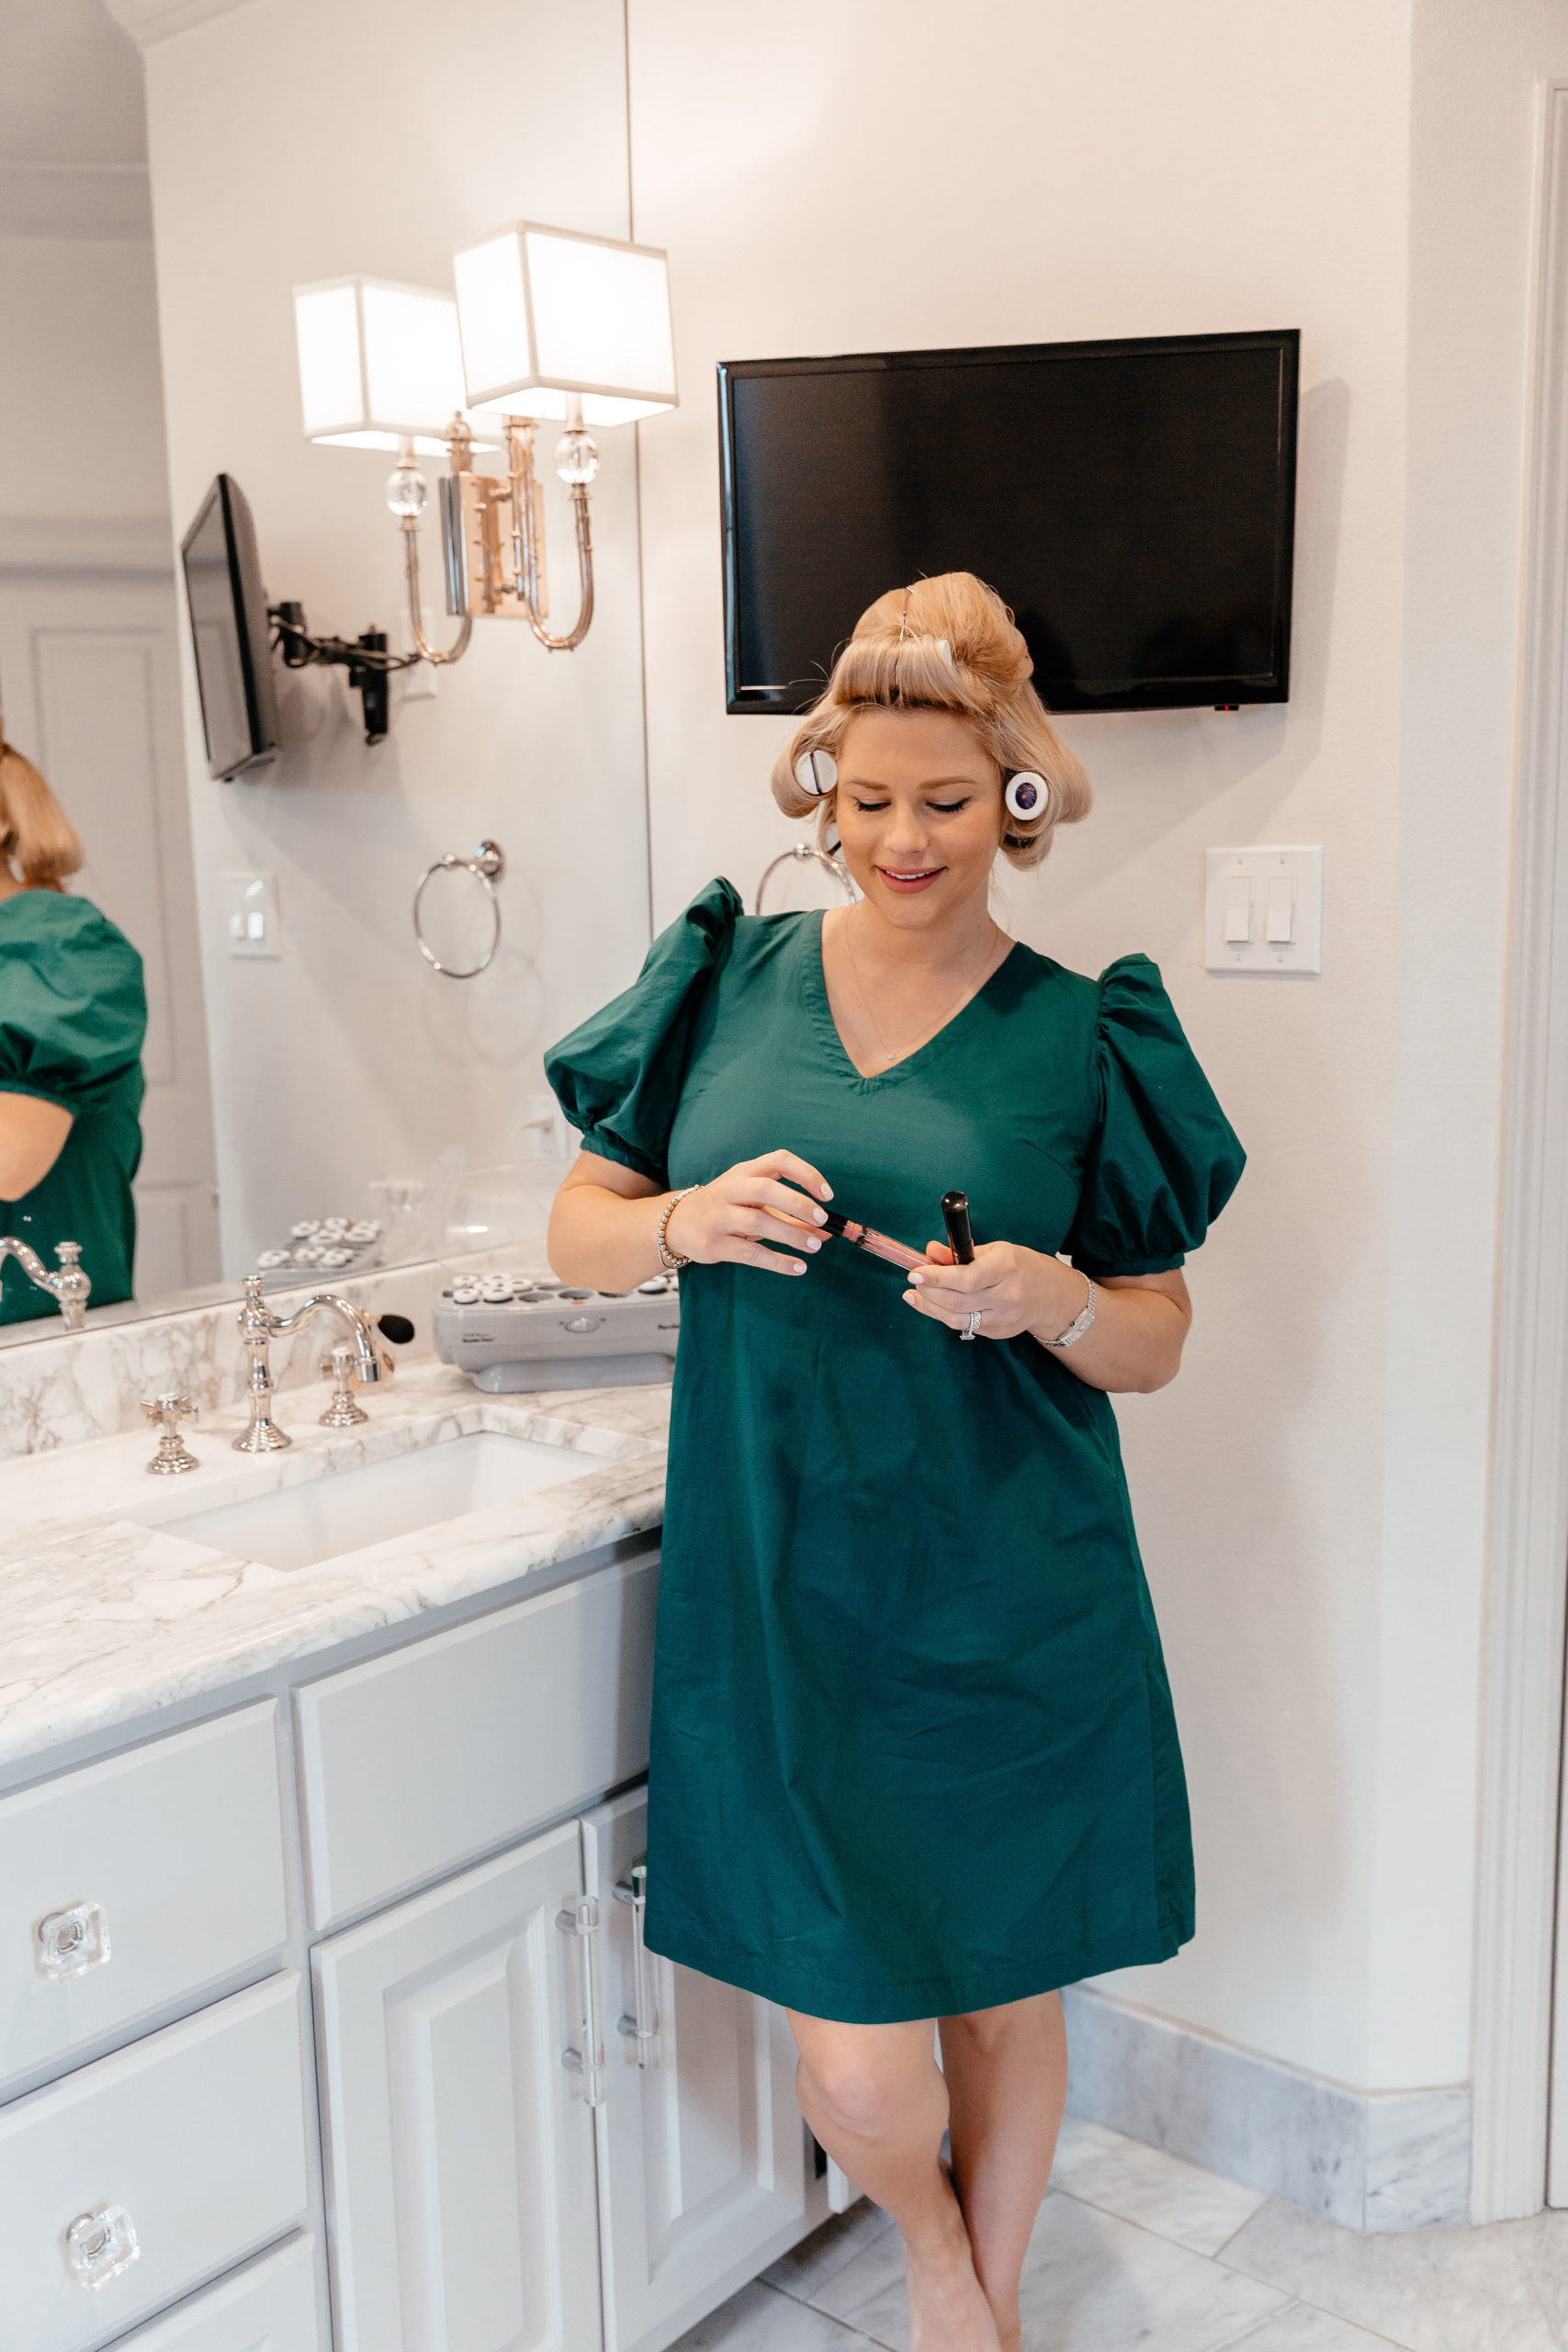
STEP1: The first thing I do before getting in the shower is to TURN MY ROLLERS ON! This will give them enough time to heat up and be perfect by the time I use them.
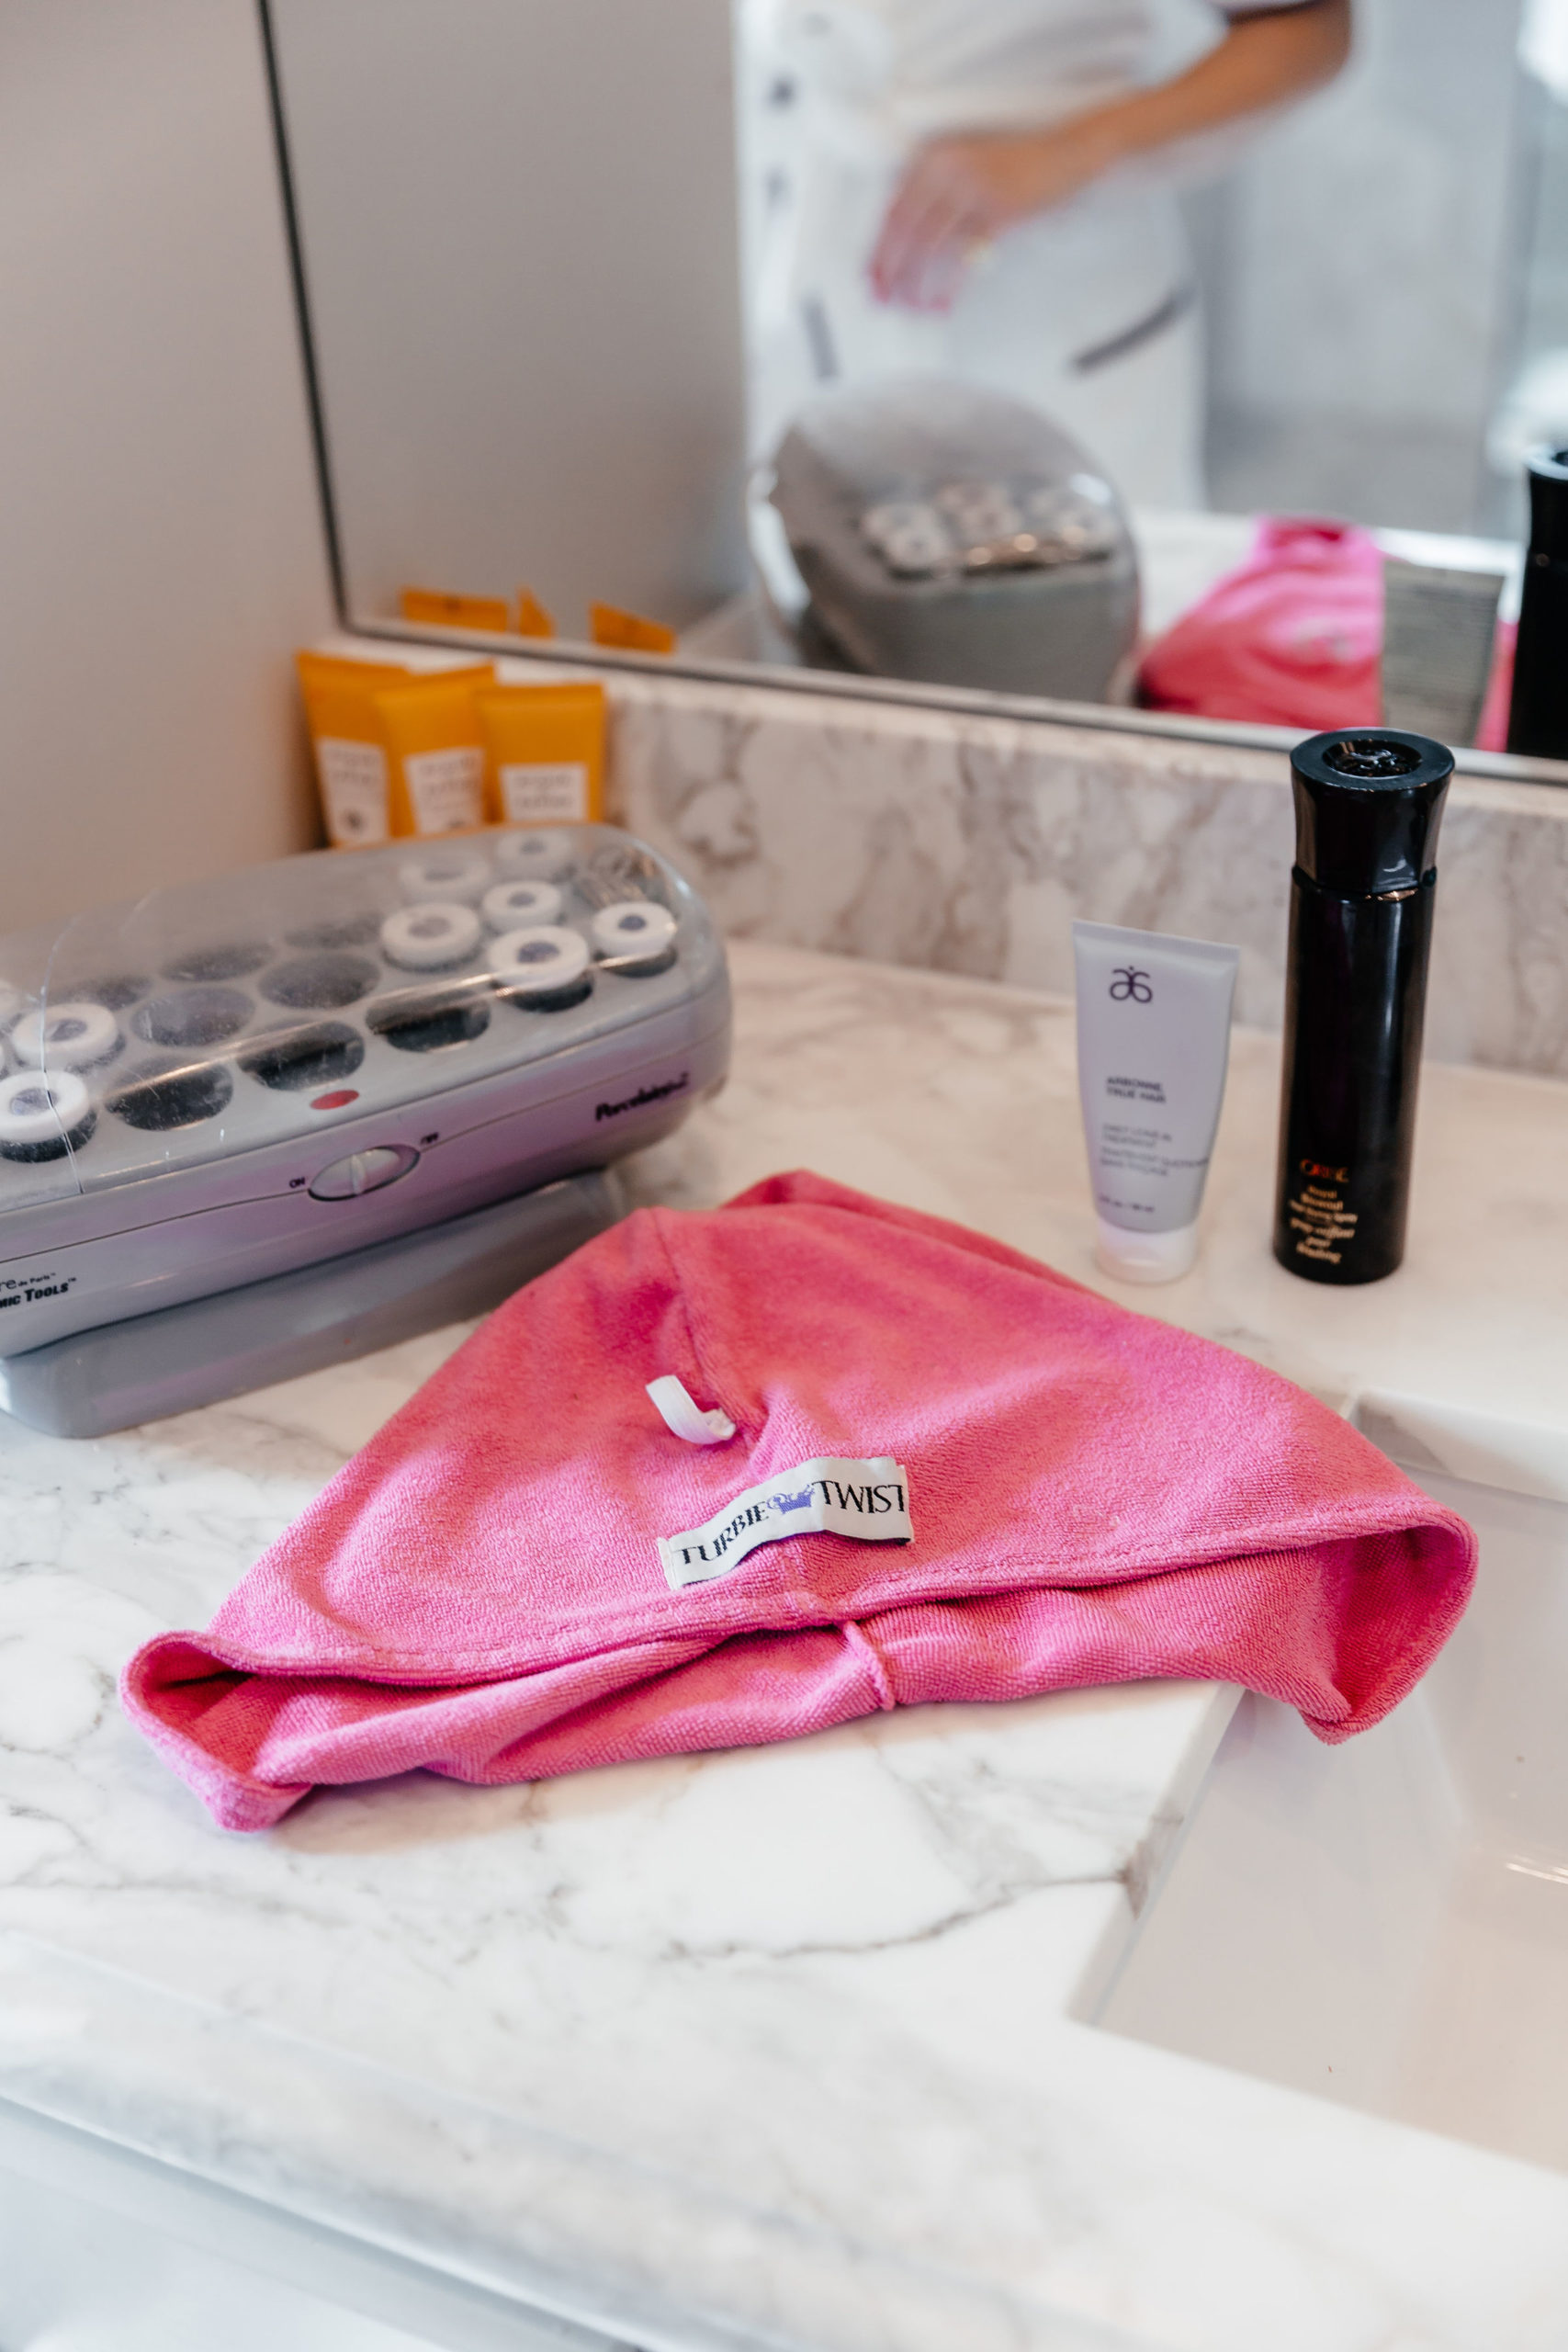
STEP 2: The first thing I do after I get out of the shower is to put my hair in the Turbie Twist Hair Towel. I love that the microfiber helps absorb extra moisture from my hair. This brand is my favorite because it stays secure on my head, has an easy elastic band to secure the tip of the towel and has lasted me years. I have tried many different brands over the years and this is the only one that has really held up.
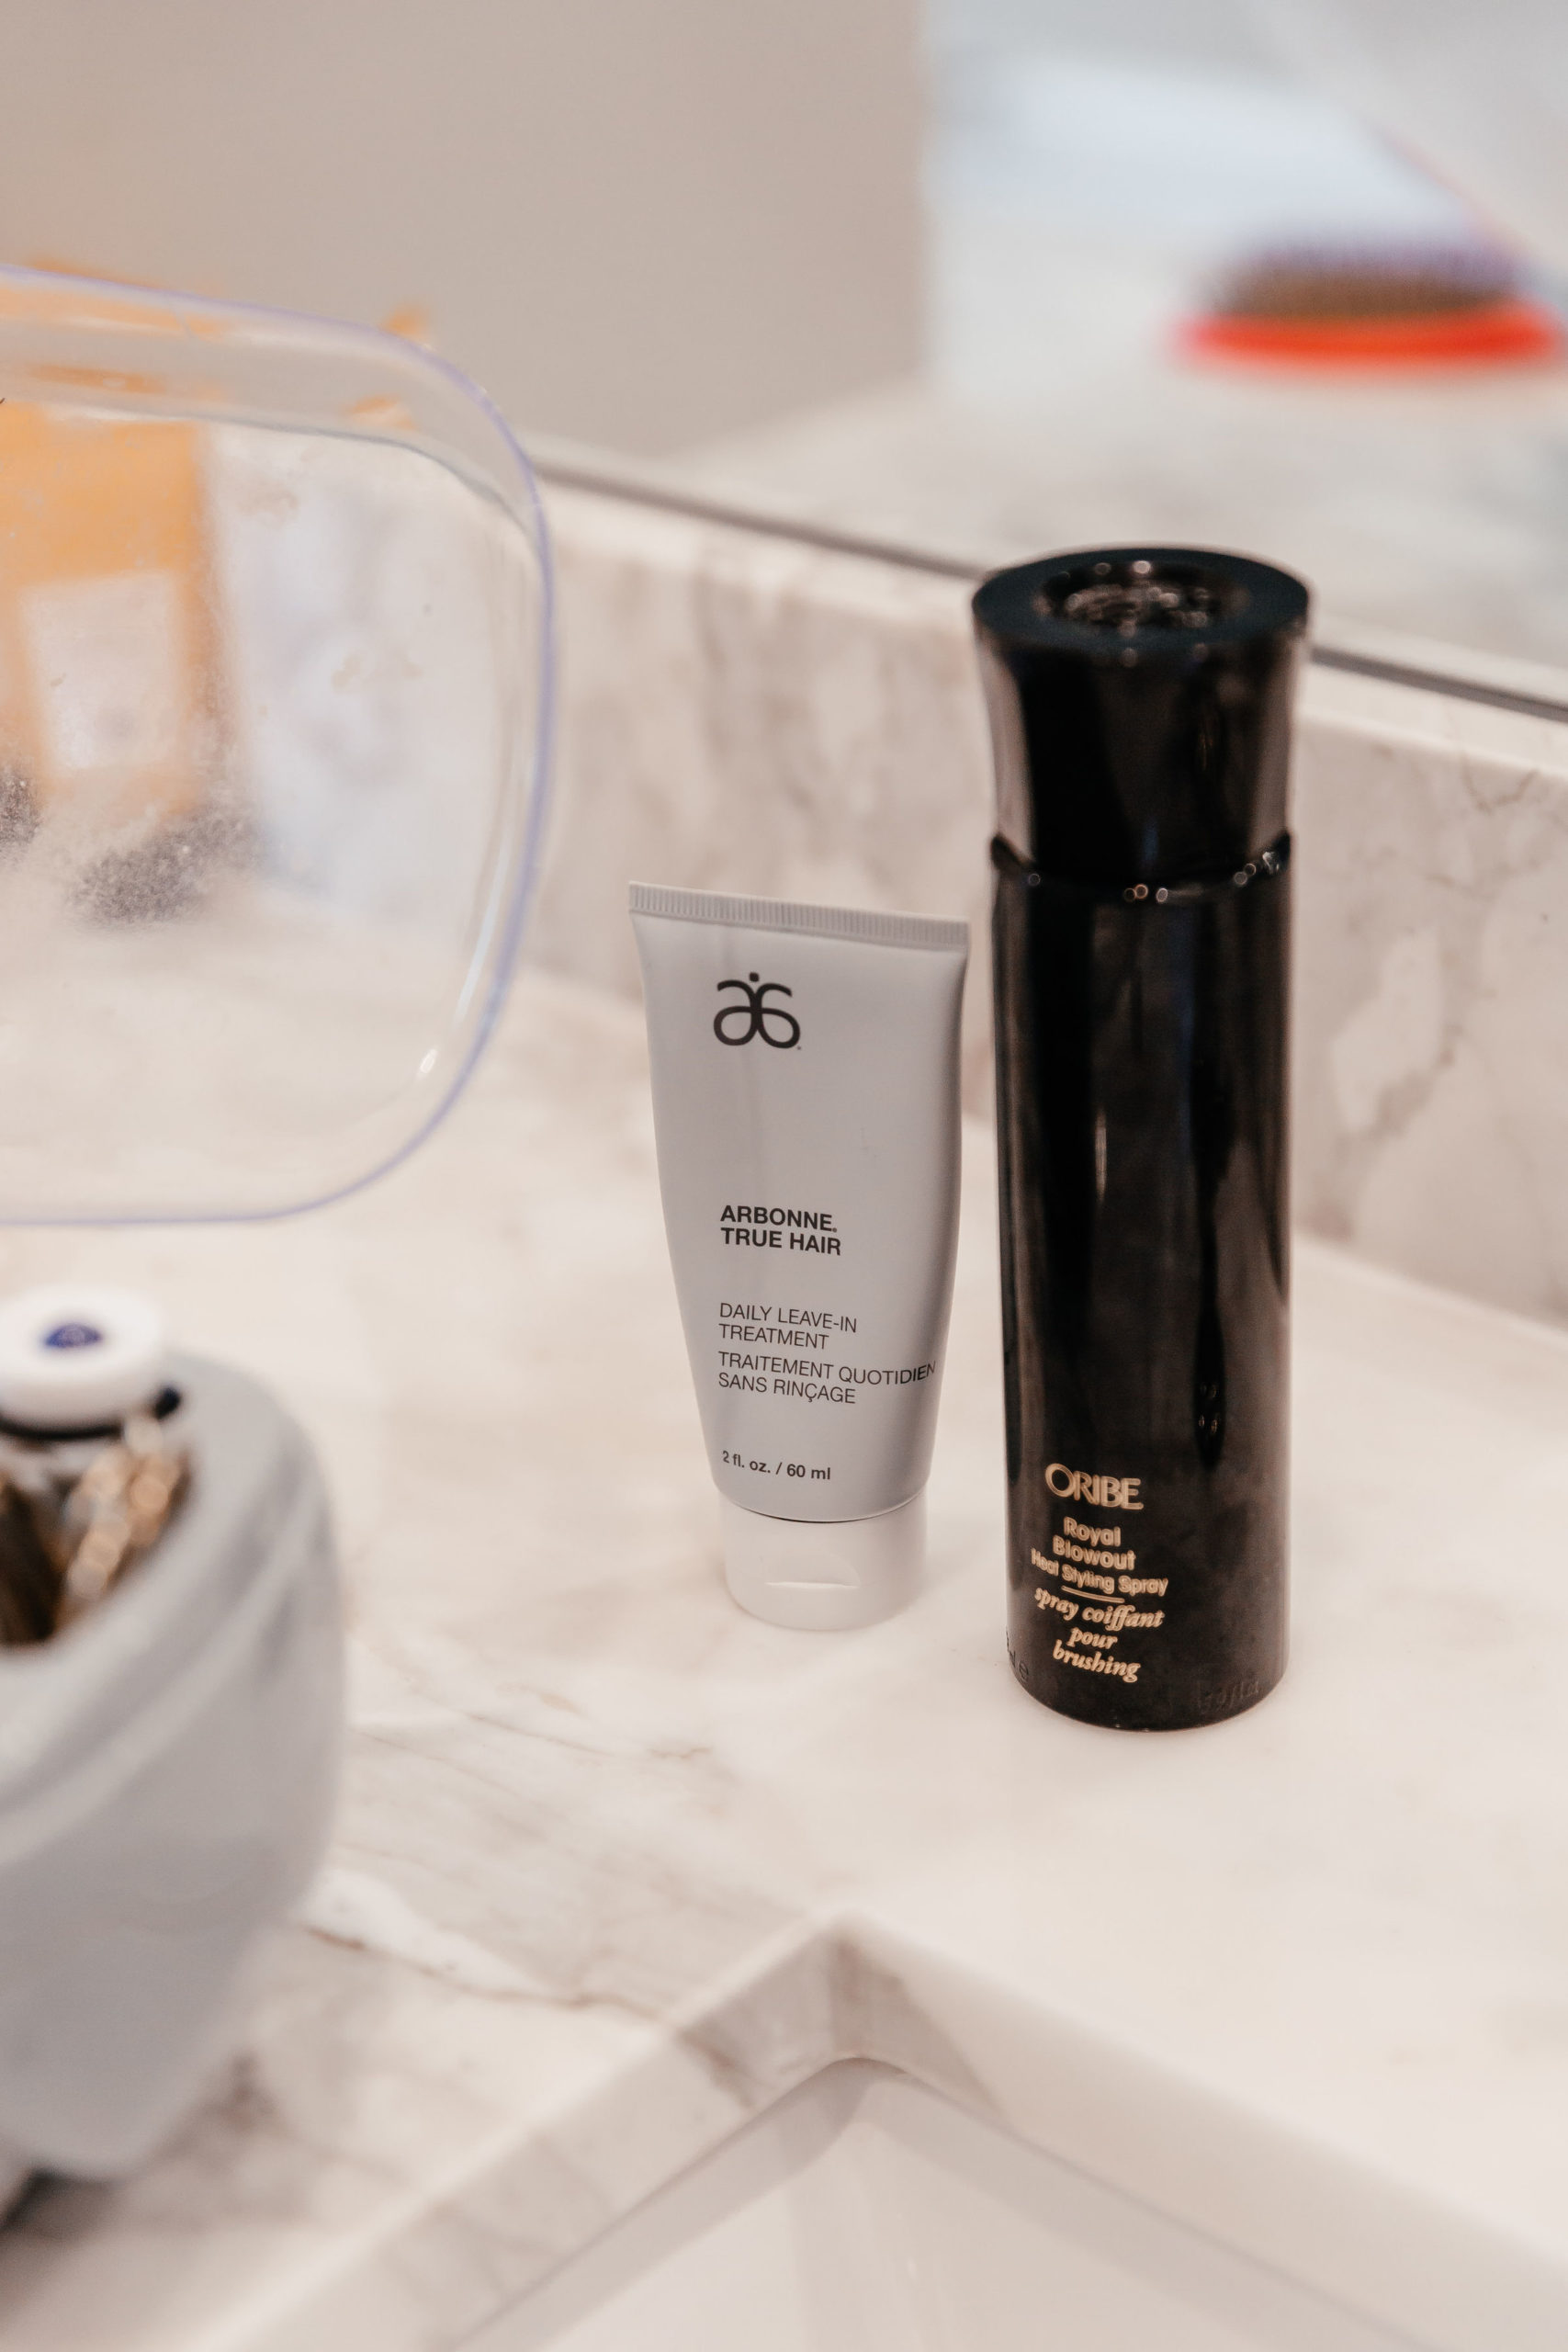
STEP 3: After I take my hair our of the Turbie Twist Hair Towel I put a quarter size of the Arbonne Hair Leave-In Treatment on my ends and then quickly rub any extra on the hair near my scalp. This product has been HUGE in helping repair my damaged hair and also protecting it from heat. I can really tell a difference in my hair when I use it versus when I don’t. Not only does it feel more hydrated but the ends don’t feel as frayed.
STEP 4: After my ends have been coated in the Arbonne Hair Leave-In Treatment I then spray the Oribe Royal Blowout all over my head. Oribe Royal Blowout is amazing at making your blowout look smooth and professional. My mom said it made her hair too soft but I haven’t found that. I find my blowouts to look a lot less frizzy than when I don’t use it.
STEP 5: After my hair is coated and sprayed, I brush both products and my tangles out using the WET brush. This brush is specifically created to use on wet hair to minimize breakage.
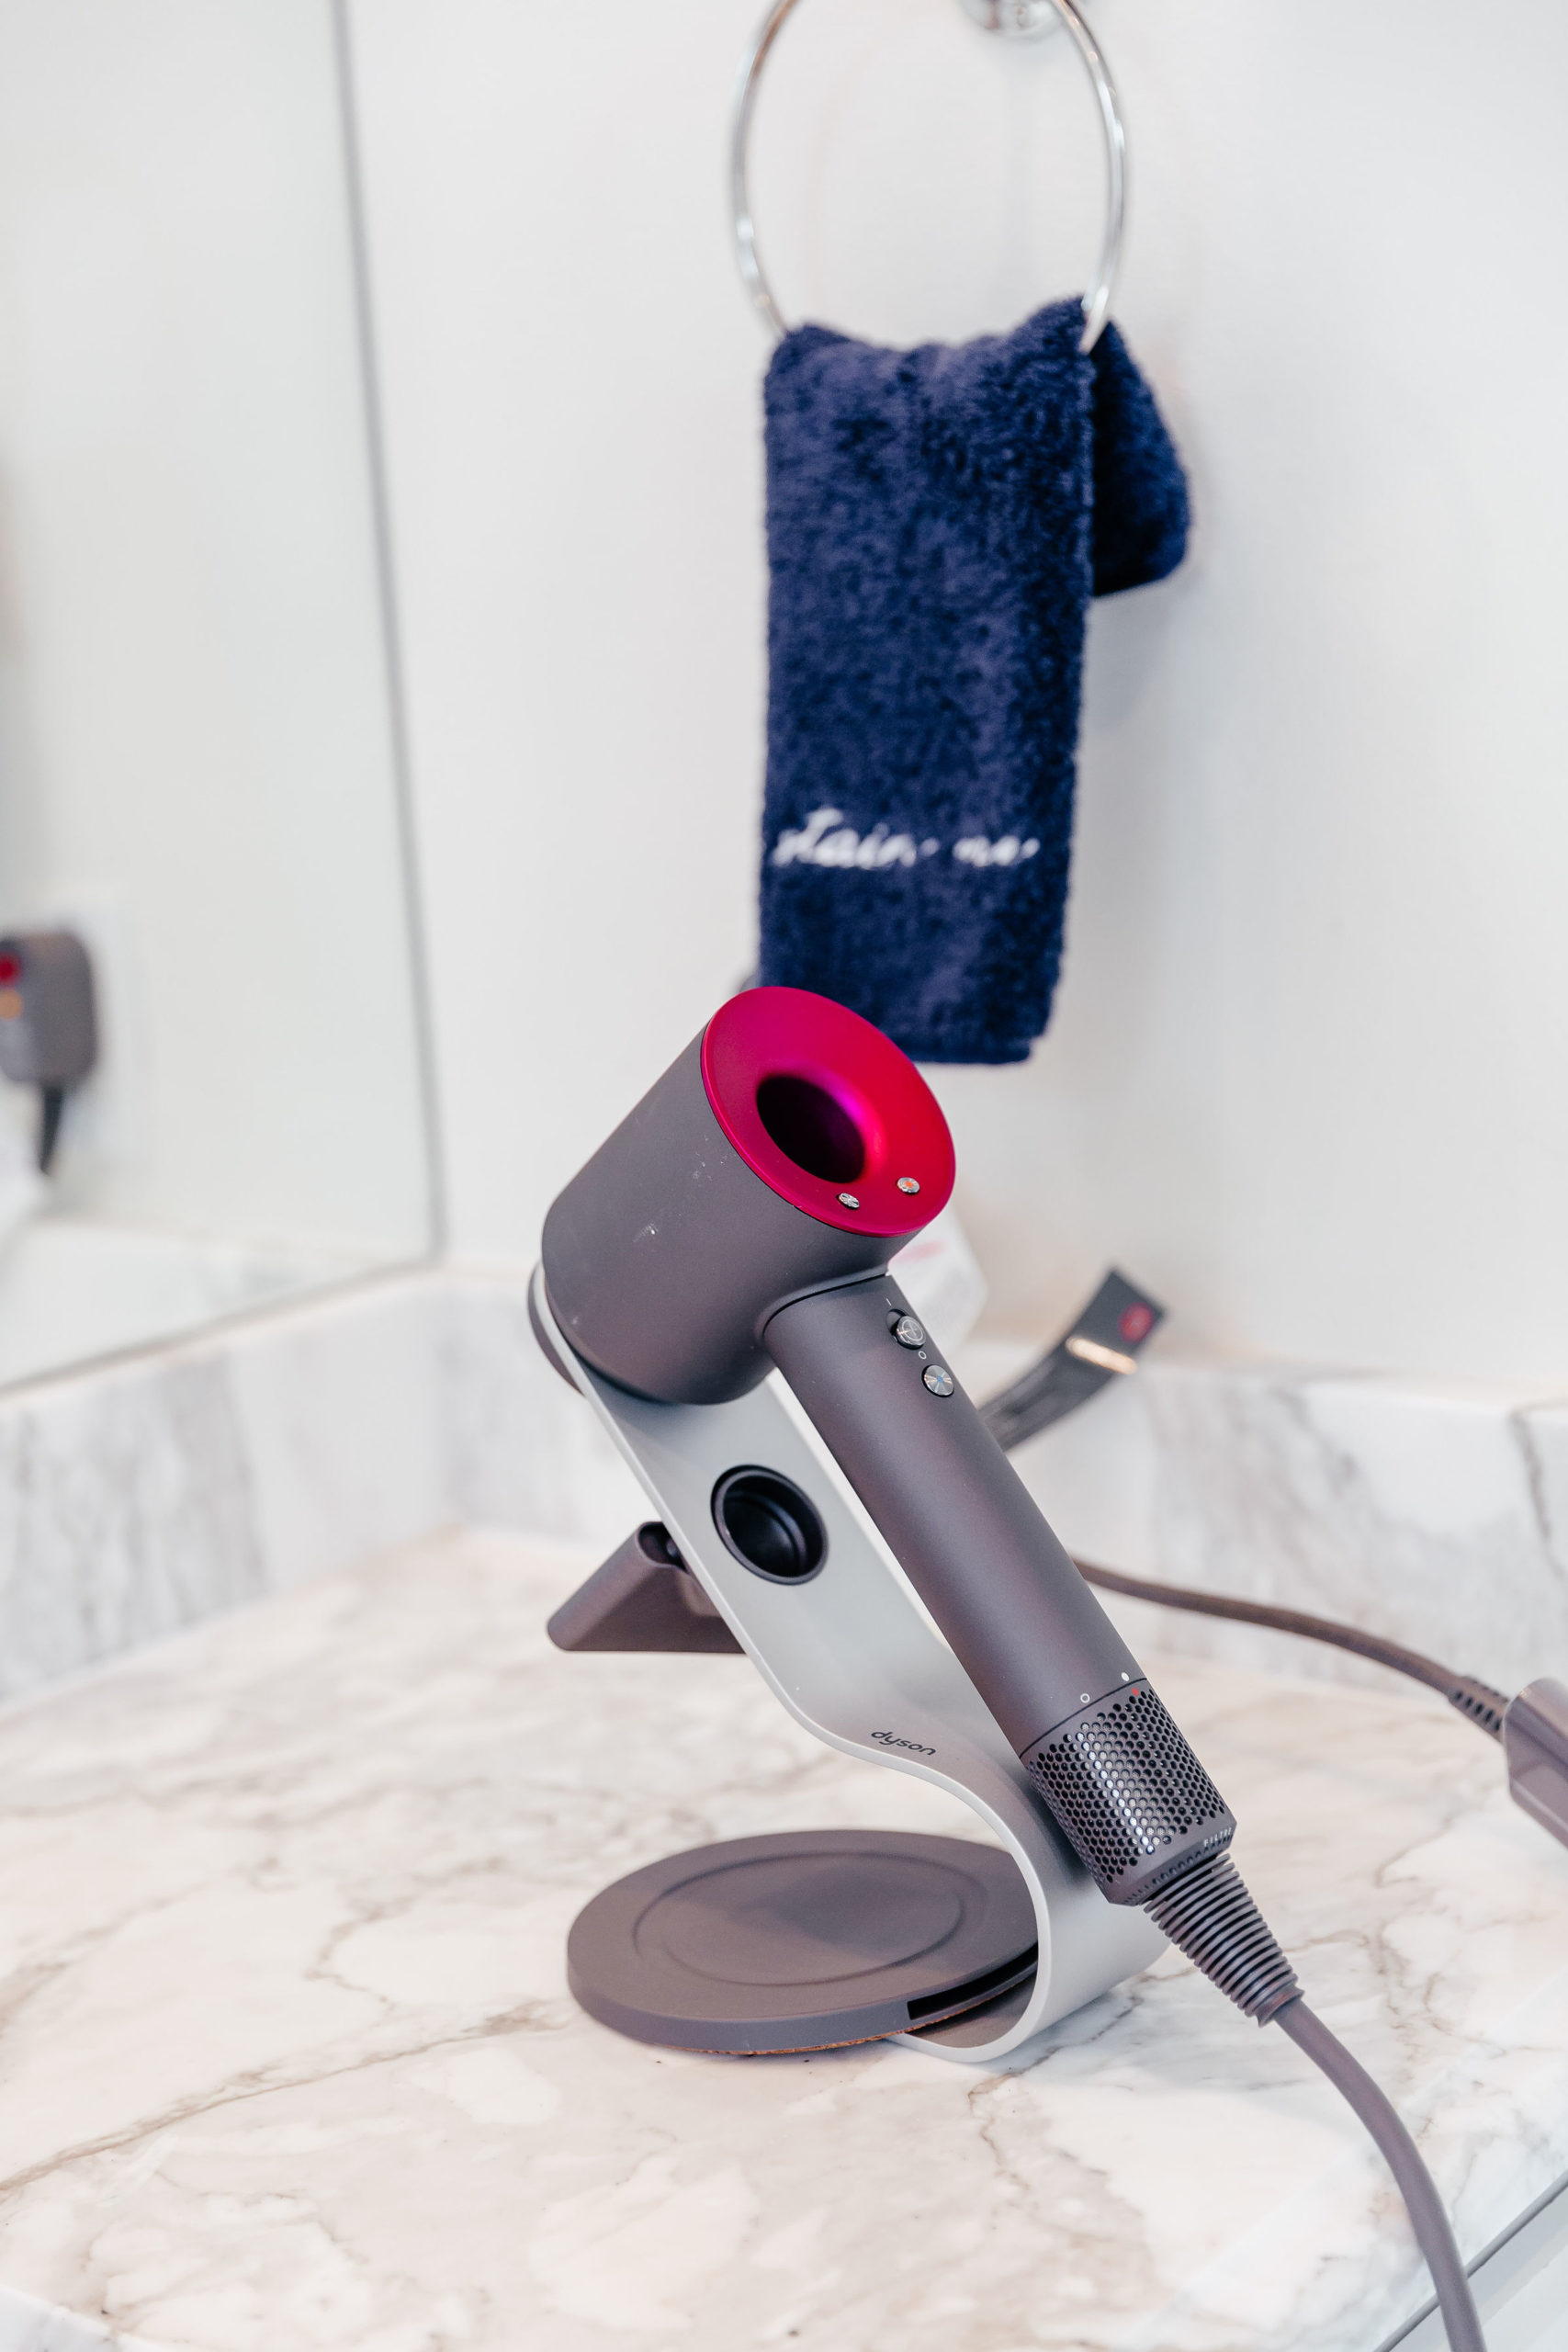
STEP 6: Next, I use the Dyson Blow Dryer to blow dry my hair until it is COMPLETELY DRY. This is key! You don’t want even a little bit of moisture in your hair or the curl will not hold. The Dyson has been a total game changer for my hair. I didn’t want to love it. I even laughed when I heard people who had purchased it. It is an investment, that is for sure. I always said, “That much money for a HAIR DRYER! You must be out of your mind.” However, this last Christmas my mom gave me one and the before and after are insane. Actually, I think after I started regularly using the Arbonne Hair Leave-In Treatment and the Dyson Blow Dryer is when people wanted to know what I had been doing to my hair. I can’t say that it dries my hair that much faster, but oh my heavens is the result so much better! My hair is smoother and healthier than it has ever been. I am a convert! I even noticed it with my mom when she started using it. Her hair, which usually suffers from breakage, looked more healthy and thicker than I had ever seen it. They say it is because the dryer has heat control so your hair doesn’t “Fry” like it might with traditional hair dryers. I believe it! I hate being such a fan because it is $$$ but I can’t deny something when it works!
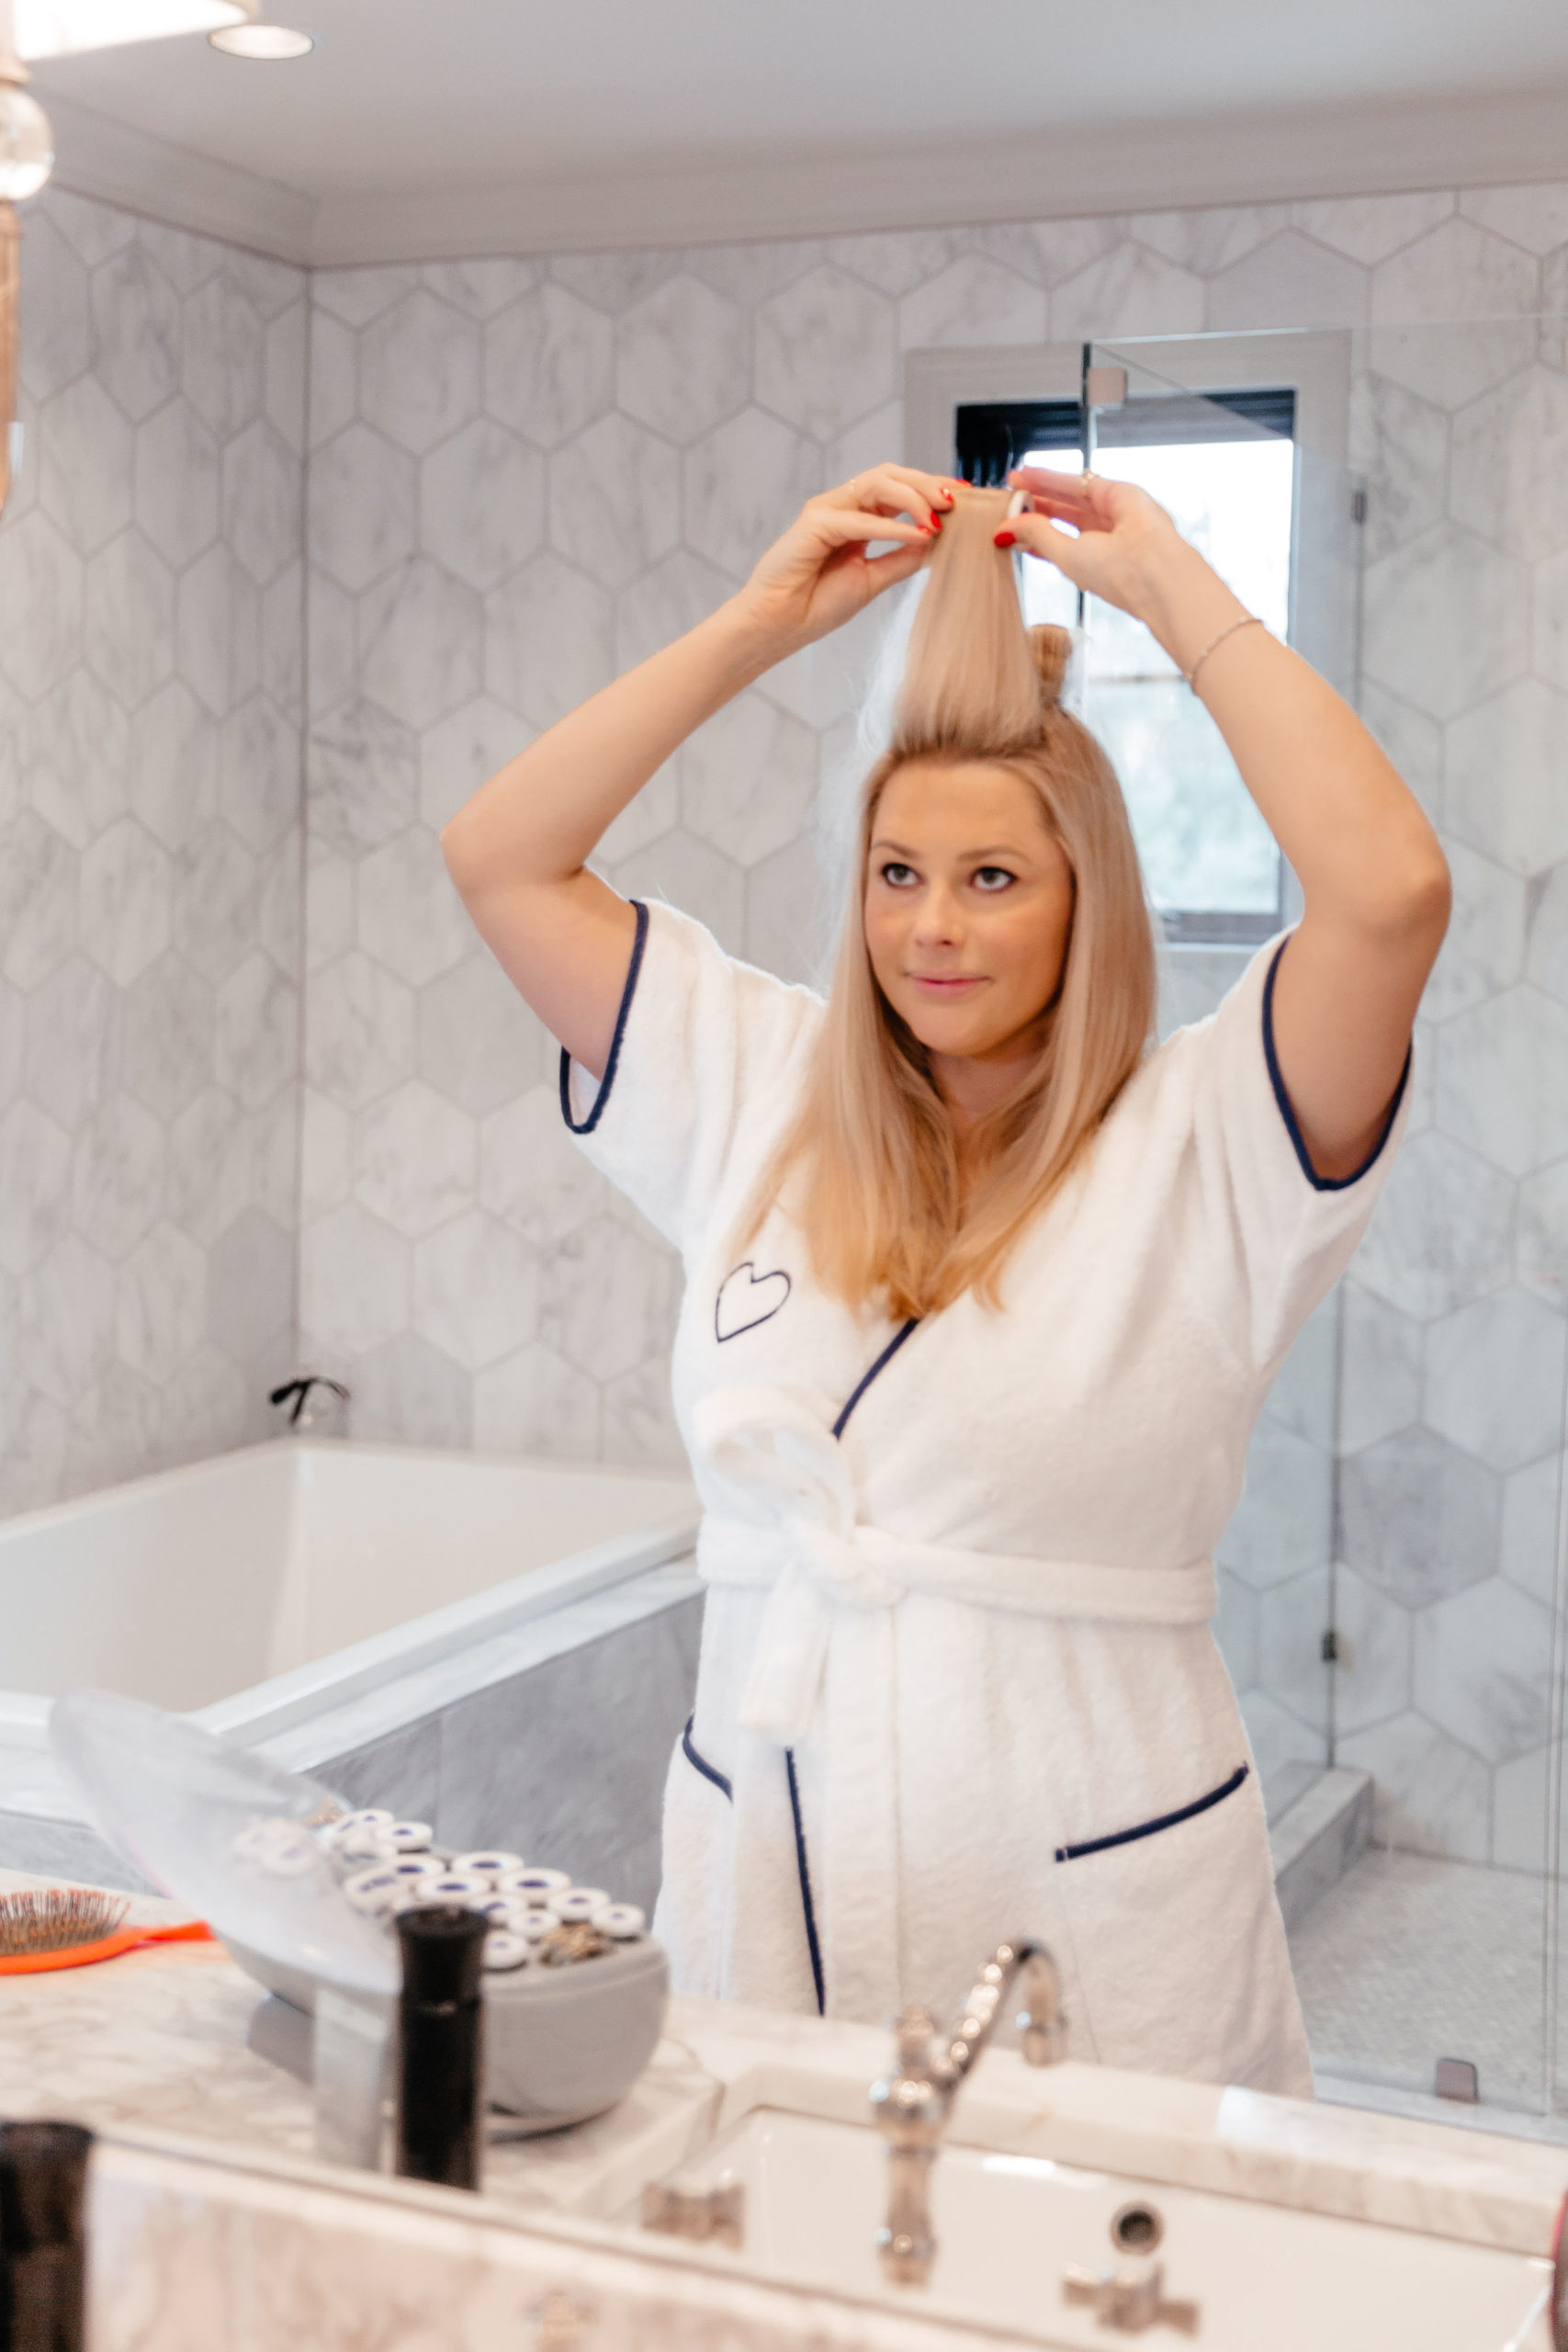
STEP 7: Alright, it is hot roller time! By now your hot rollers should be pretty hot. I use a brand that has been discontinued but I do recommend the BaBylissPRO Hot Rollers. I only use the large rollers in the box because I want big curls and I have long hair. However, if you have short hair, play around with the medium and large size to see which one gives you the look you want.
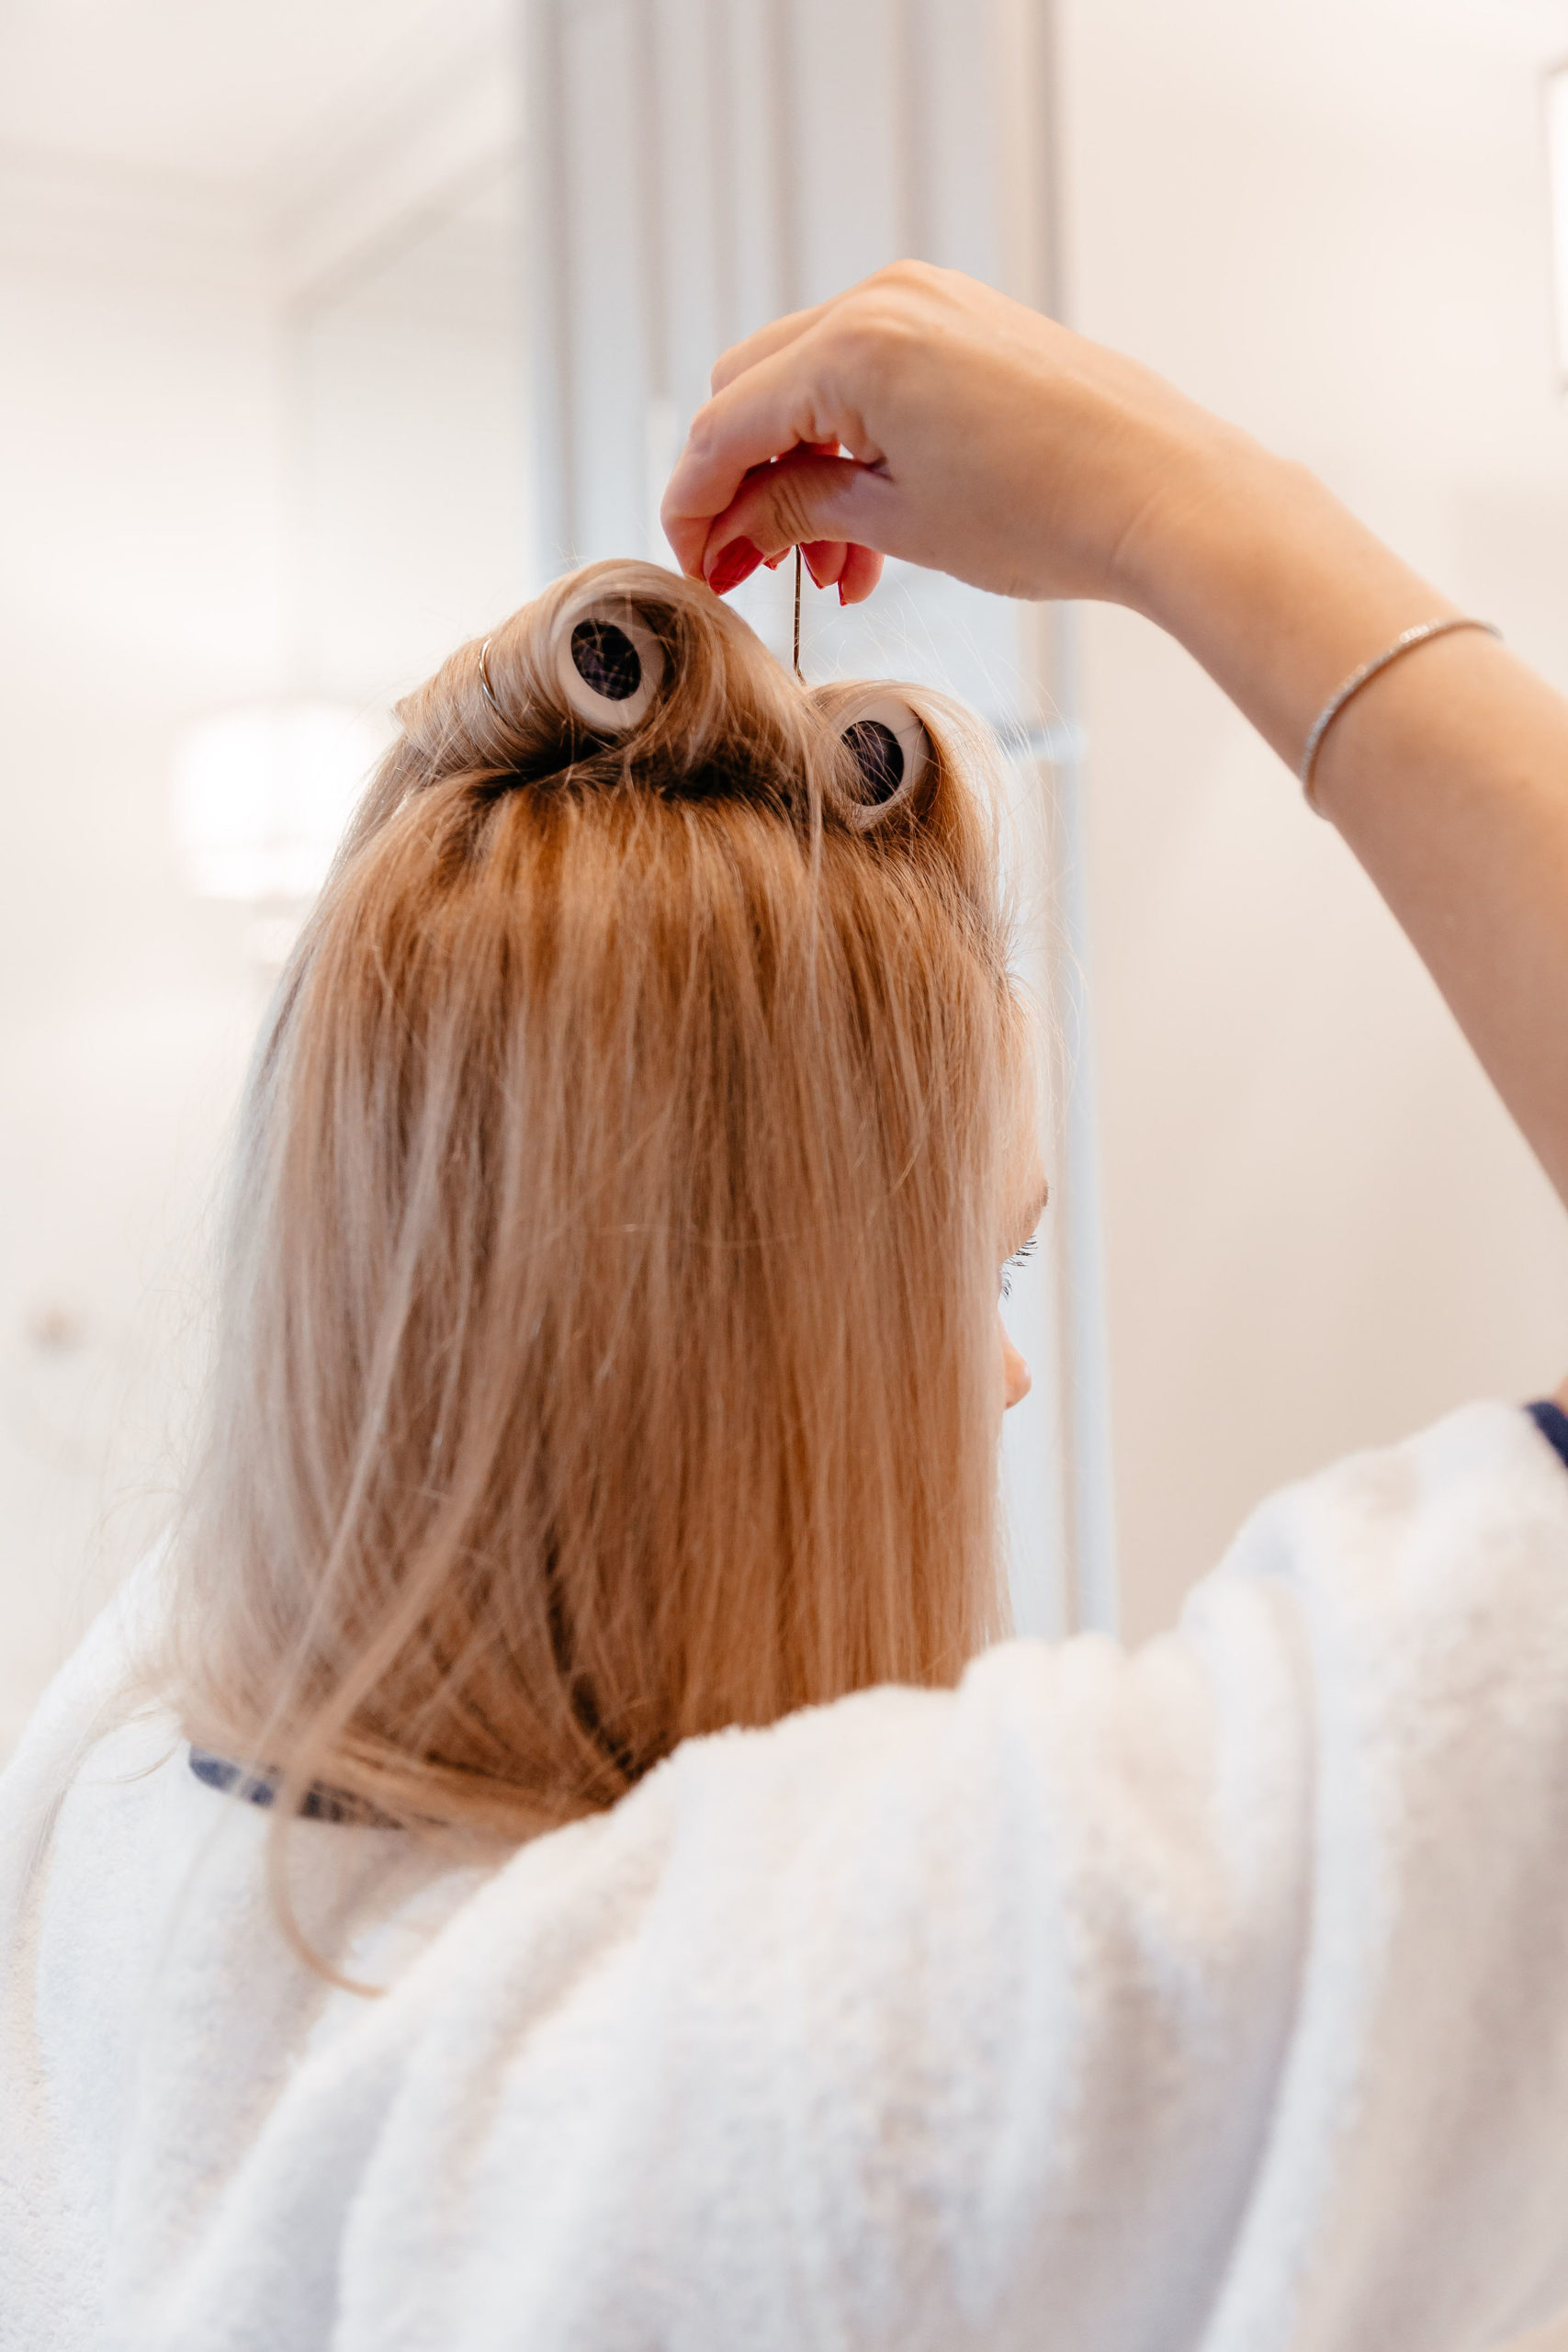
I always start with the crown of my head. I grab only the hair at the crown so it isn’t too thick. Brush this chunk of hair and grab your largest roller. Place the roller about two inches from the end of your hair. Take the ends of your hair and wrap them around the curler. From here start rolling the curler to the base of your head. Roll the curler so the hair is being tucked under and not on top. The entire time you are rolling your hair down, pull the roller and the hair away from your scalp so it is very tight. Once the curler is tight and at your root, take the metal U-shaped clip and secure it to the curler. I only like using the U-shape clip because the other clips crease my hair. I even throw any other clip away!
My next chunk of hair is from the bang to the curler you just secured. Do the same exact process as above. Brush, manually roll your ends around the roller, hold tight and then roll all the way down. For the sides, I follow the same steps but I section the hair into three different sections. I don’t like large chunks of hair in each roller because I don’t think you get the type of curl that lasts.
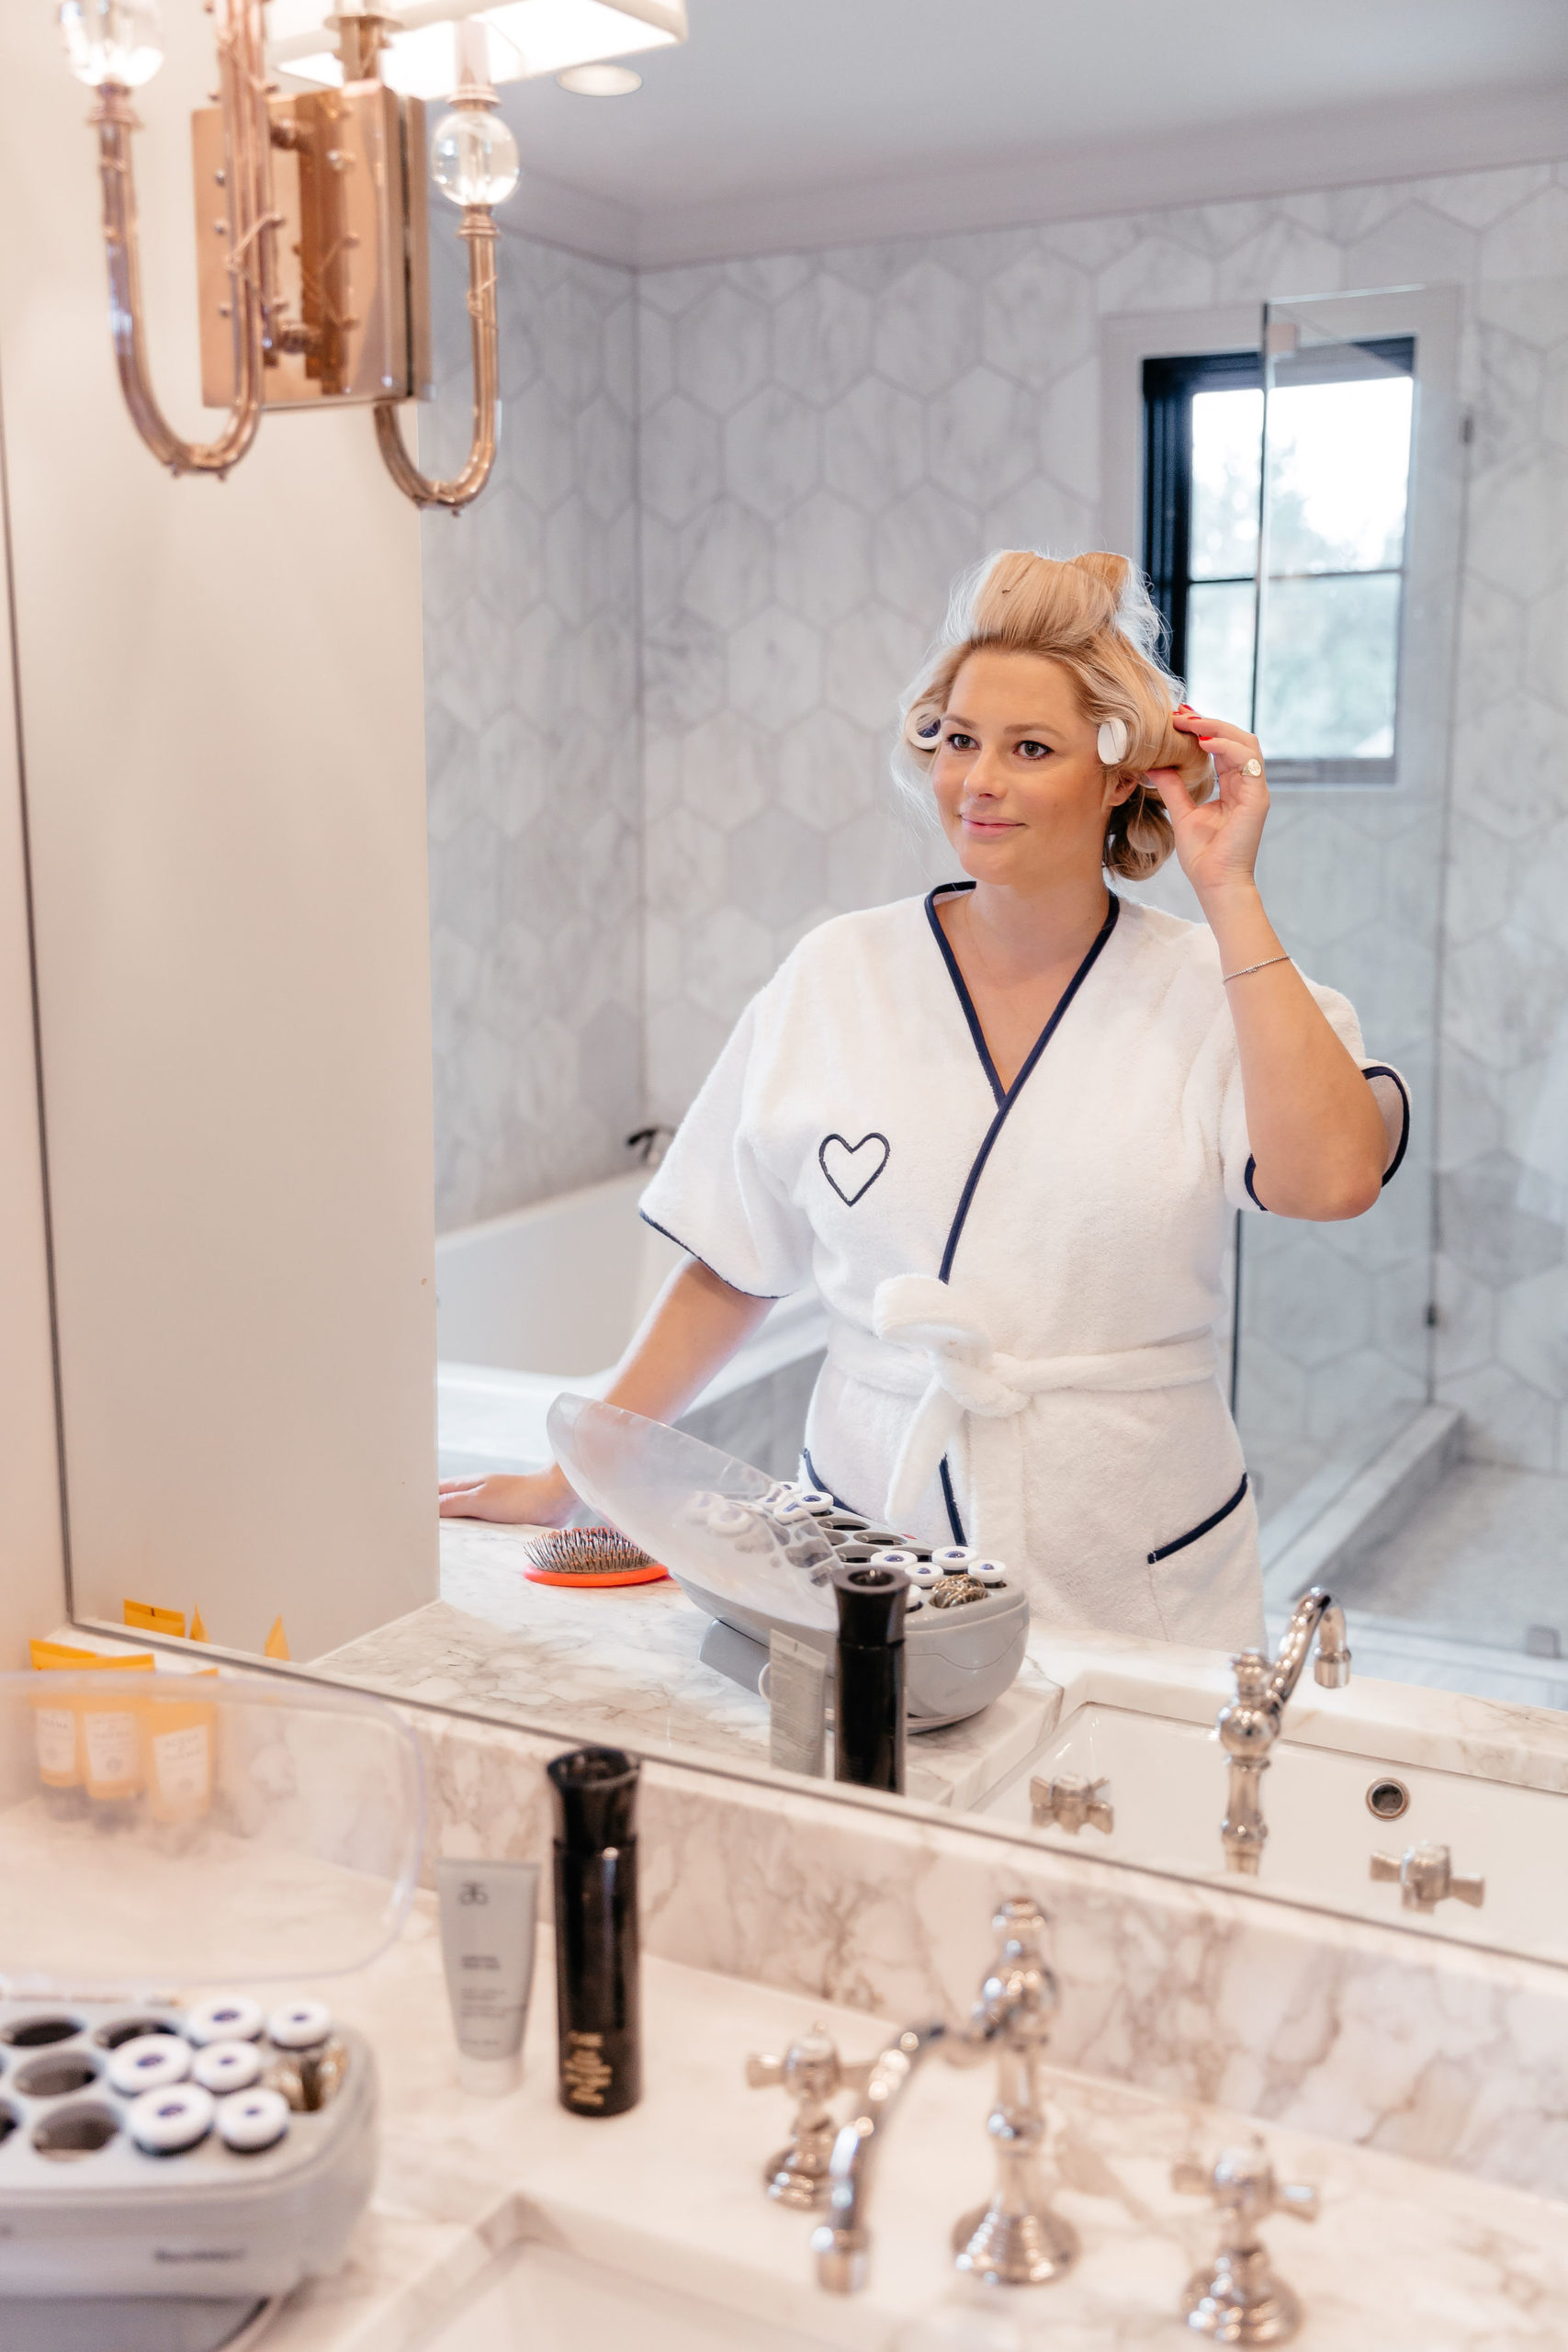
STEP 8: After letting them sit for a minimum of 15 minutes (the longer they are in, the tighter and stronger the curl) I take them out, brush them, and then add a touch of hairspray to help them hold. They will fall quite a bit so don’t be scared at the initial sight.
I hope this helps lay our my steps. This video will be helpful in seeing the rolling process in real-time. As always, if you have any questions please don’t hesitate to ask!
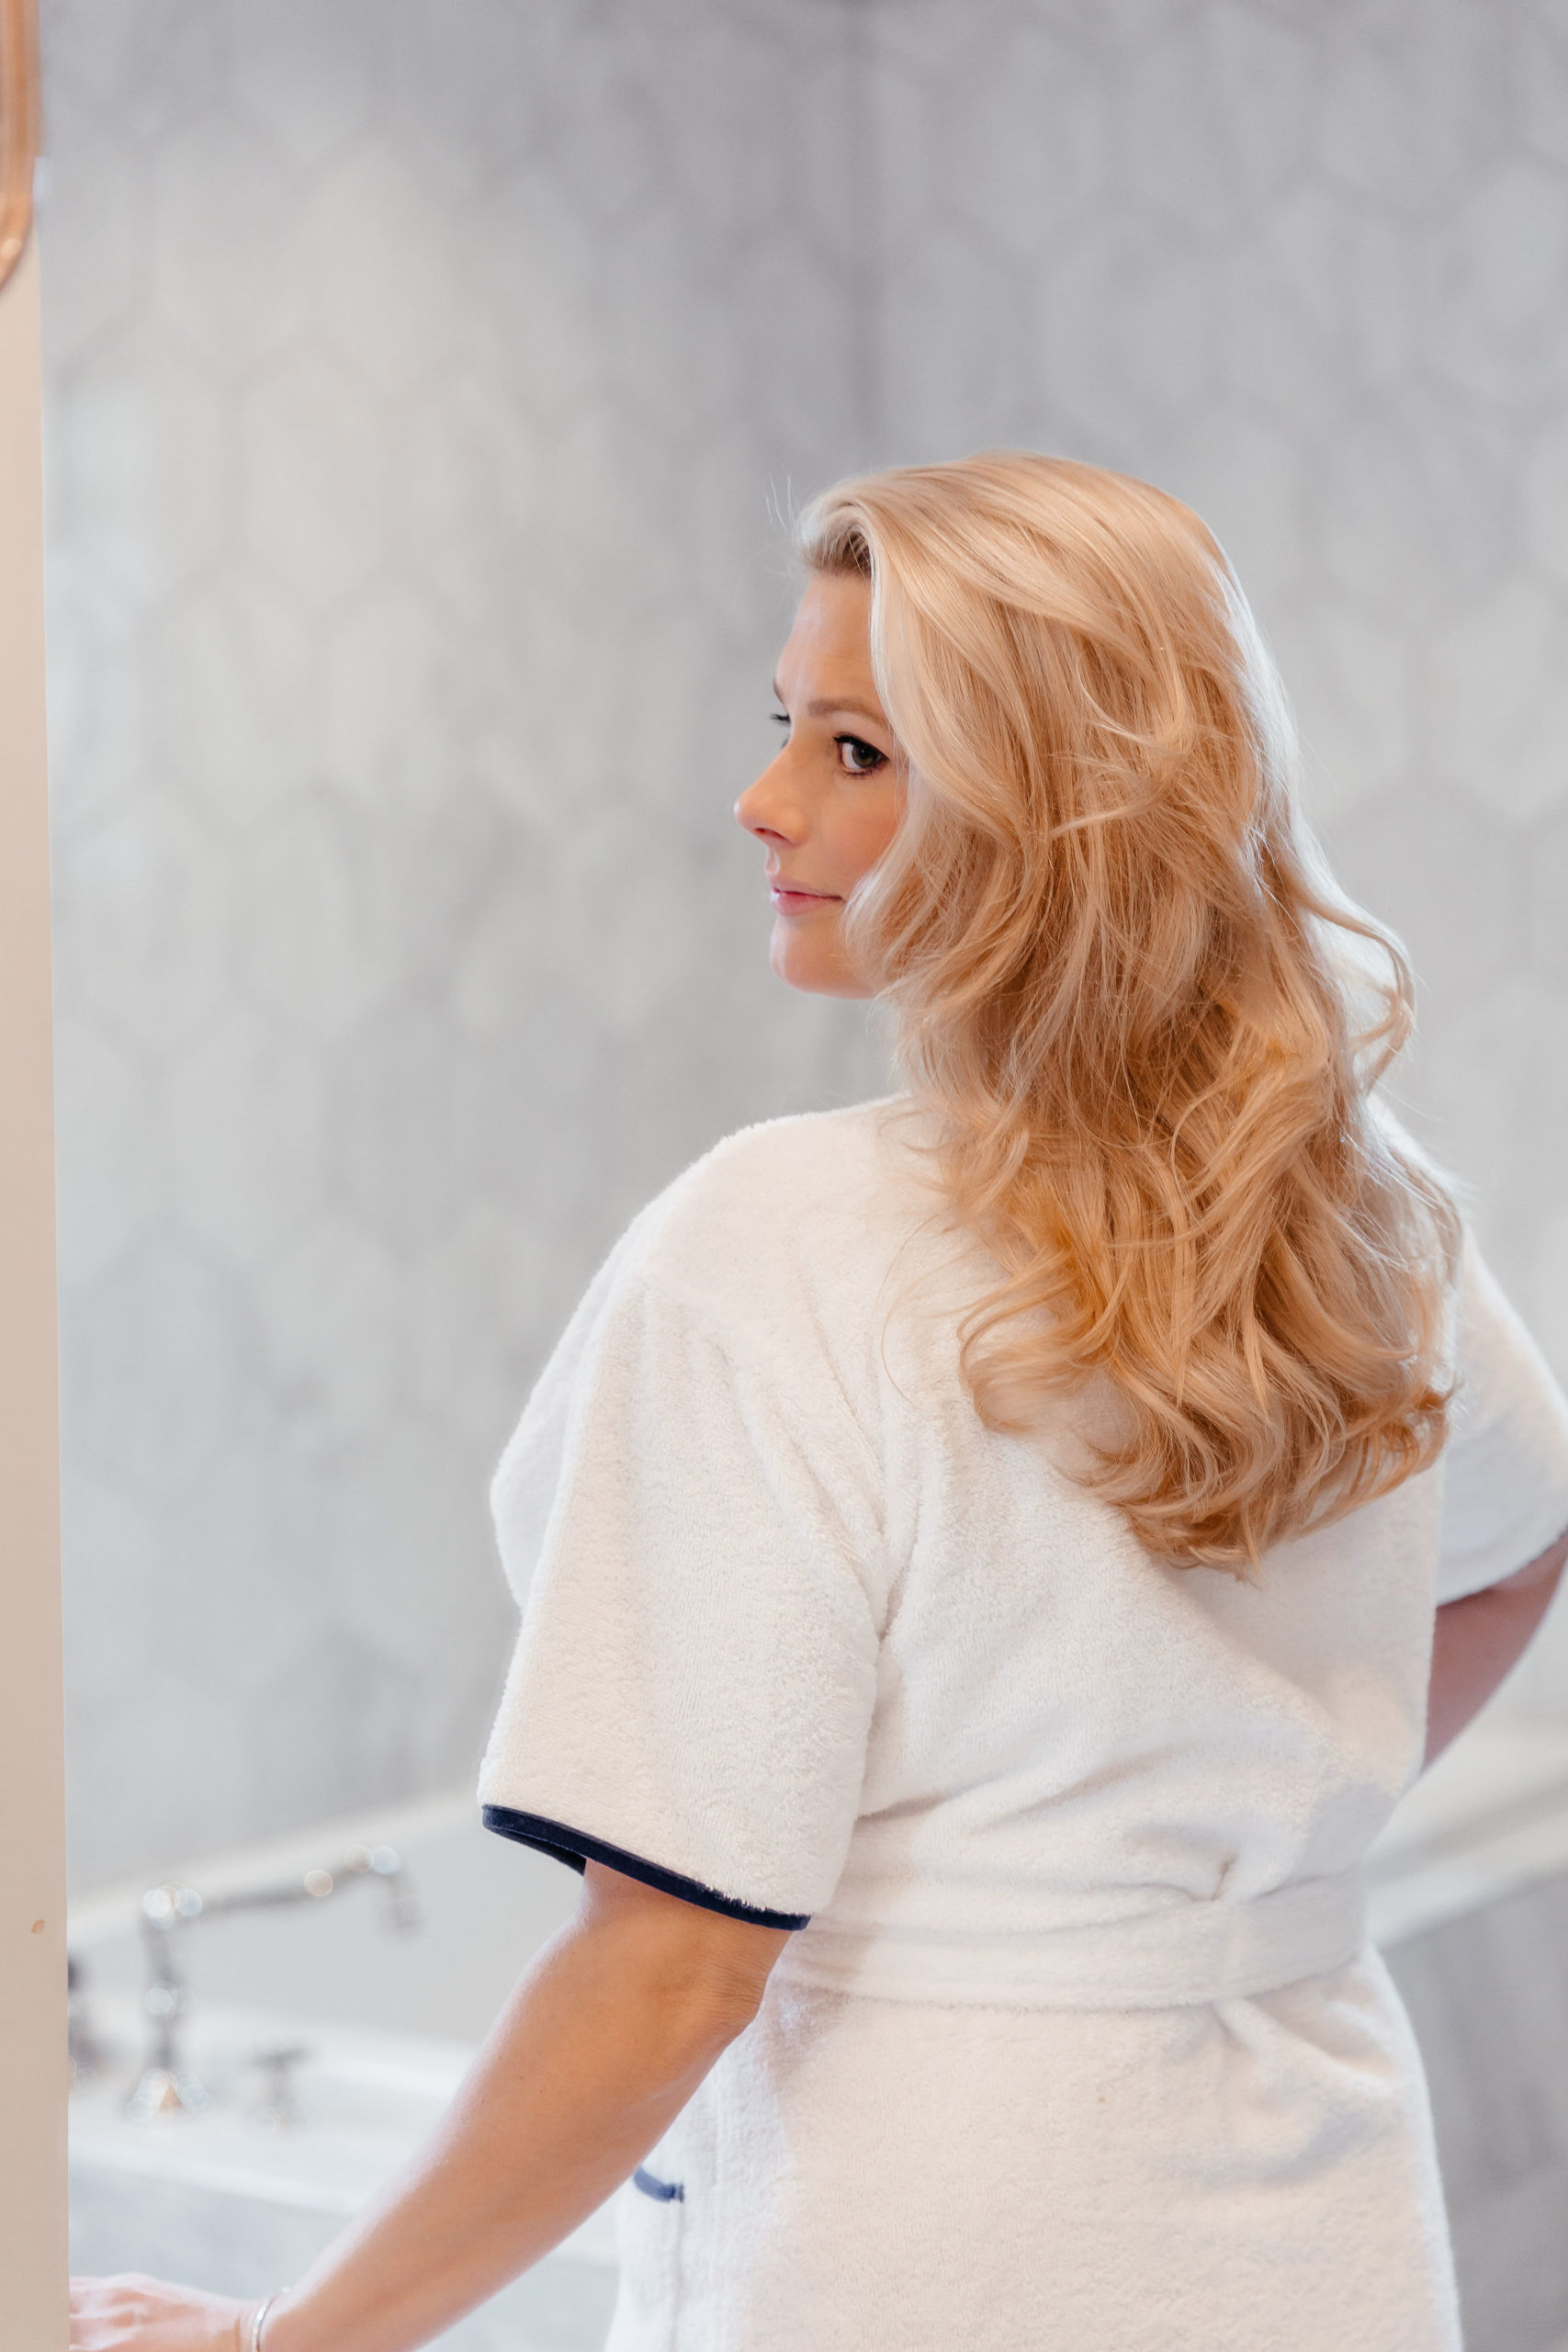
Beauty Bio. I am sure you have seen it around social media. The female run beauty business from Dallas. If you are like me, you might be skeptical of products or brands that are “overly sold” on social media. The more influencers or ads I see selling a product, the more I am turned off. That is me being 100% honest. I always loved the packaging of Beauty Bio but the more influencers who, “omg love it so much” made me wonder if they actually liked it or were just talking about it because it was sponsored. This thought process goes for any product I see being “oversold,” not just Beauty Bio. Okay, I digress.
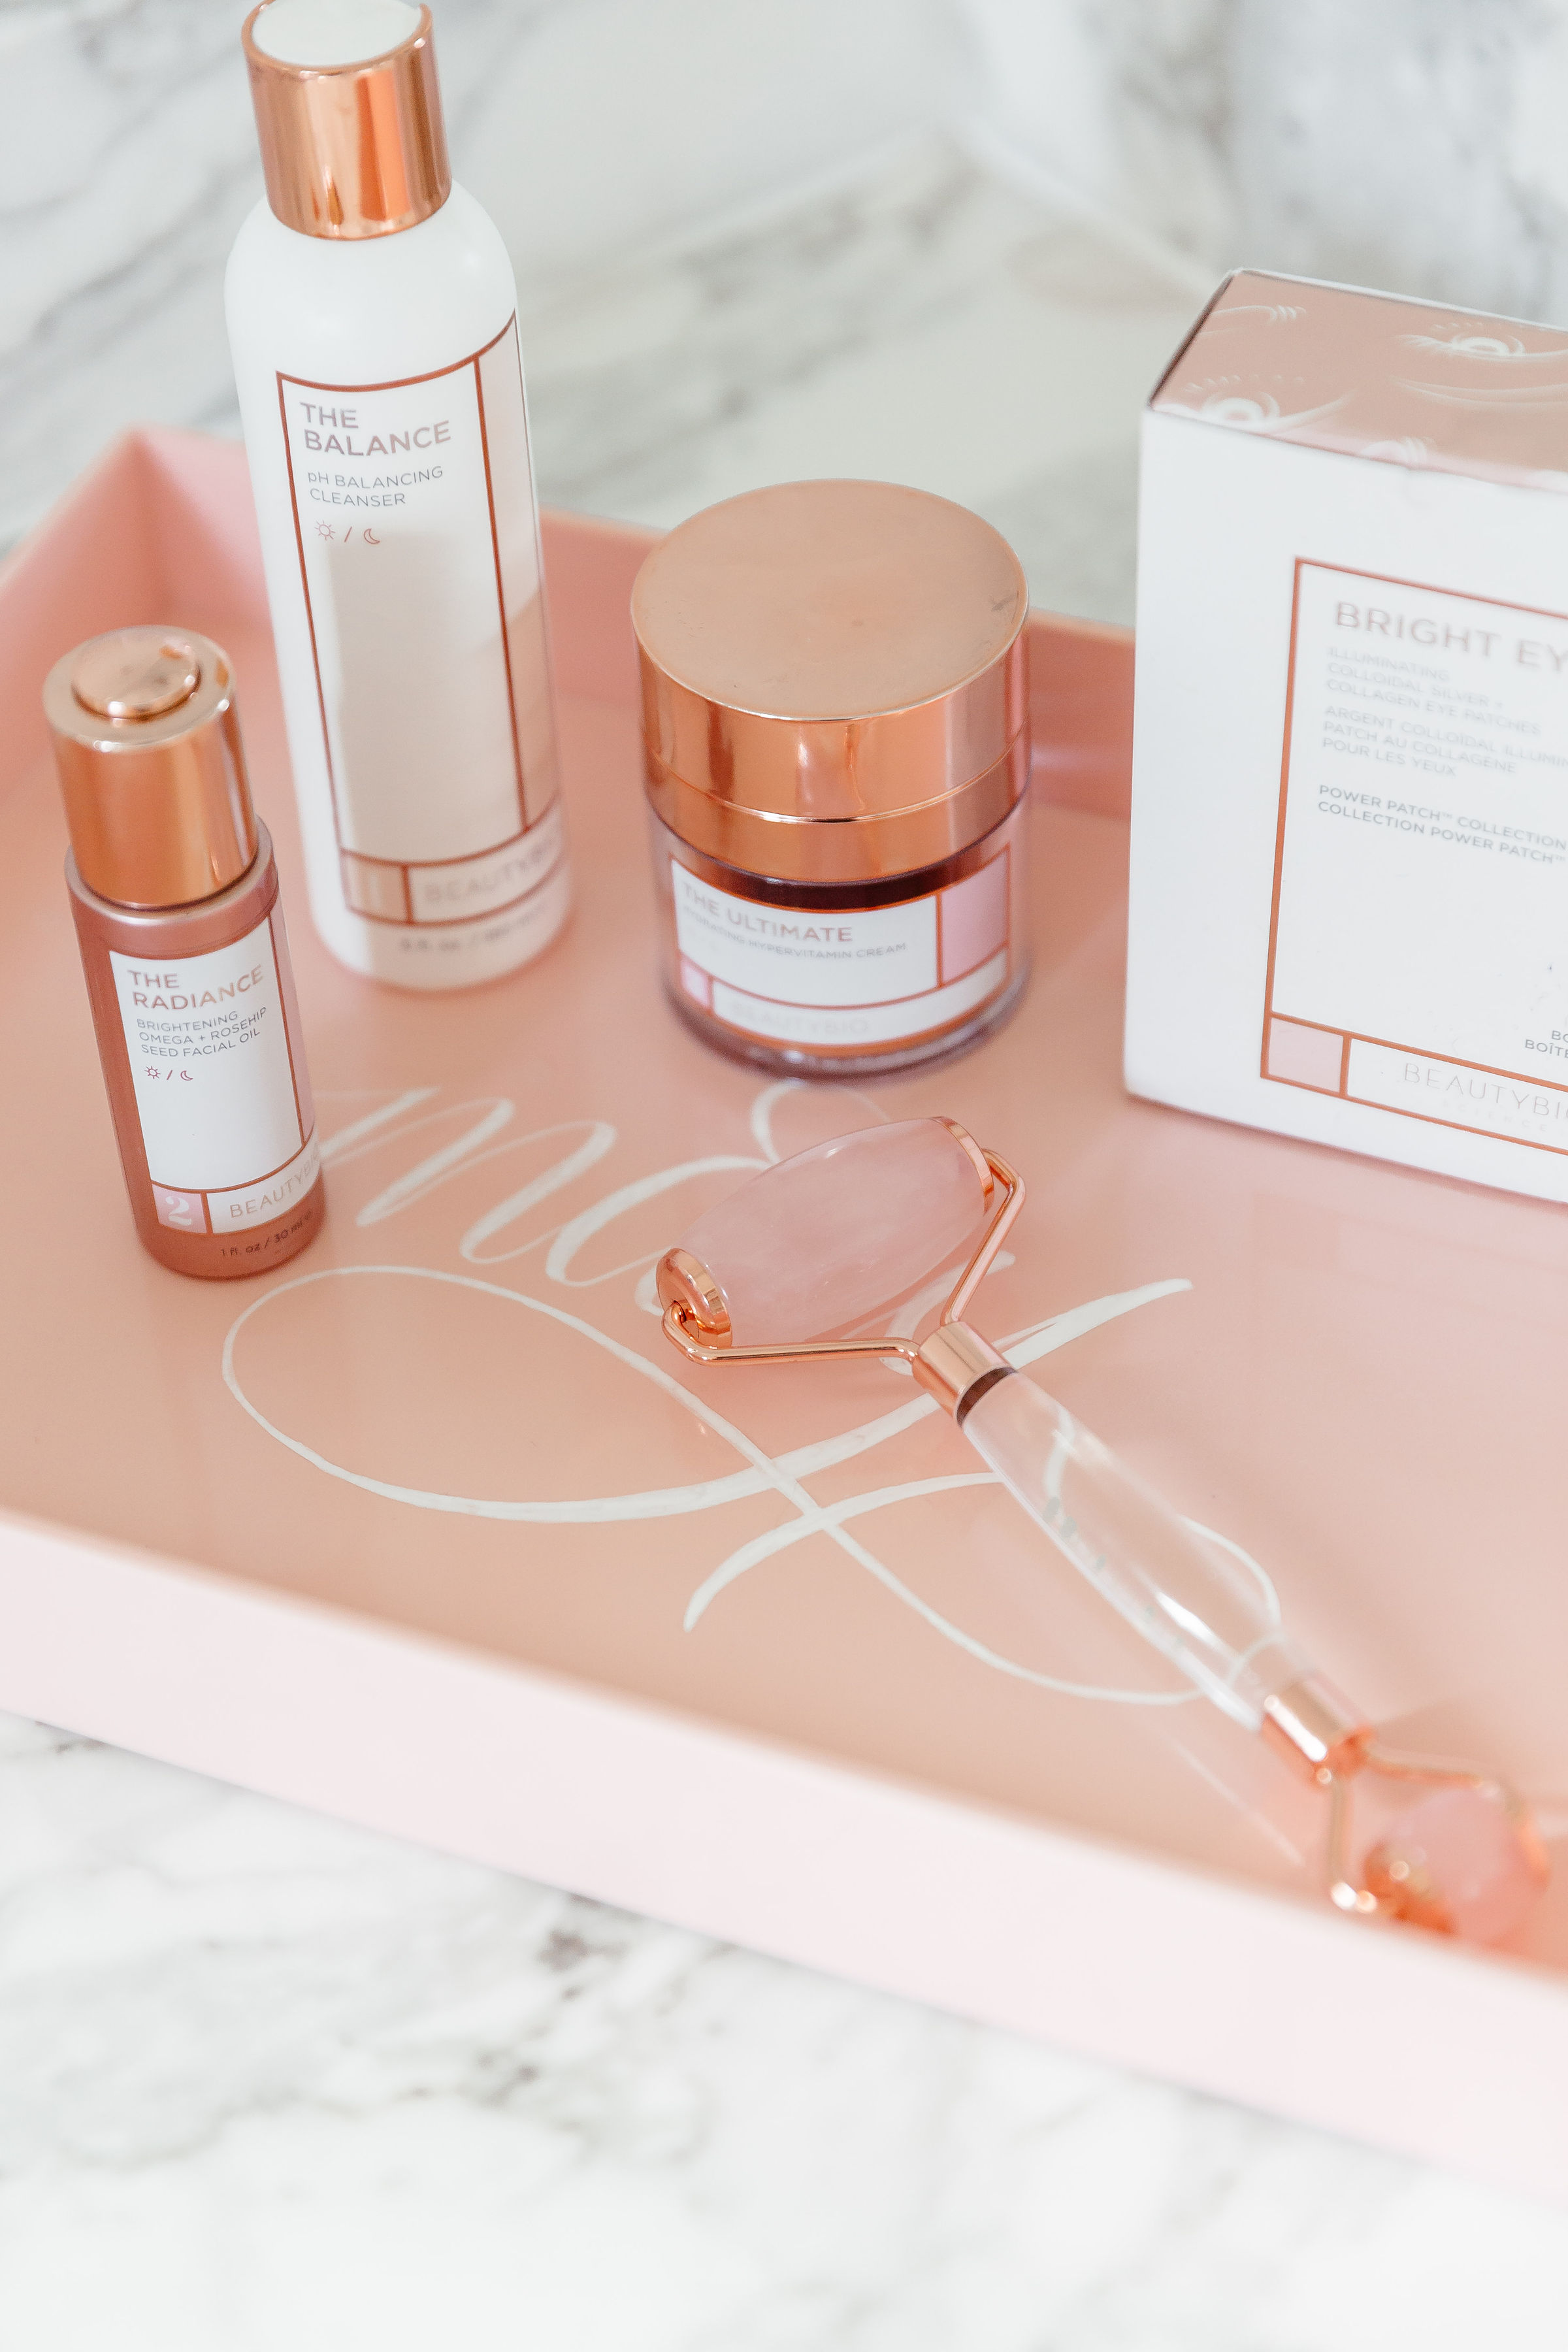
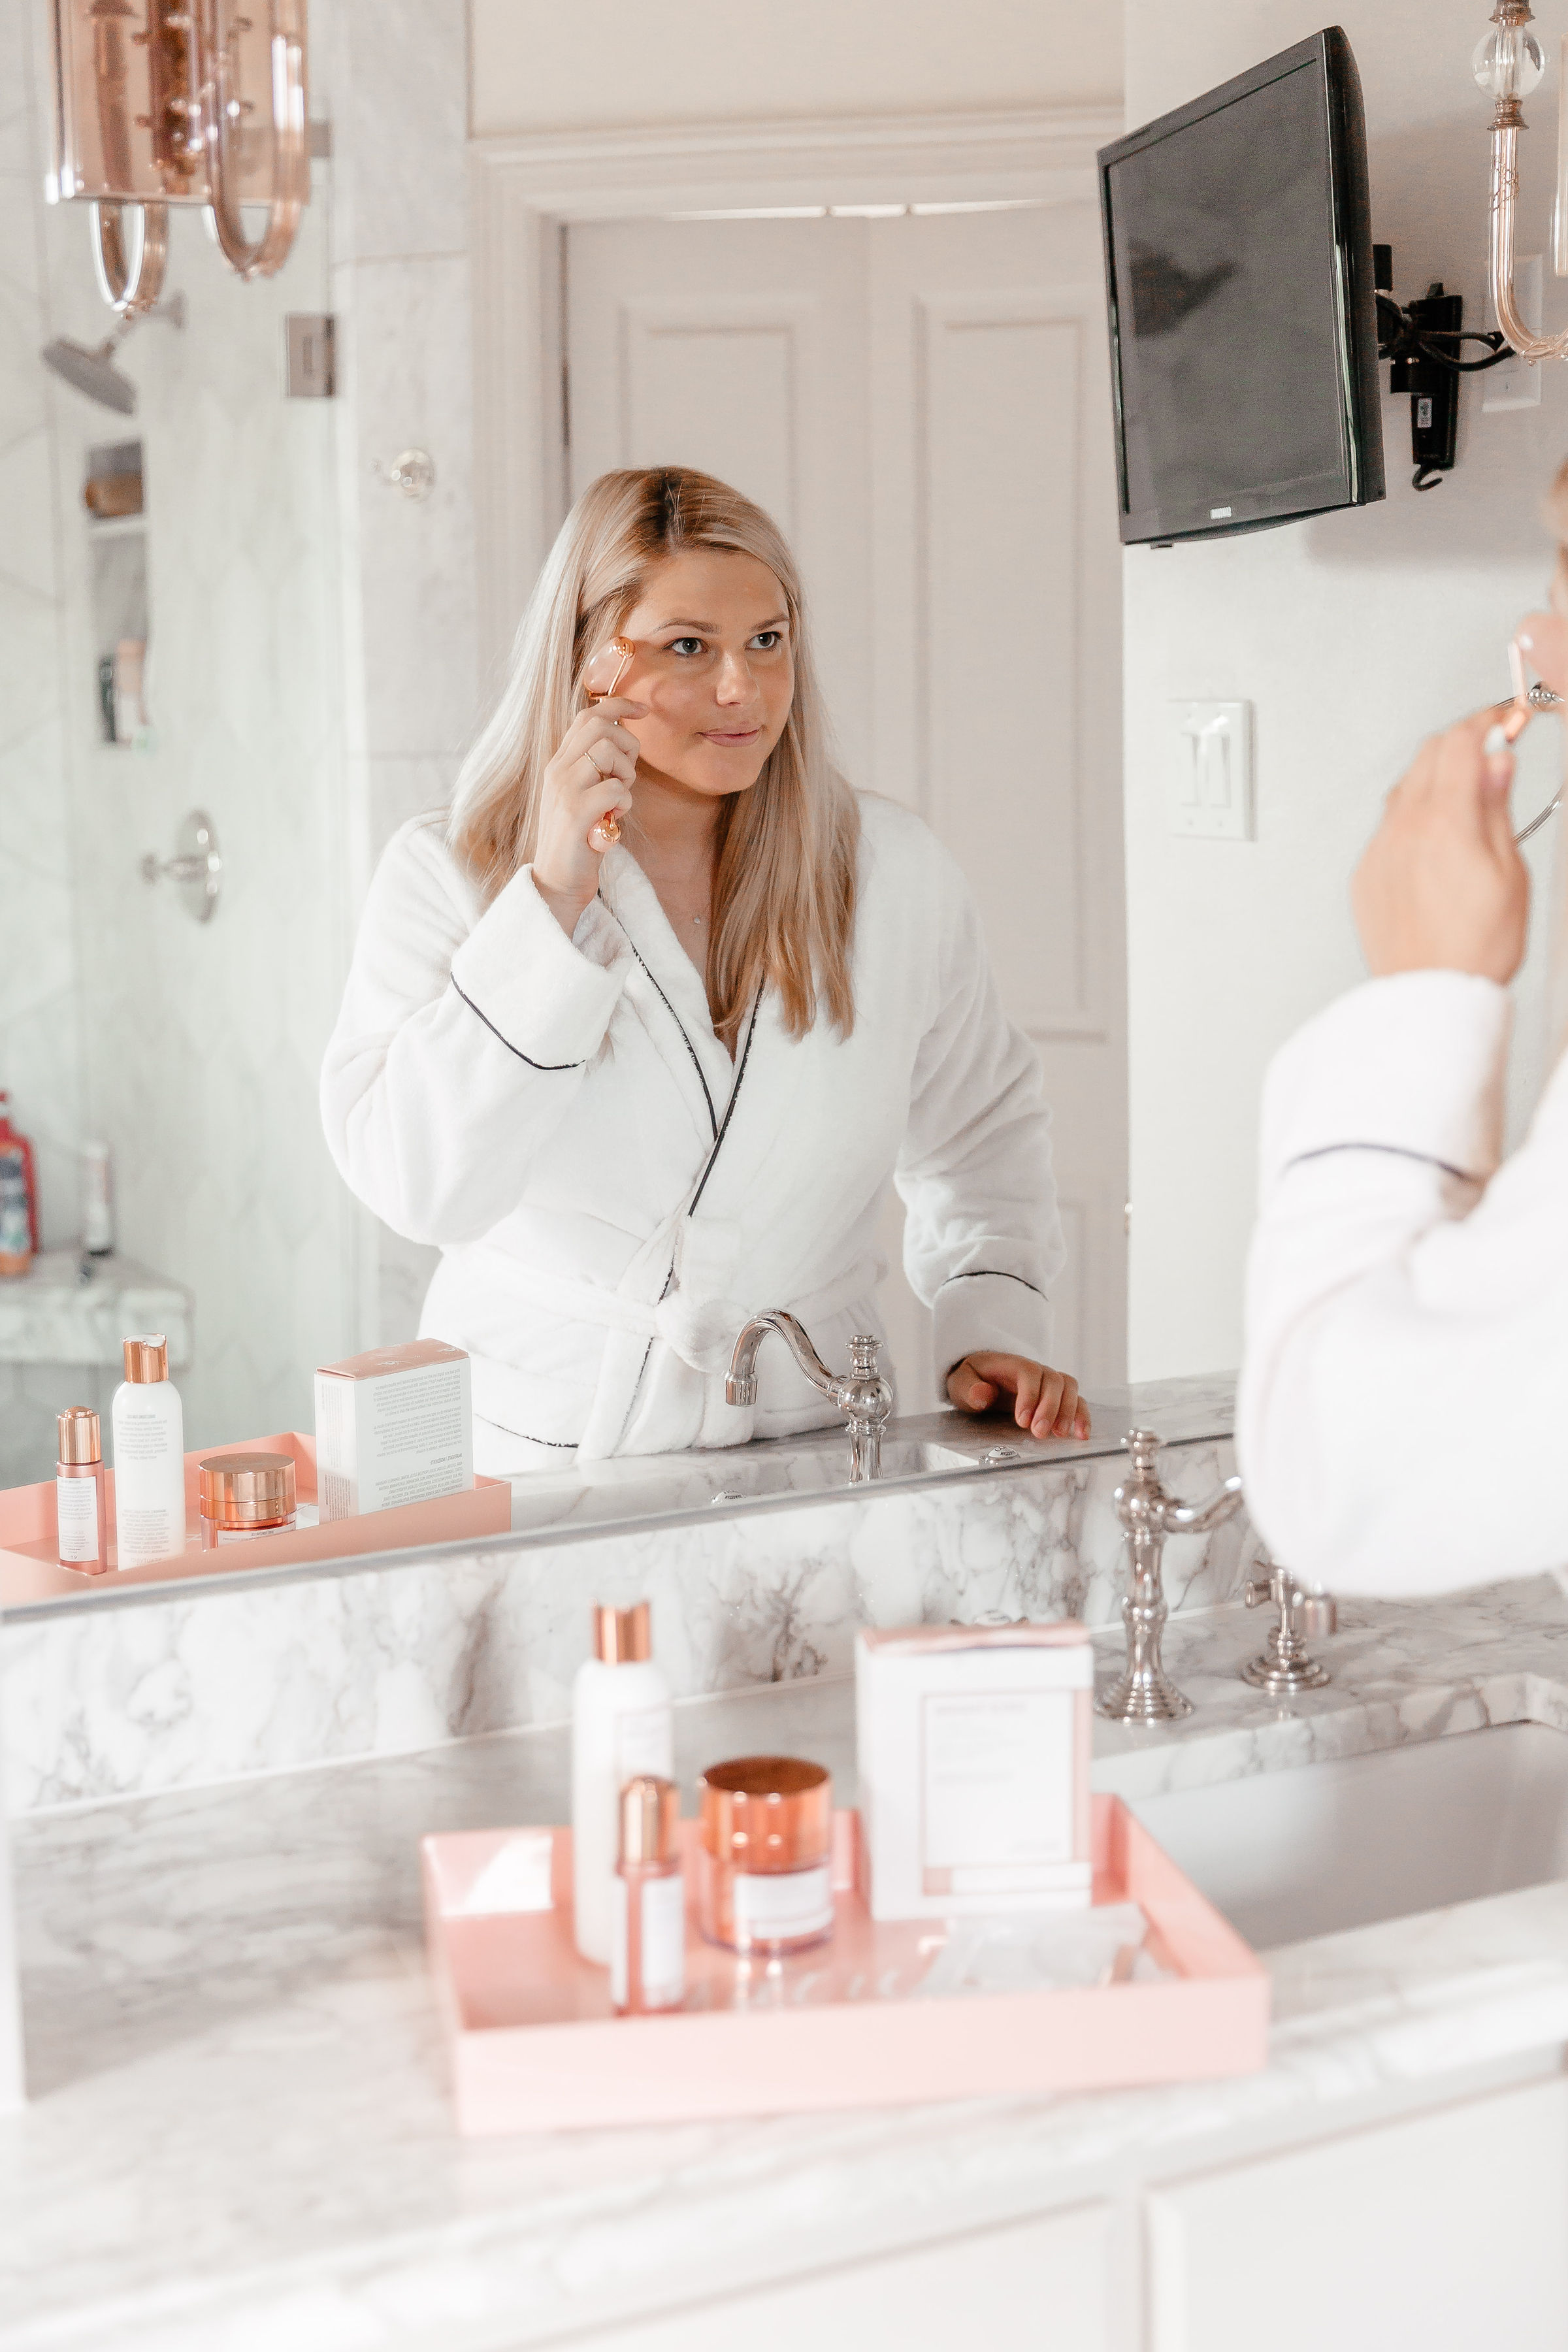
I was gifted Beauty Bio by my friend Krystal as part of our bridesmaids gift. After a boozy rehearsal dinner I was in need of anything that decreased my puffiness and hydrated my skin. I quickly opened the beautiful package and unboxed the Rose Quartz DePuffing Roller. I was always skeptical (Okay, really I am not a skeptical person but in this post, I am), if rollers actually de-puffed. I didn’t understand the science behind it. I am a puffer. My face will puff if I have the tiniest bit of salt, alcohol, or really anything in general. It is a real debby-downer. On the search to help my puffiness, I got a lymphatic drainage massage. The masseuse explained that certain people (me!) retain water and that massaging the areas towards the lymph nodes can help flush out the extra fluid. This is what the roller, if used correctly, does! When you roll the quartz toward your lymph-nodes it helps speed up the process of drainage. I.e. your puffiness. Added bonus, the cold stone just feels good on a tired face!
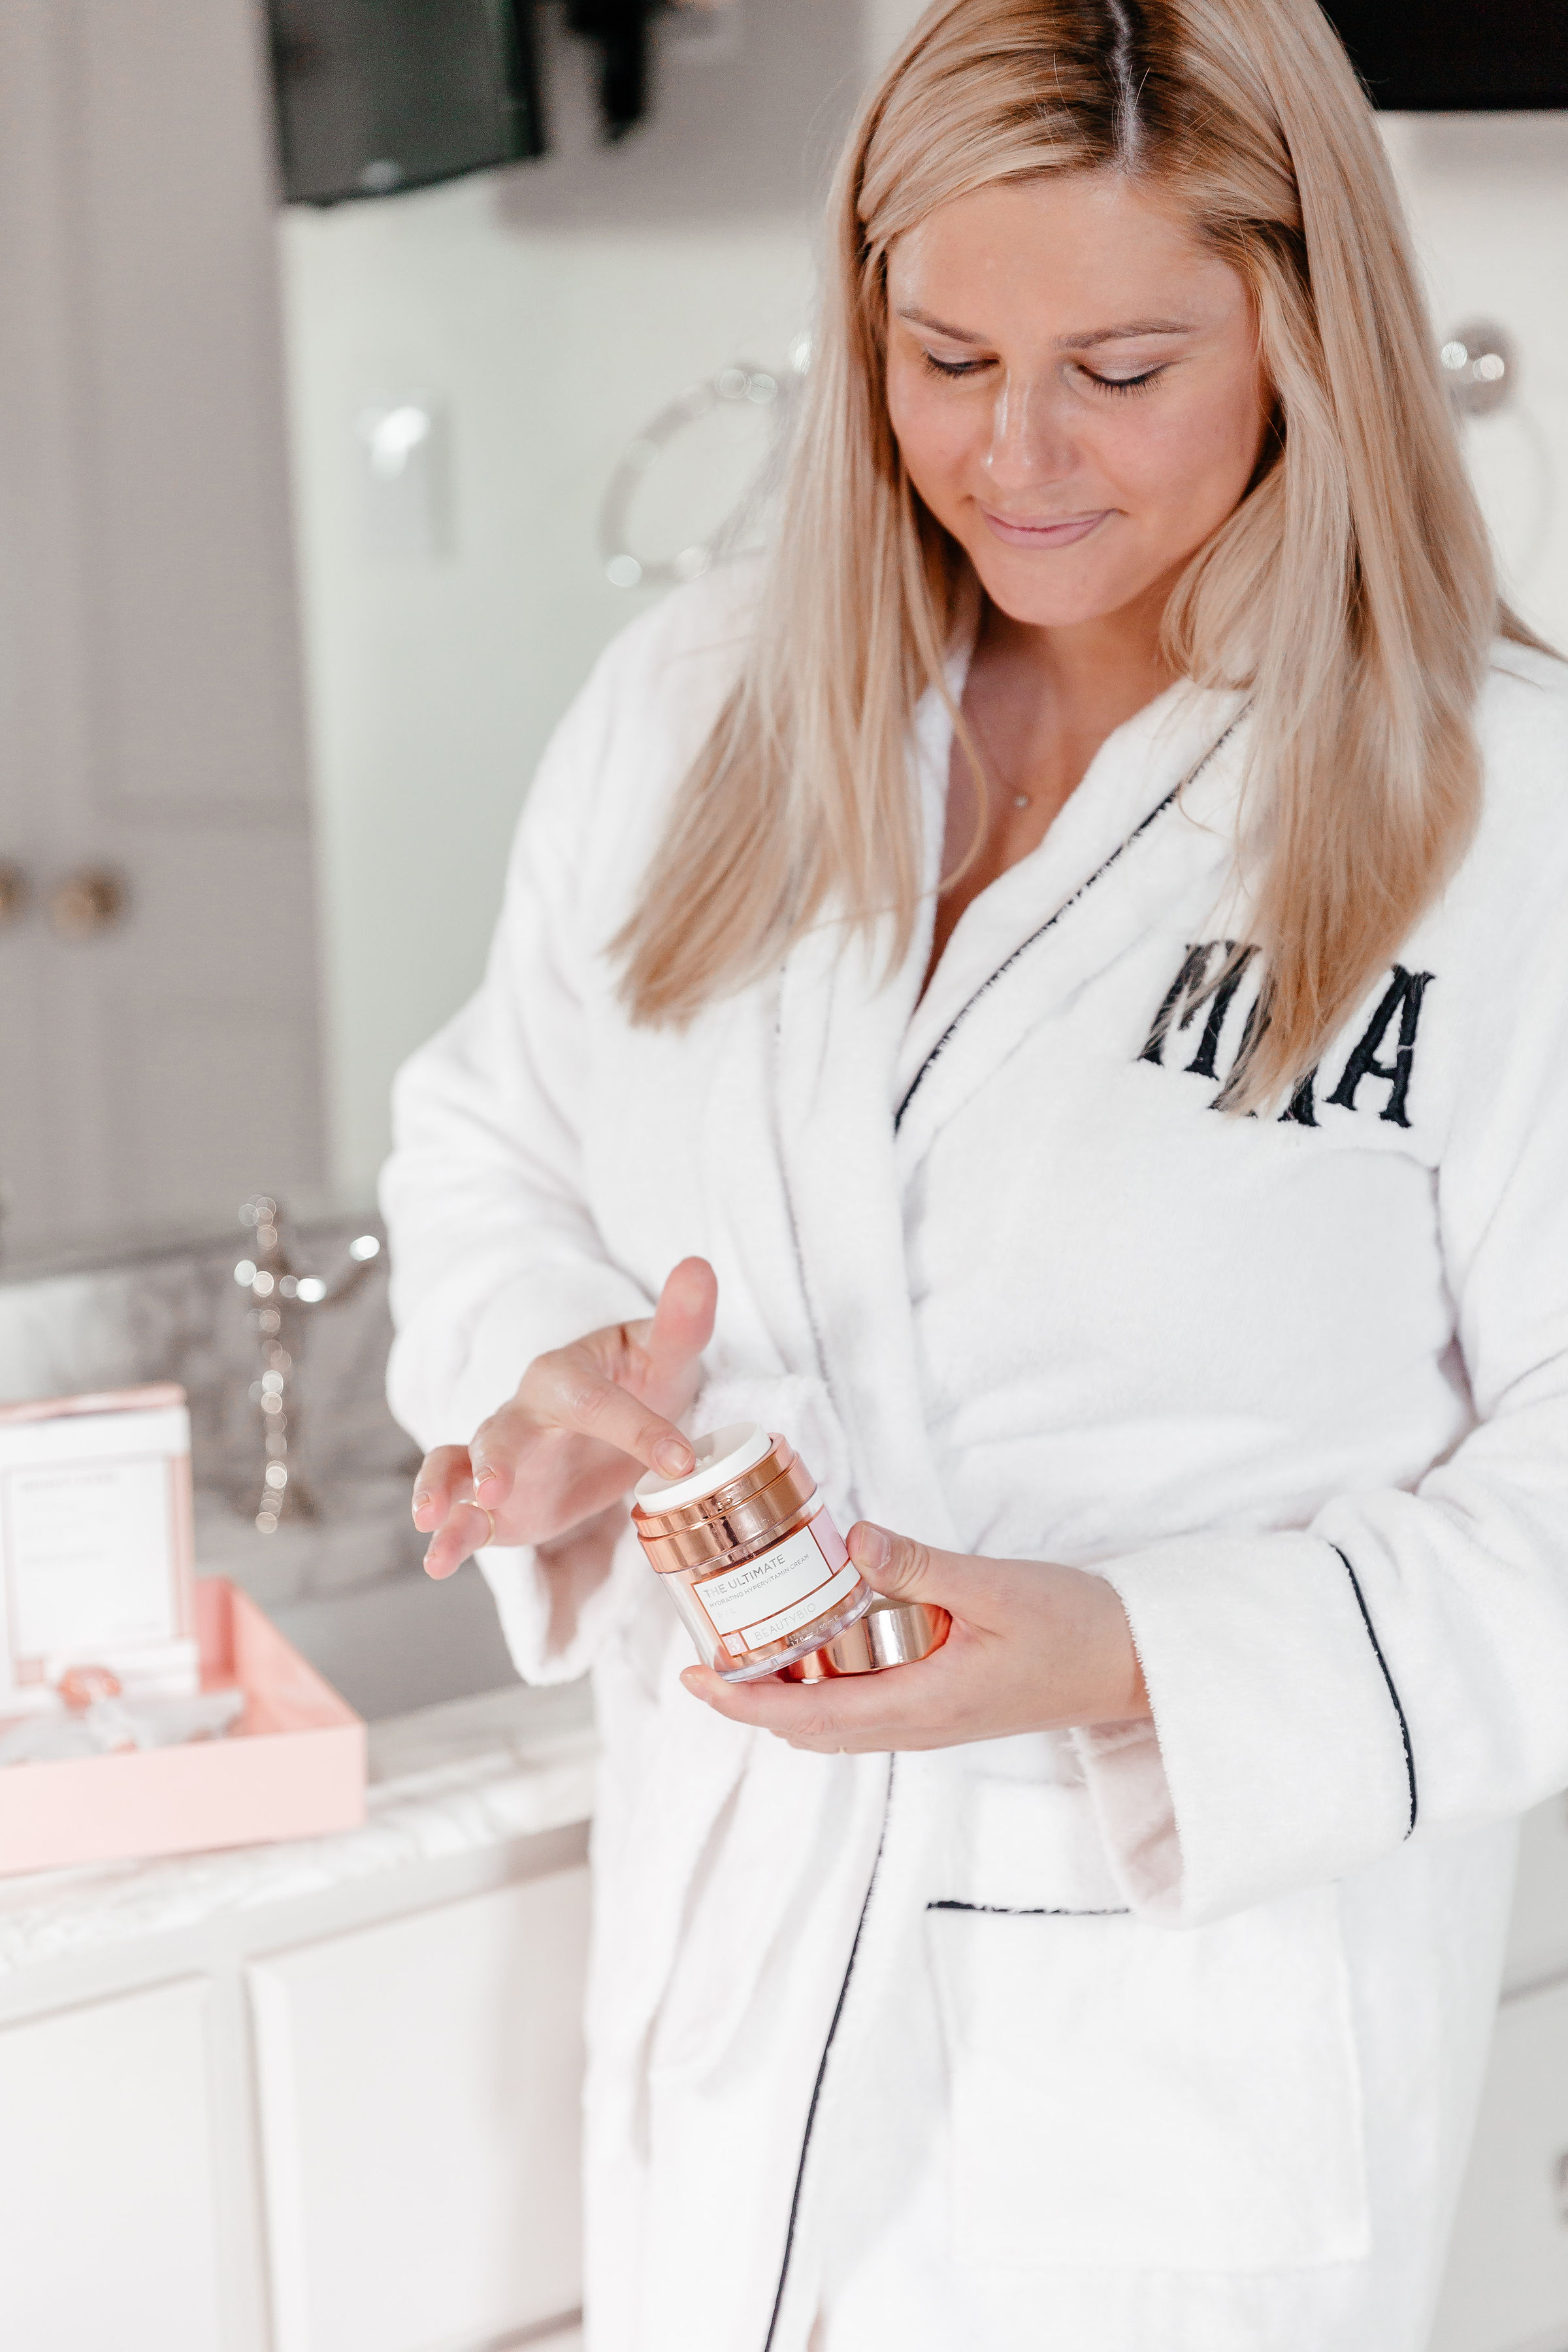
I also received the cleanser, moisturizer, lip serum, and Vitamin E oil. After two months of use, I am sold! And y’all, I am not paid to say that, I truly mean it! Their products work, smell insanely good and feel amazing on the skin. My favorite has been the Vitamin E oil and moisturizer. I use both morning and night and feel like my skin is really benefiting from what they have to offer. I am no beauty blogger so I don’t want to go through each product and list the benefits, all I can say is, my skin is looking and feeling better. I have very dry skin and both of these products soak into my skin so quickly. I can tell they start working their magic pretty quickly.
One way I know I like a product, I am fearful of the day it runs out! My current state: fearful! I use sparingly.