
You have decided you want to visit Antelope Canyon, now what?
- When do I book? If you want to do a photography tour, the sooner the better. They fill up FAST! If you are wanting to just do a normal tour, you can book a few weeks out or show up day of. If you show up day of you might have to wait until the next tour is available. I recommend going ahead and reserving a spot regardless of which tour you choose.
- Which Canyon do you want to visit? There are basically four main canyons which make up Antelope – Upper, Lower, Owl, and Rattlesnake.
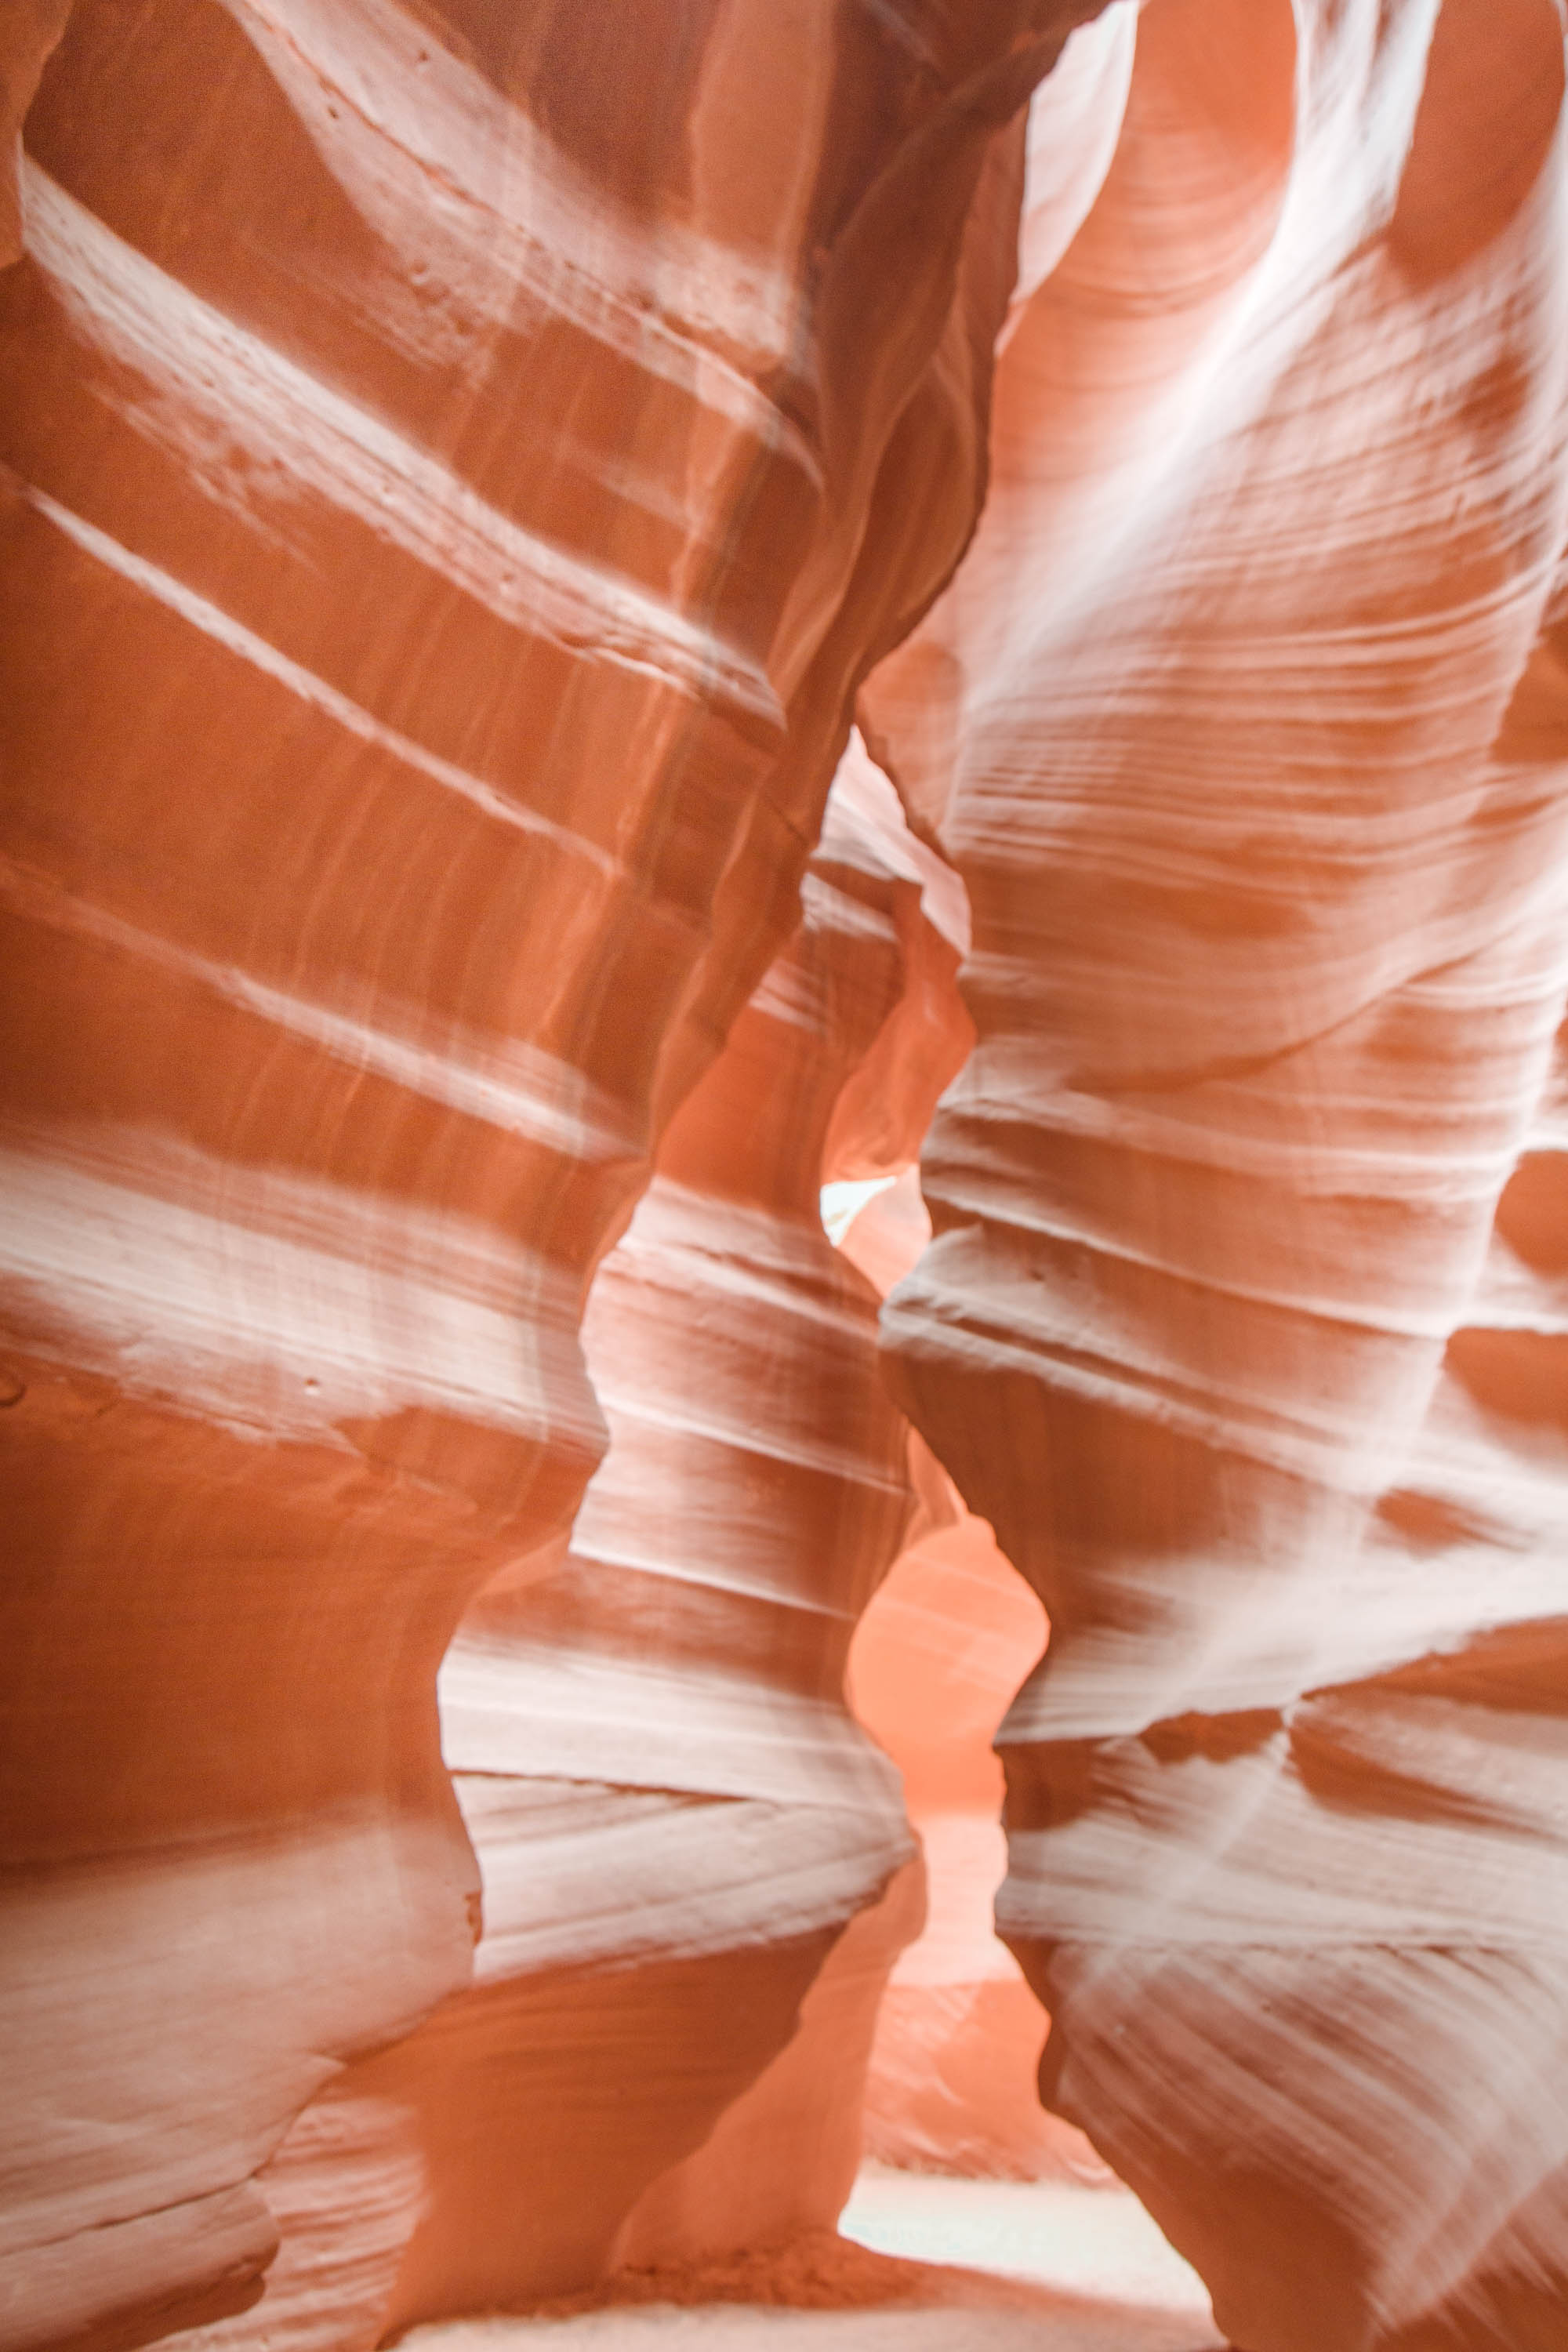
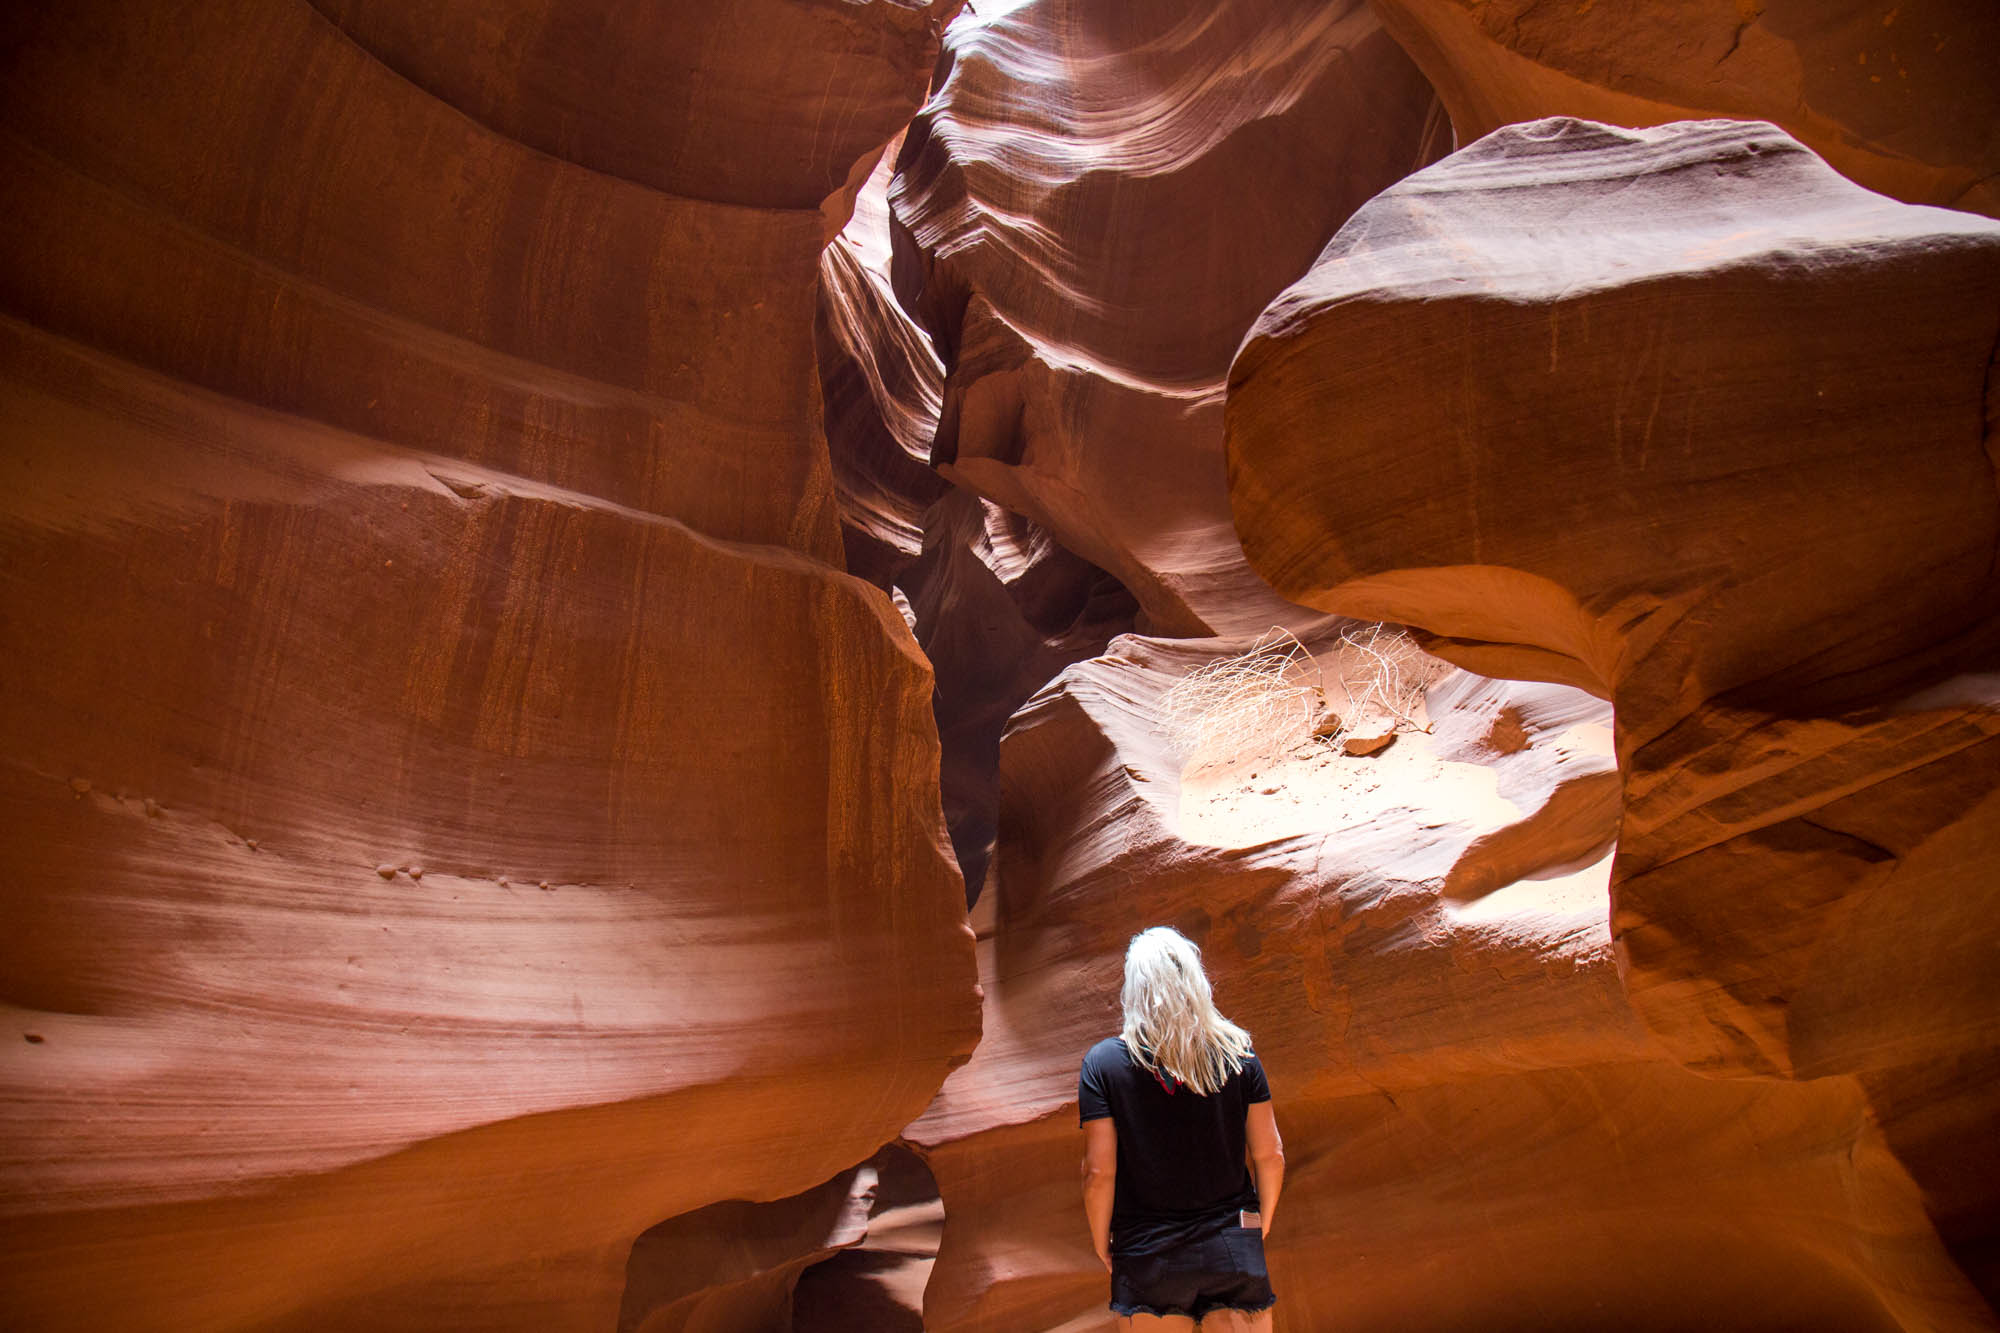
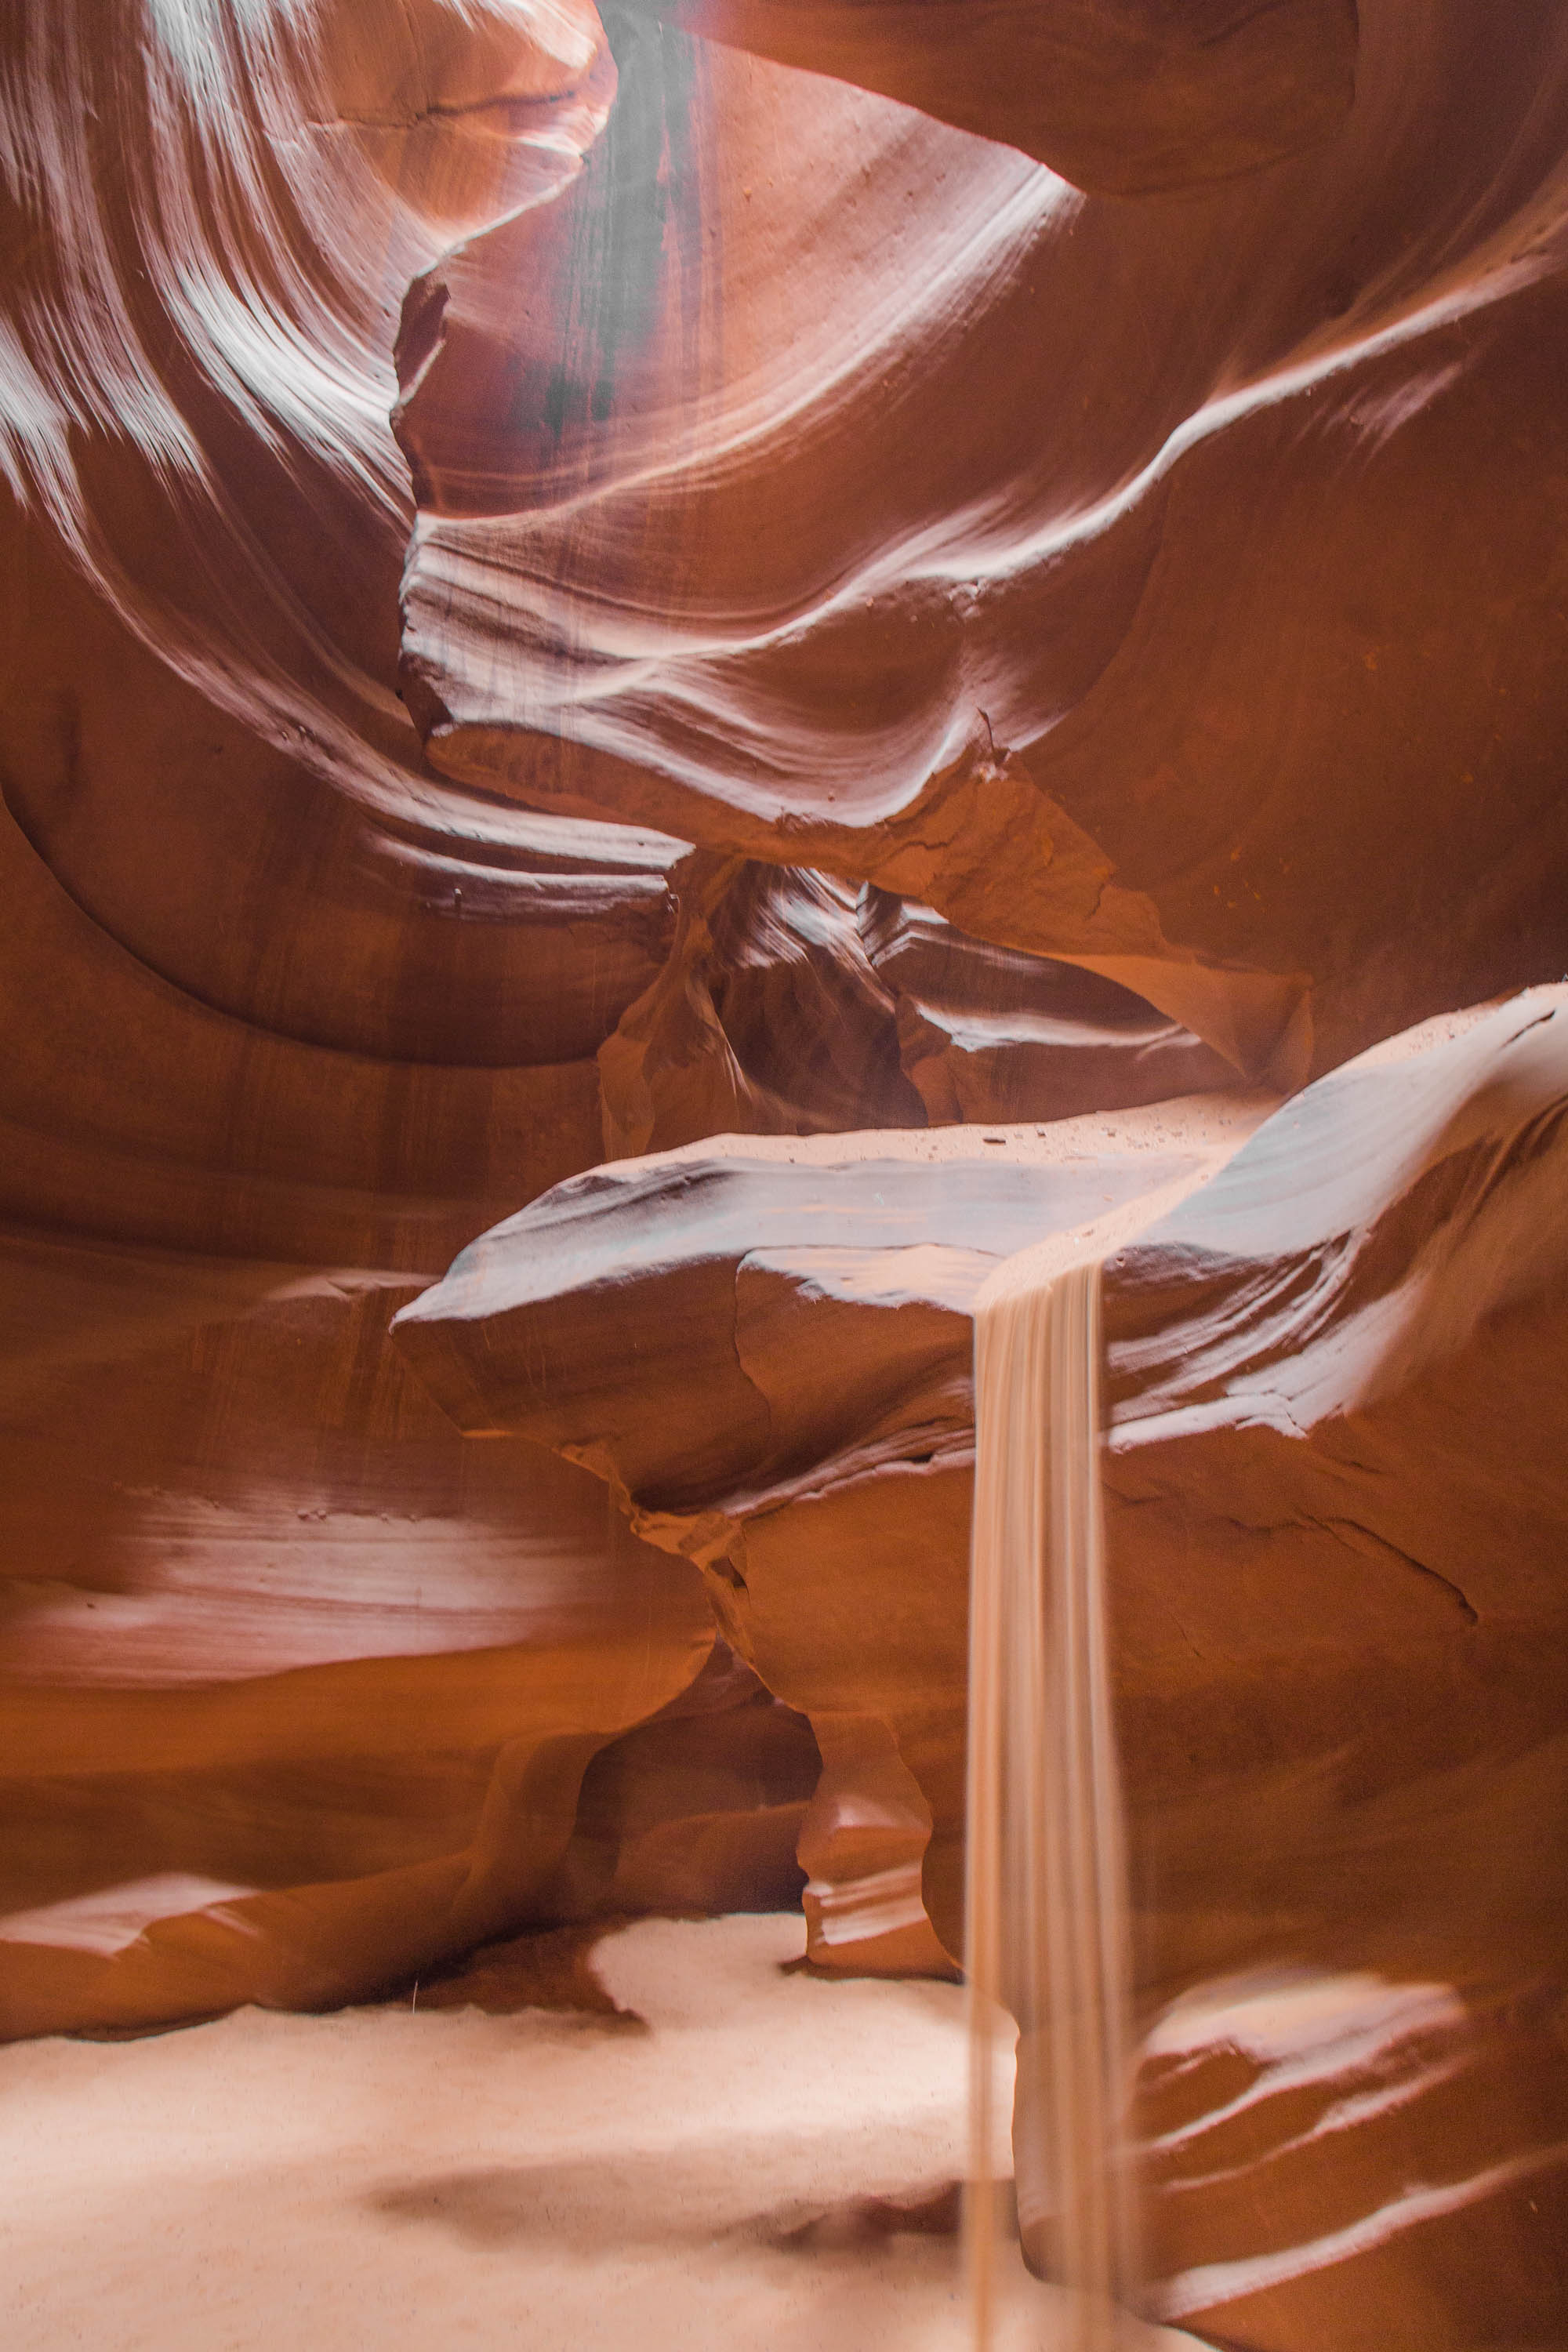
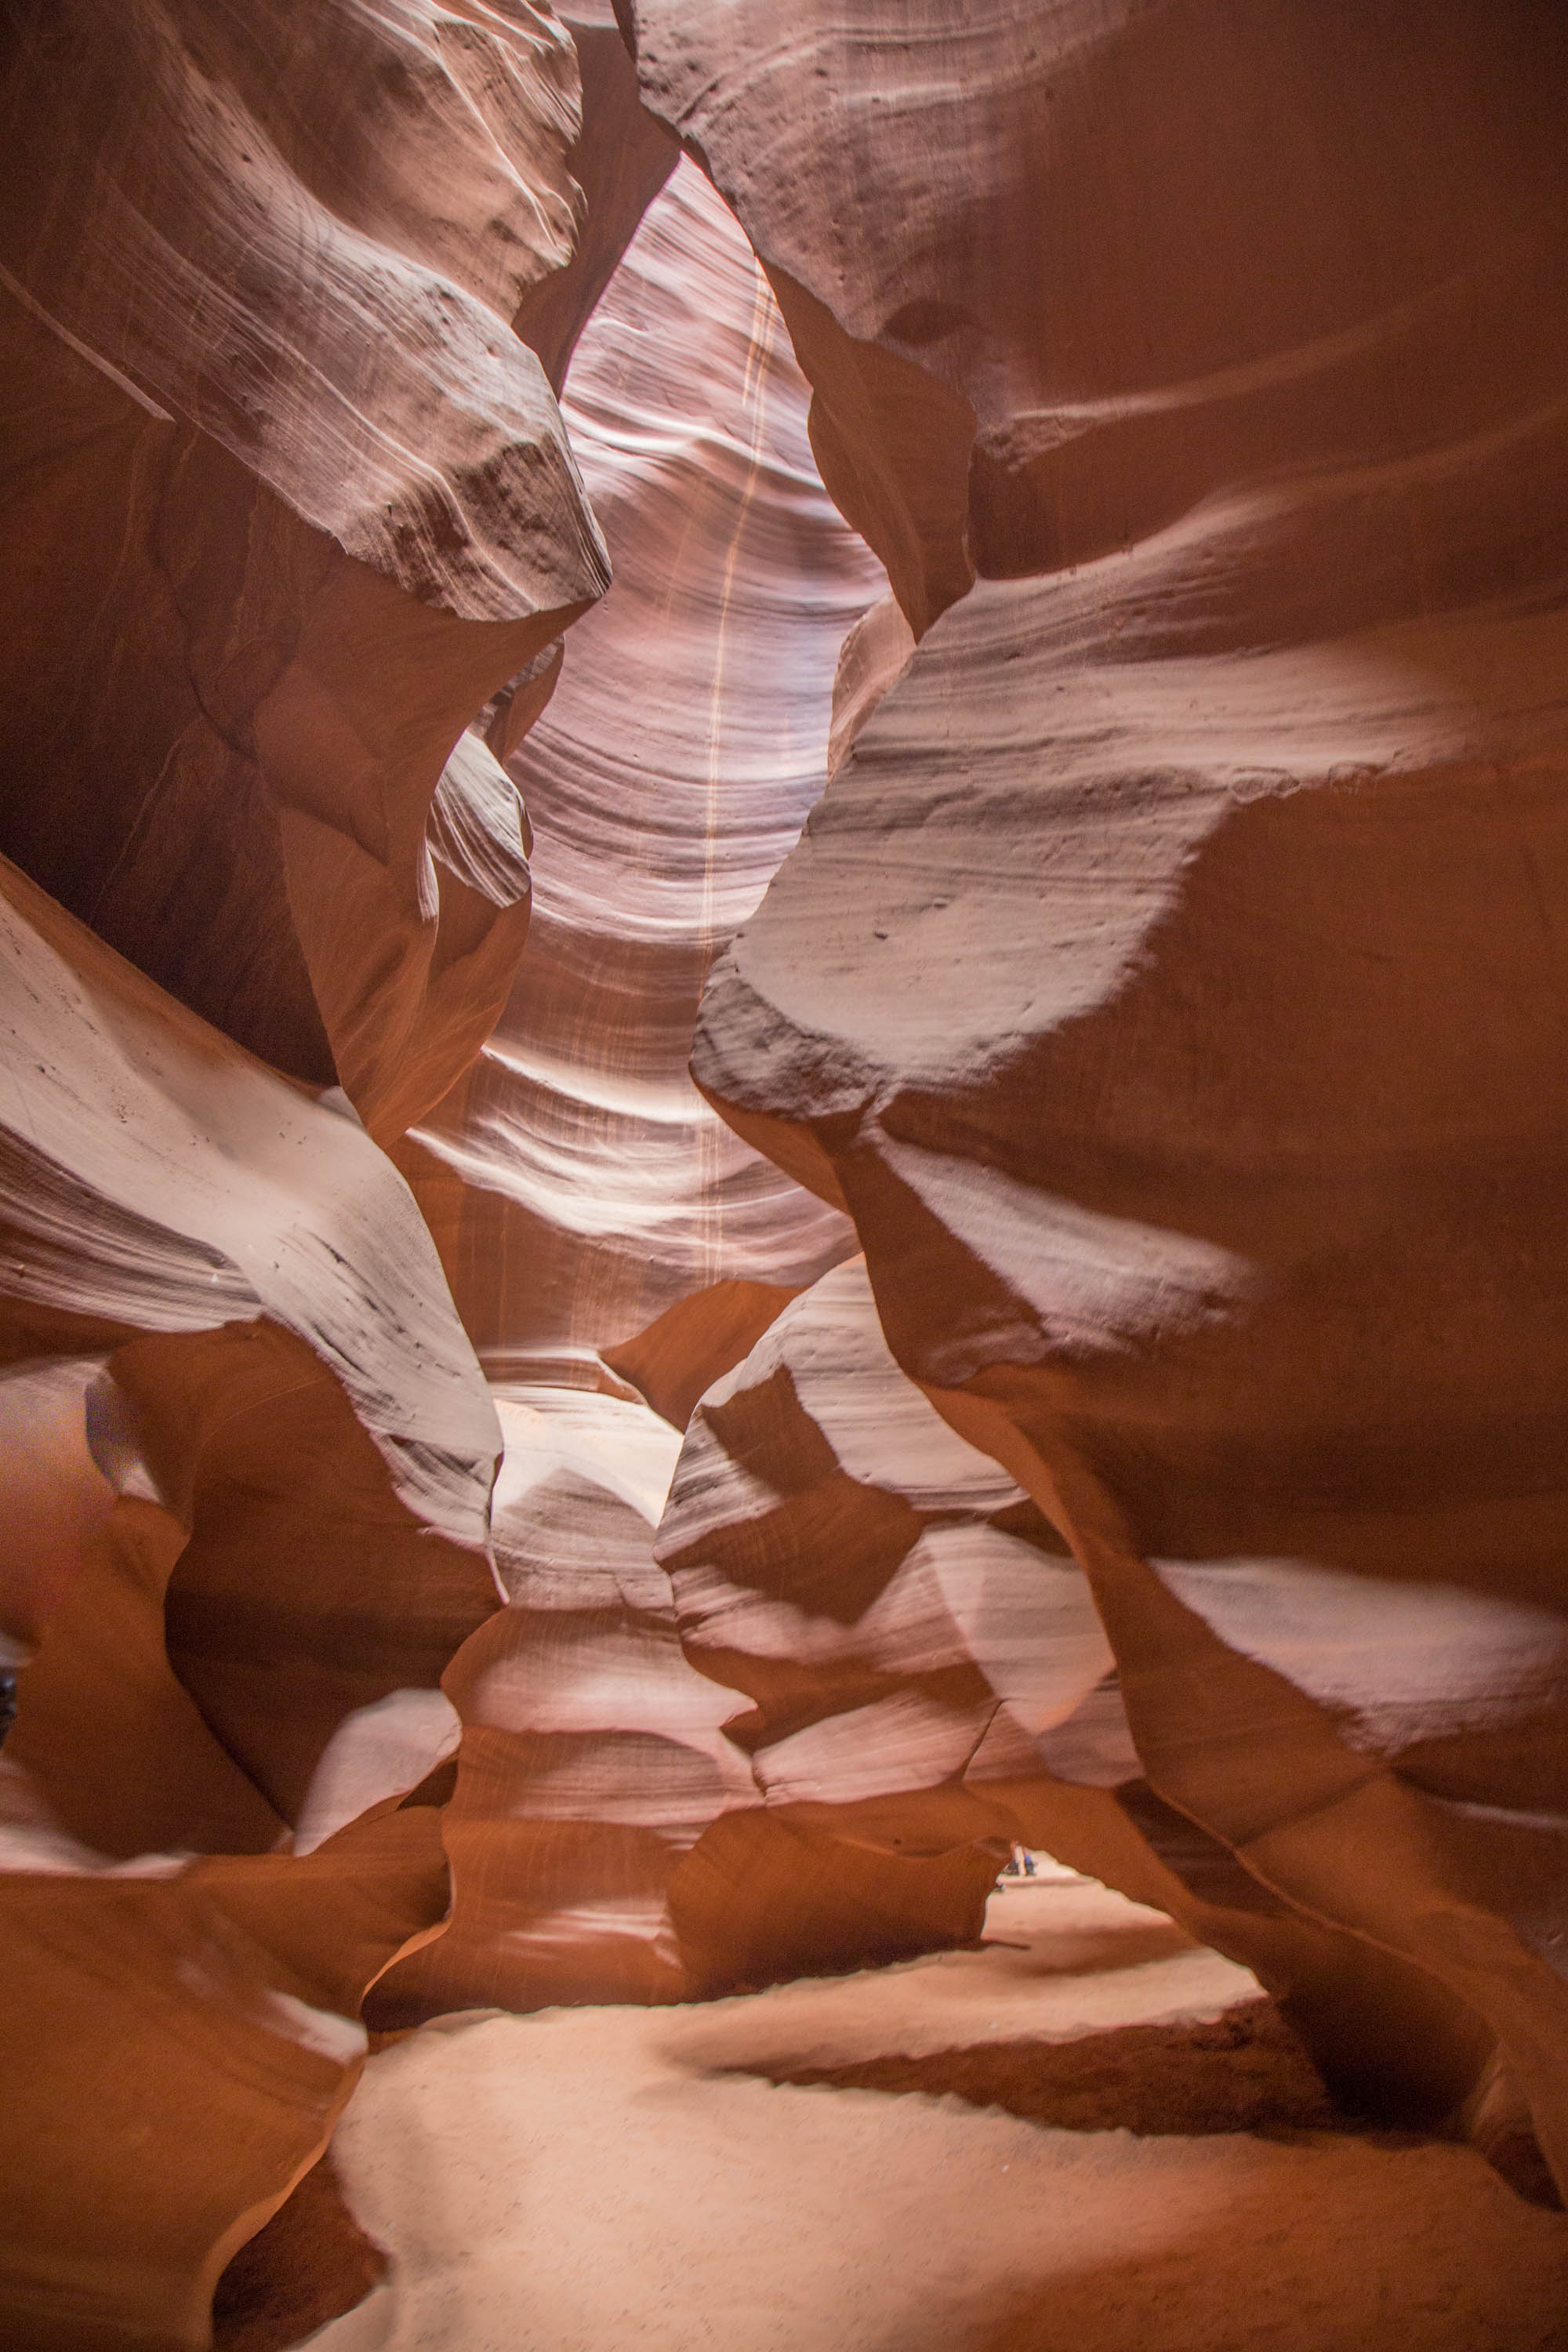
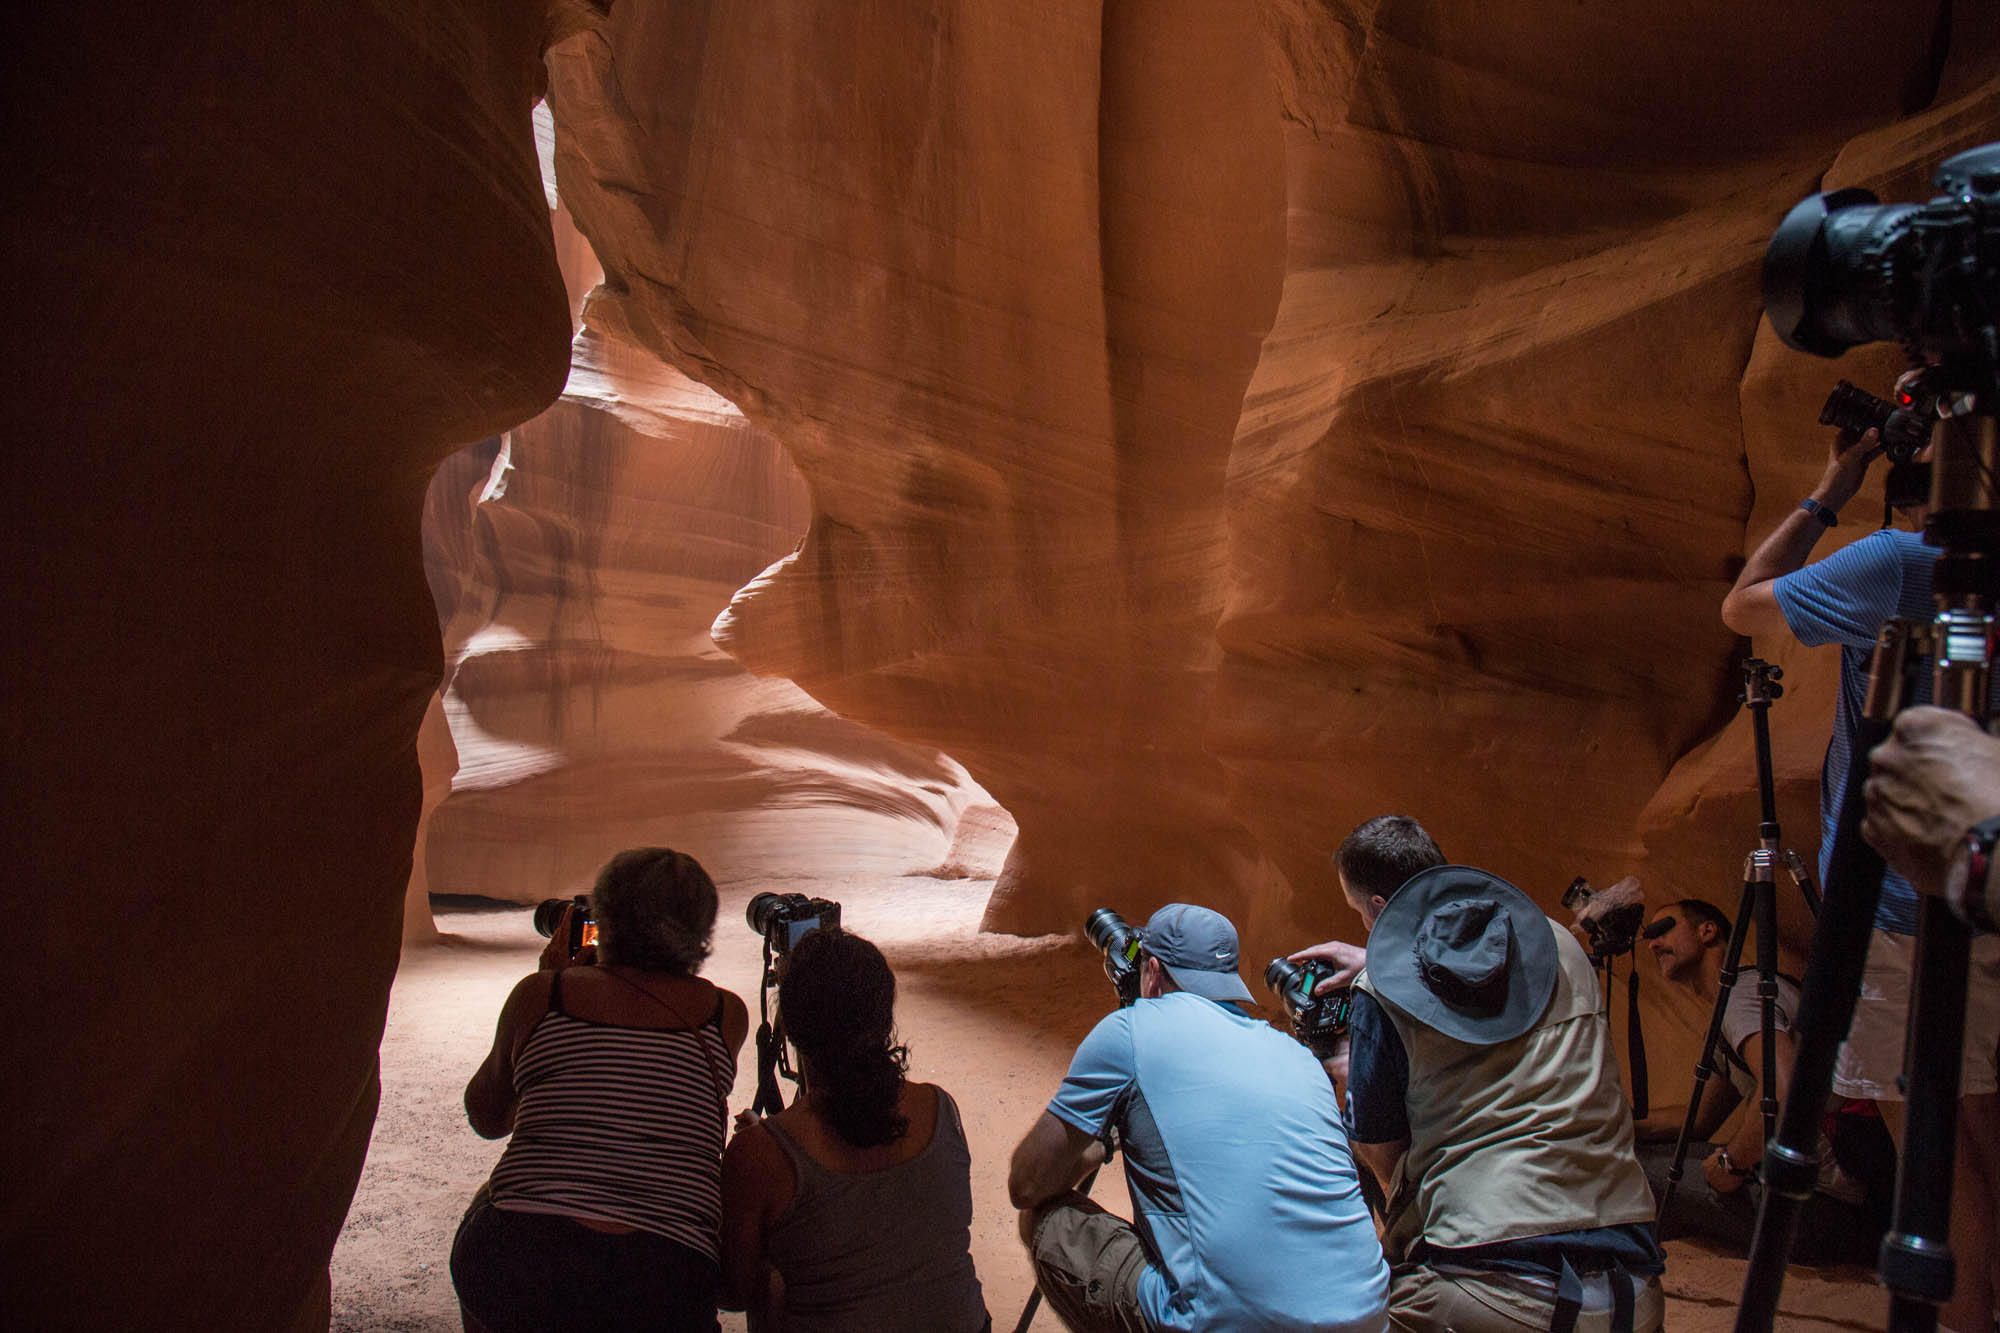
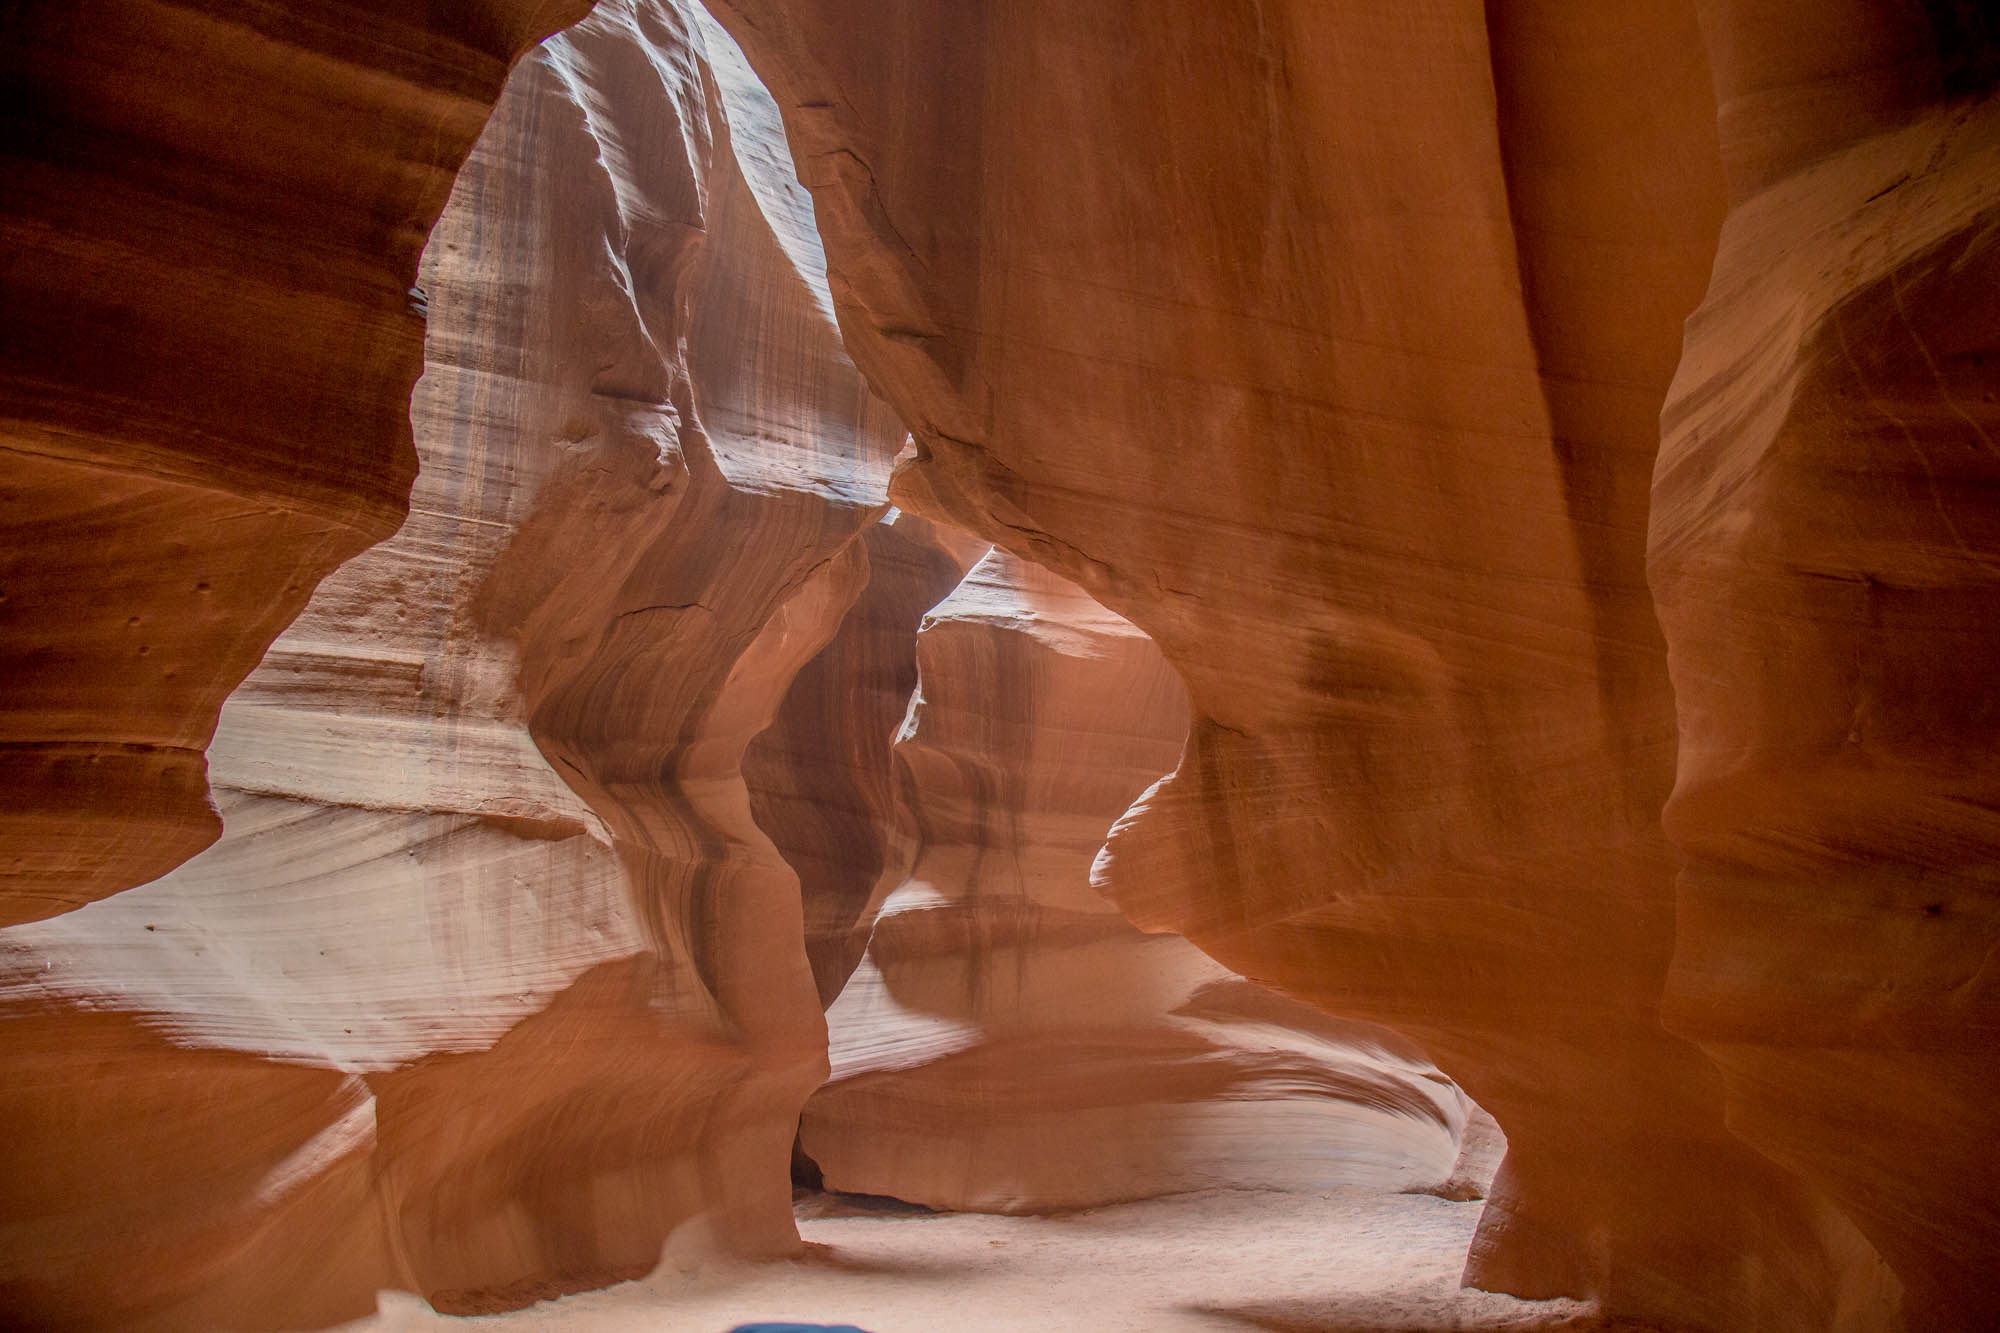
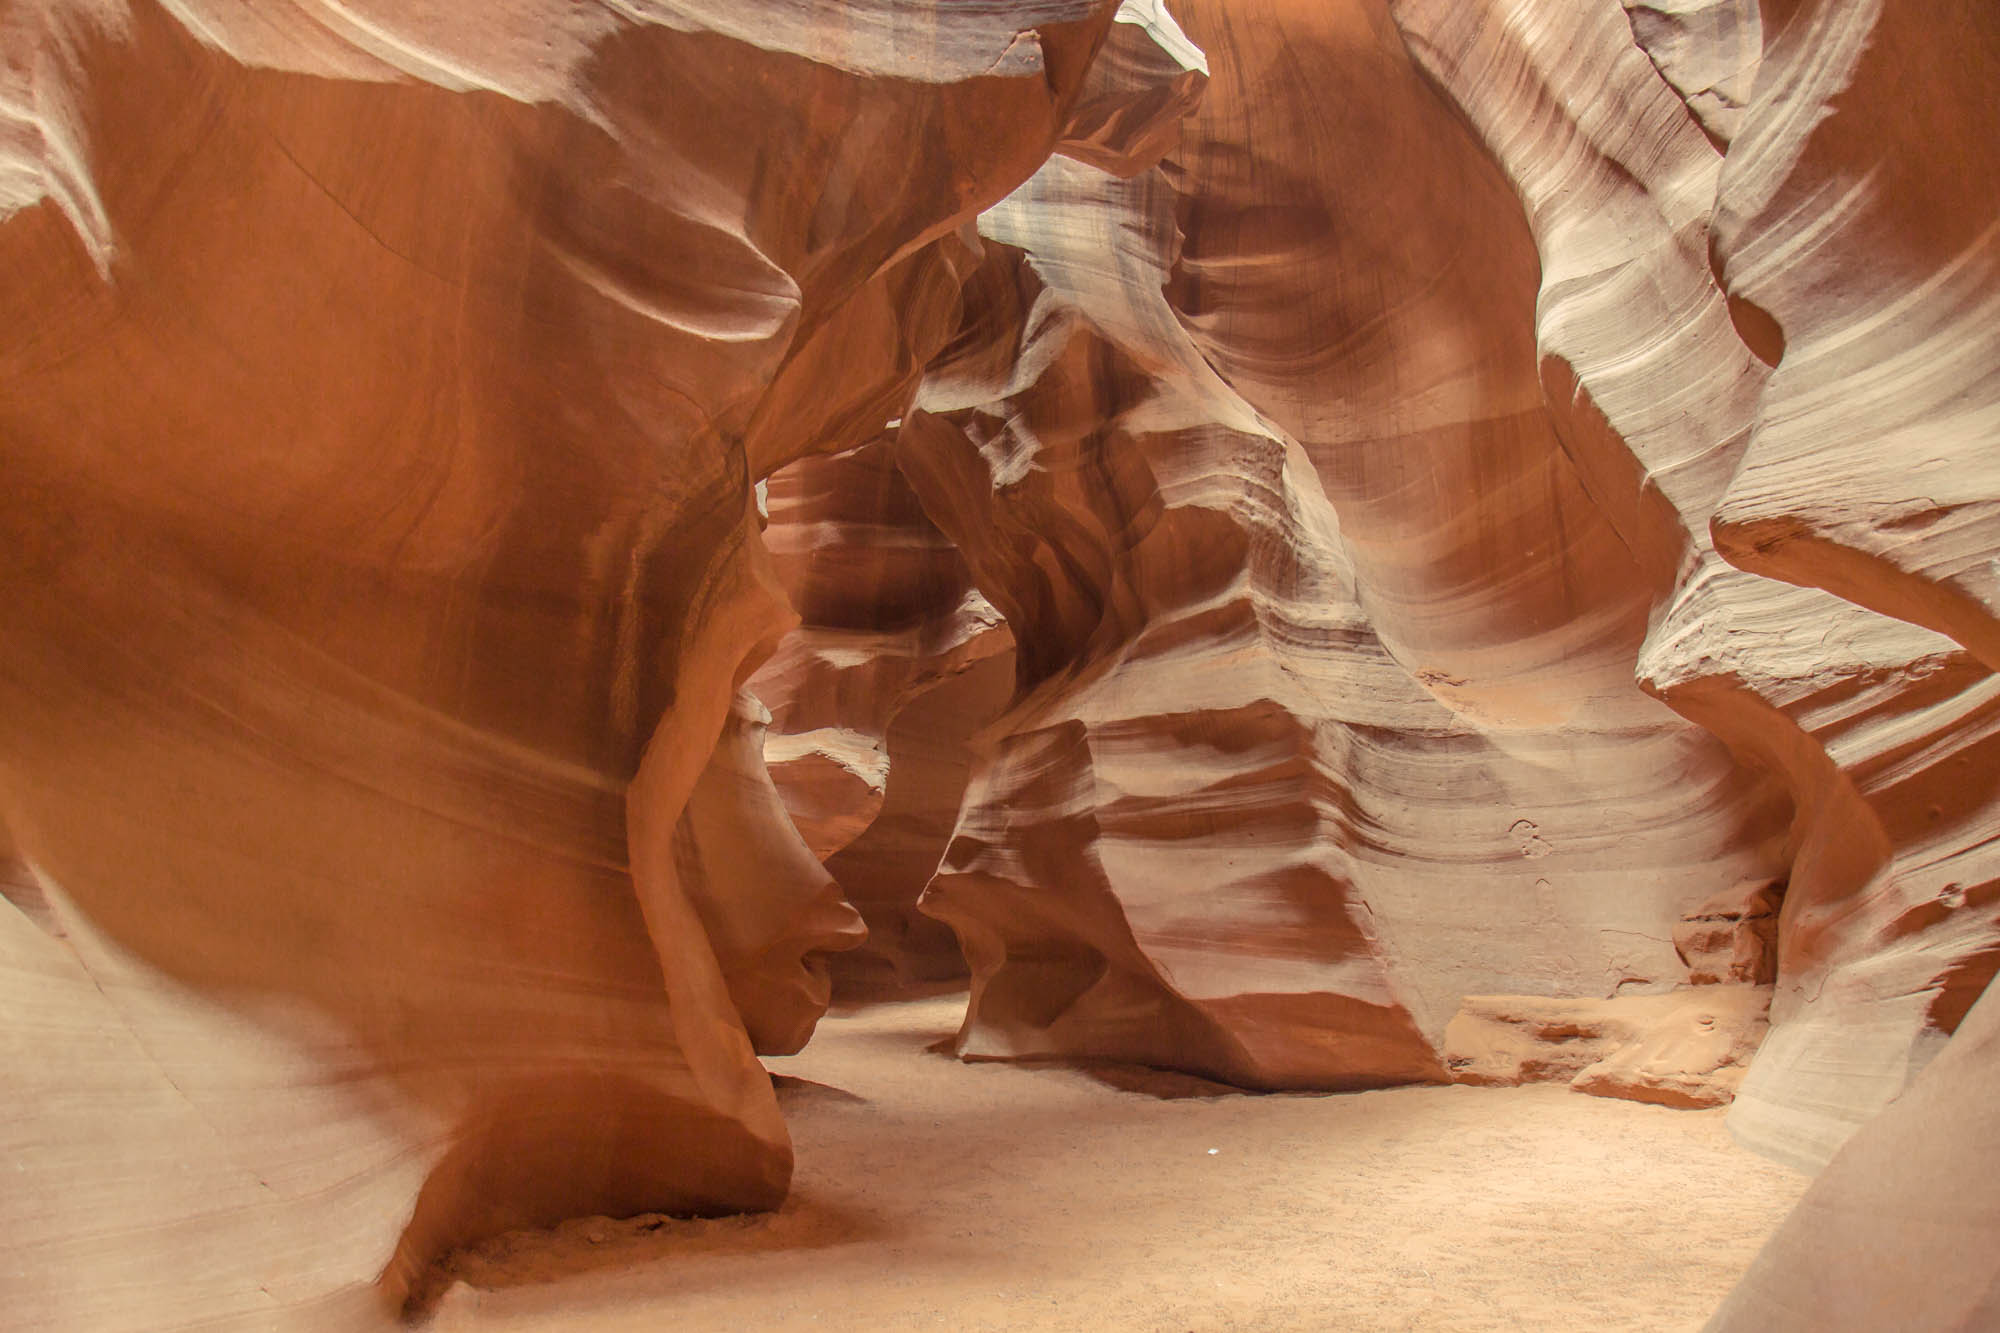
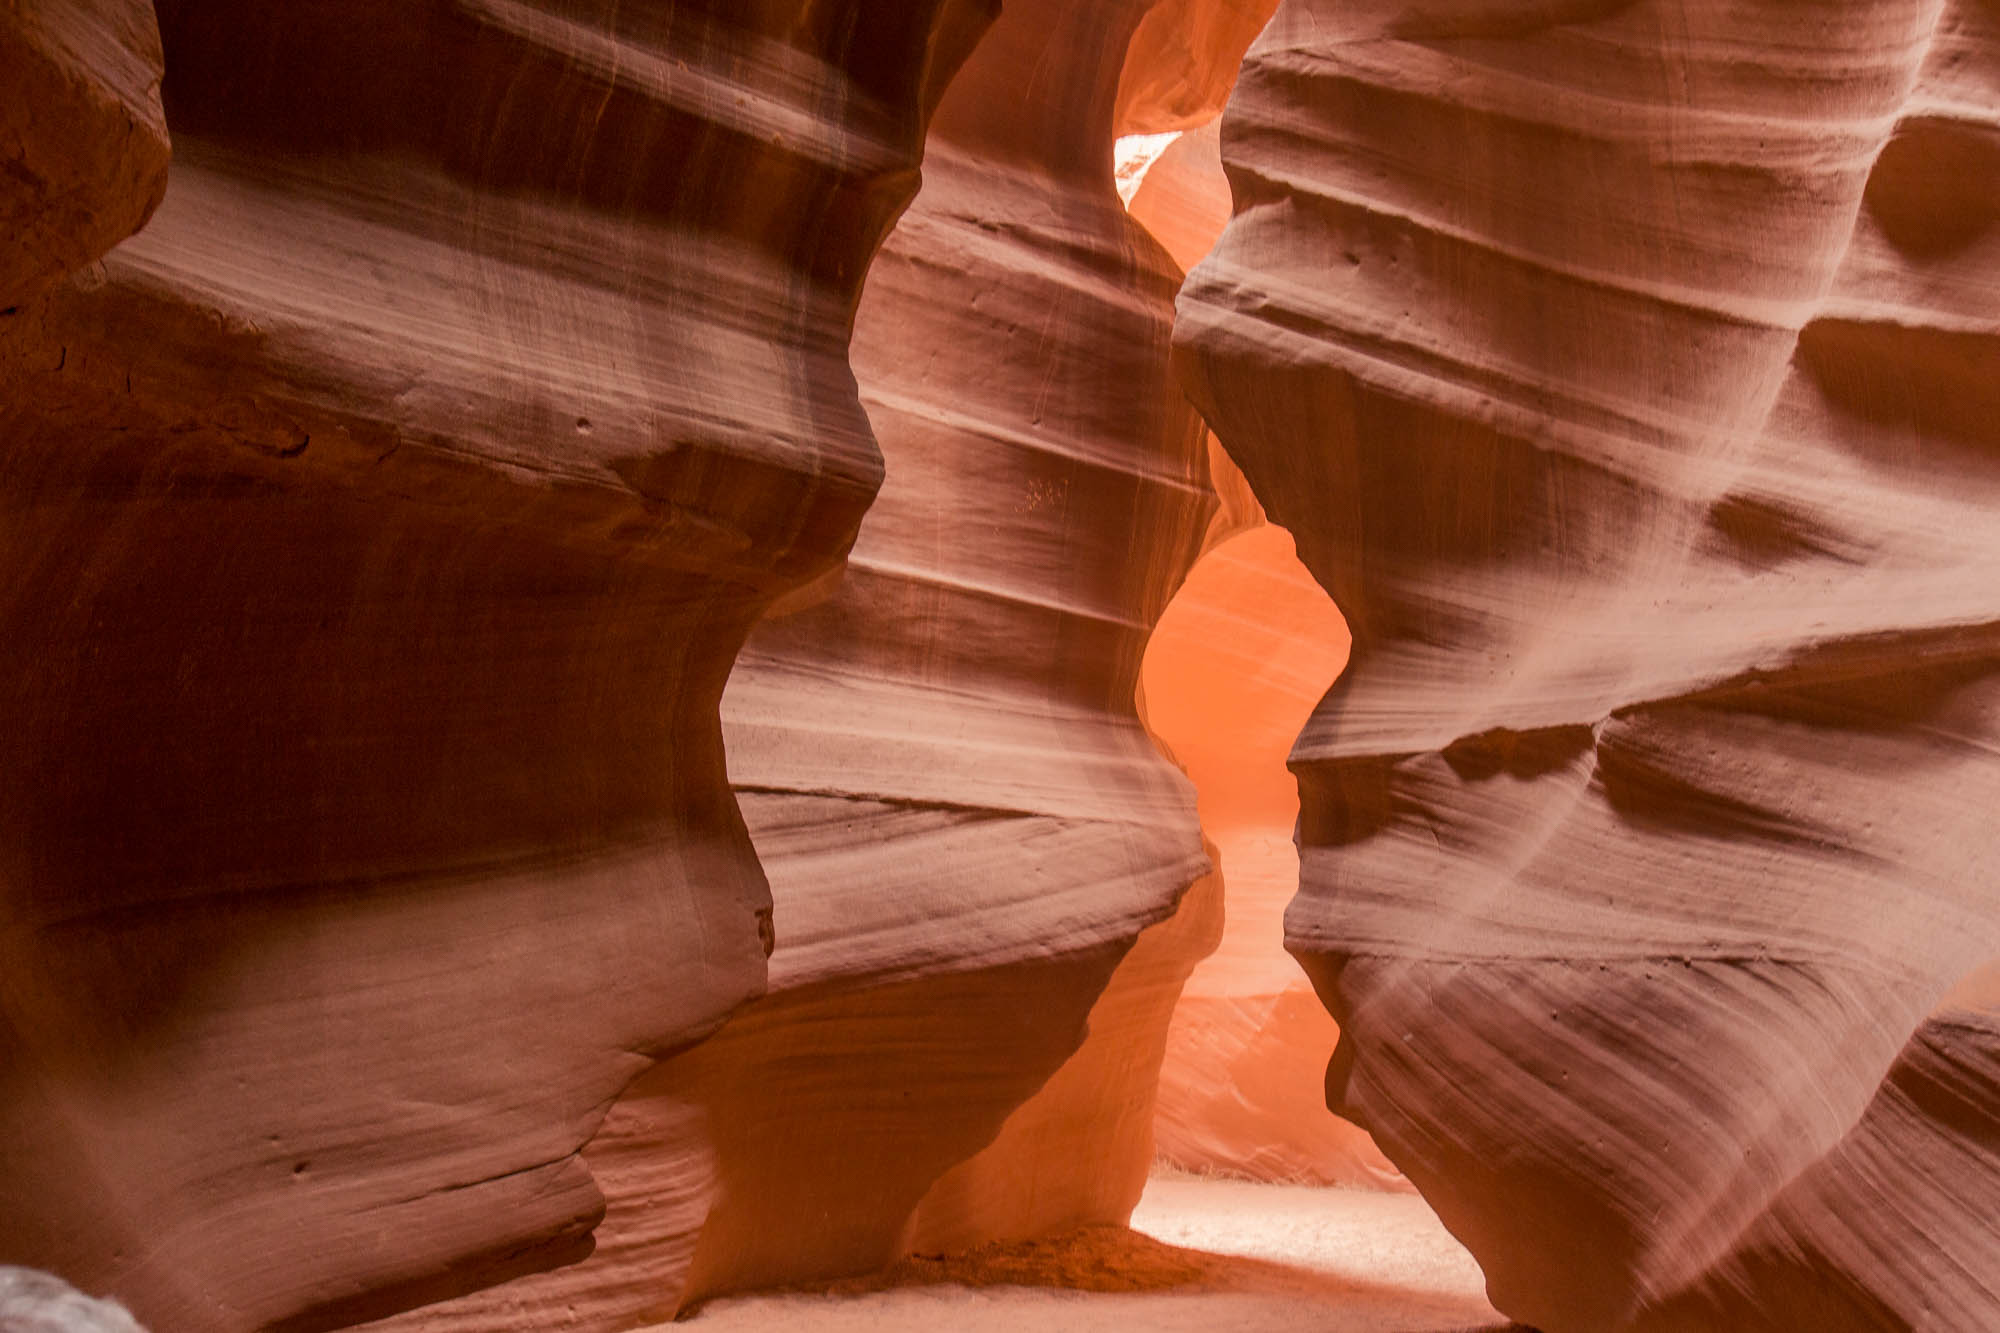
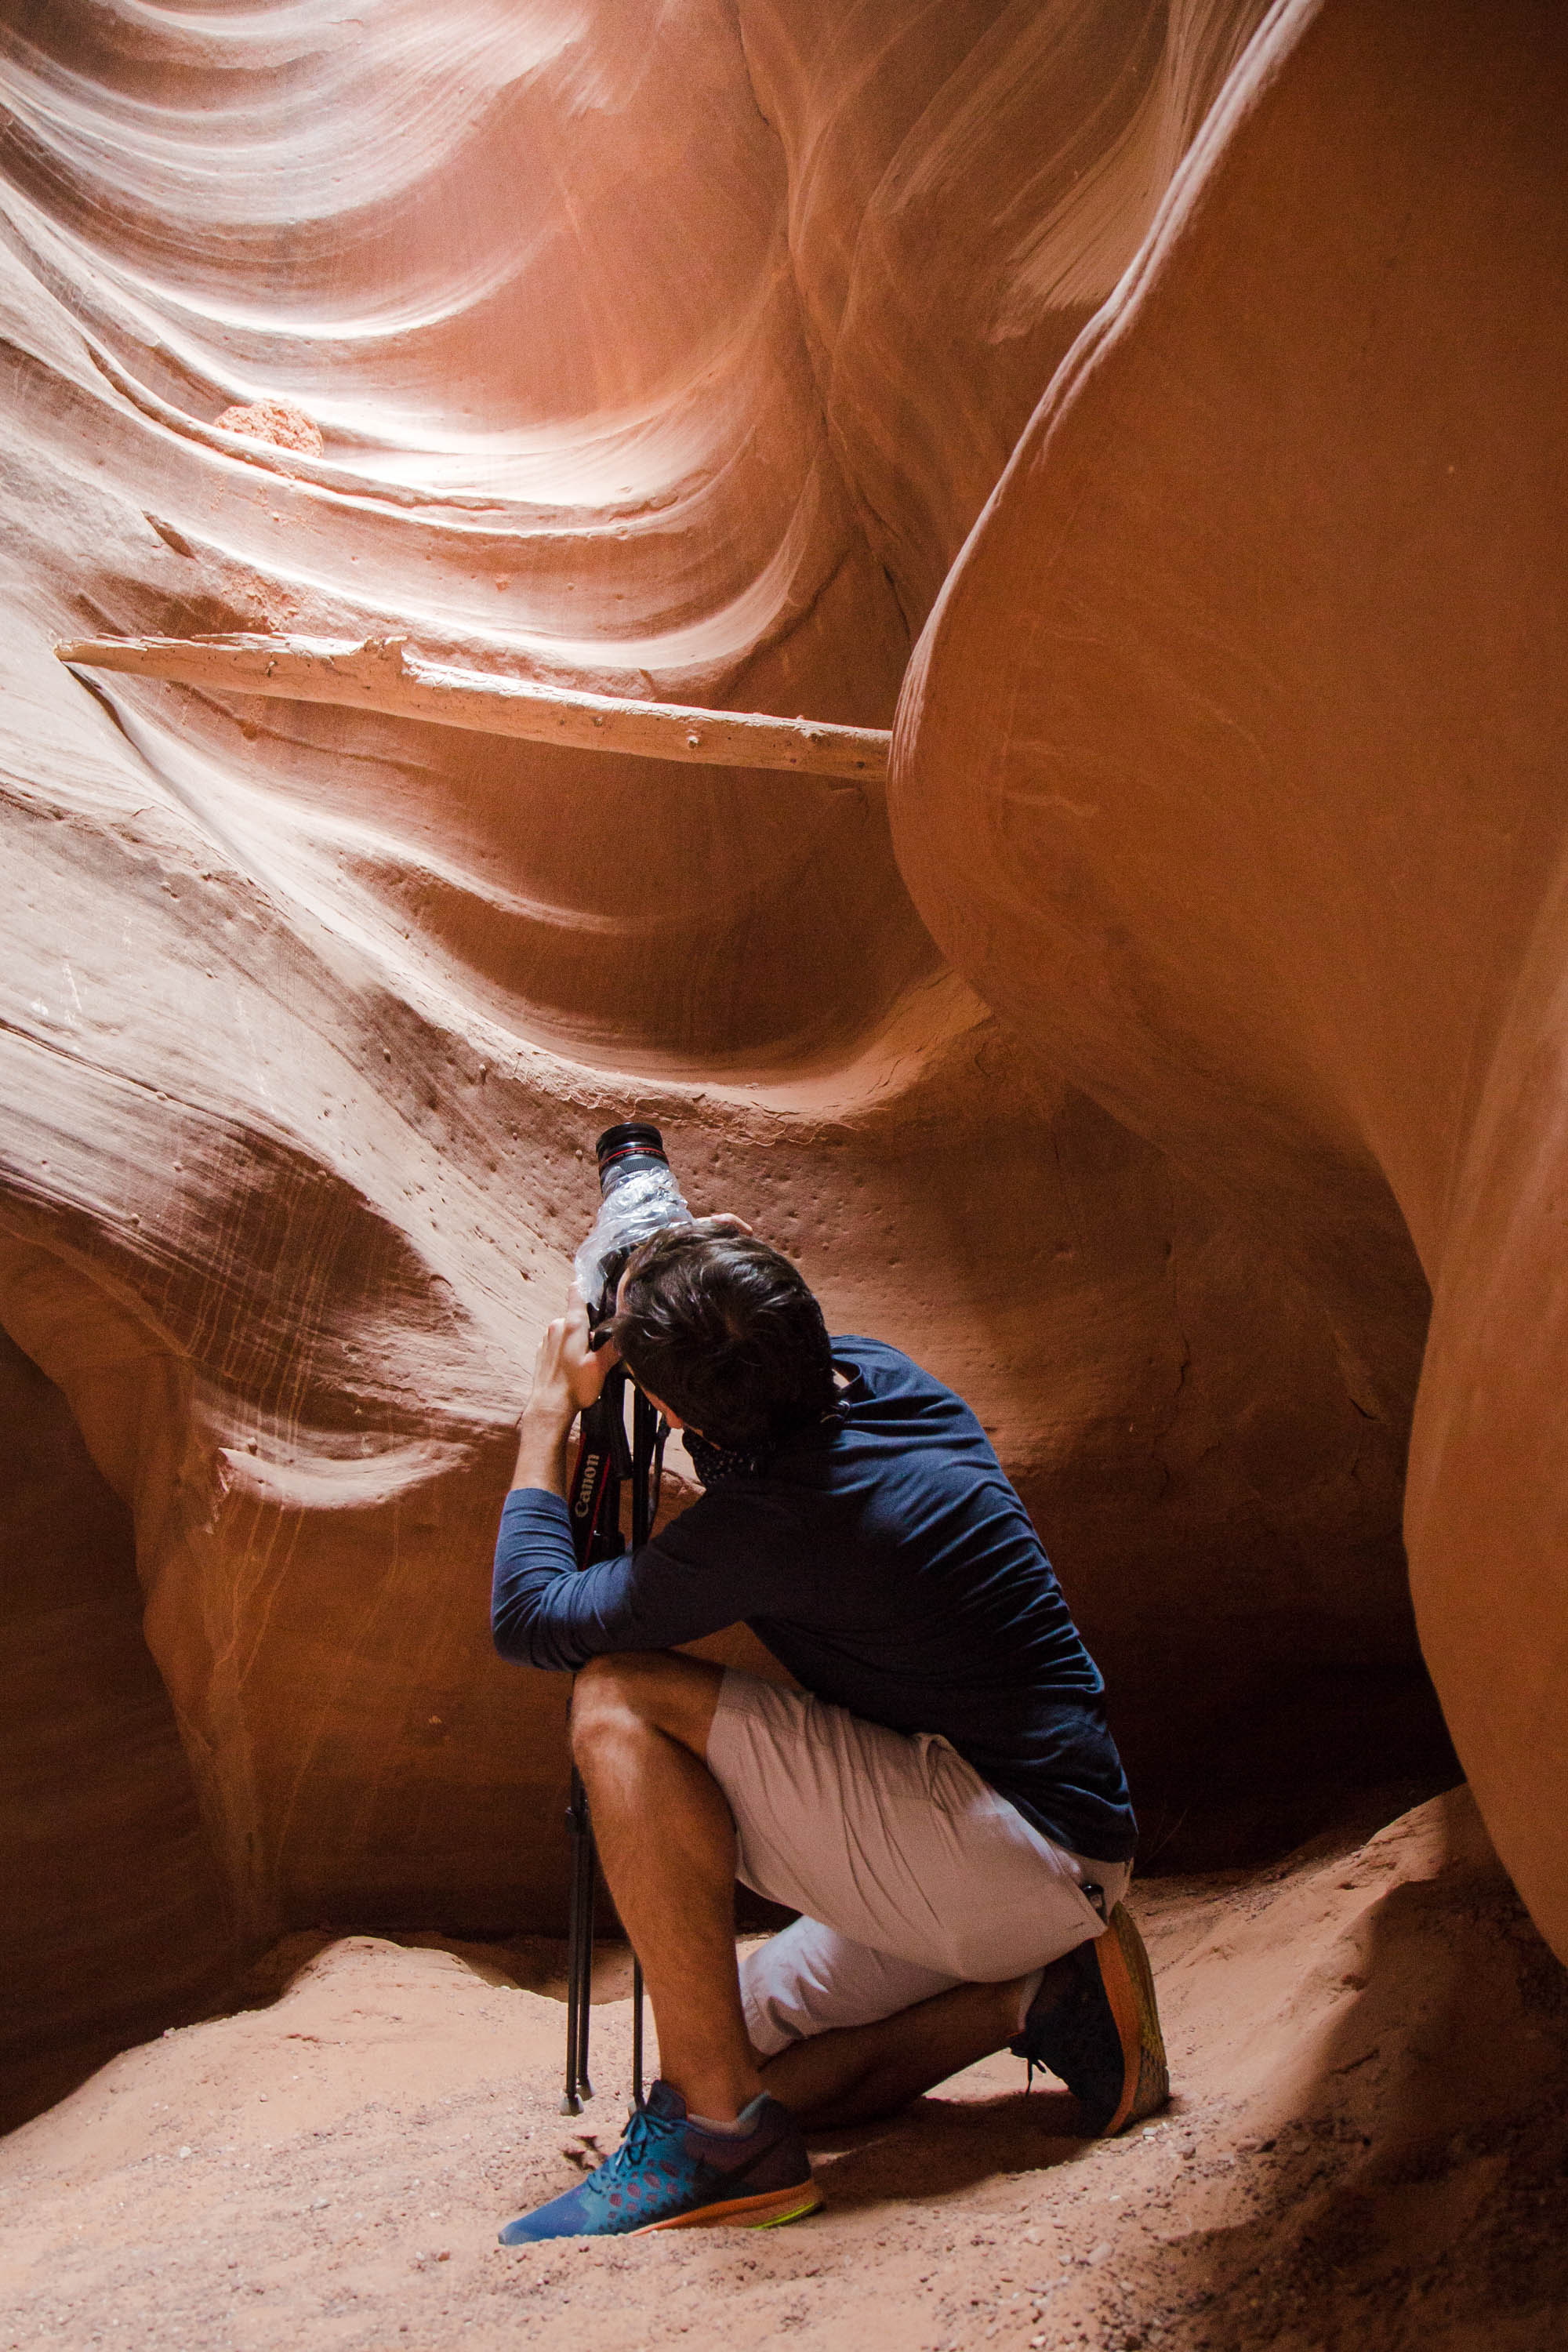
- Upper Canyon (photos pictured are from Upper canyon) – by far the most popular canyon amongst travelers. It is the deepest canyon with wide bases that display the very famous ‘Light Beams” (visit in the summer months by 12pm to witness them). Most photos you have seen of Antelope are taken here but be prepared to deal with loads of other tourists. Navajo nation does a good job of timing different tours but you are sure to run into other groups during the time.
- Lower Canyon – Much tighter spaces and famous for its abstract photography moments. Be prepared to climb ladders and be in tight spaces. Lower Canyon has far fewer tourists than upper canyon and most tours are cheaper too.
- Owl Canyon – Famous for its Great Horned Owl spotting. You are also sure to be in awe of the purple, pink, and blue swirls in the walls created by 250 million years of water rainwater erosion. This tour is very intimate so be prepared to whisper as you taken in your surroundings.
- Rattlesnake Canyon – One of the most challenging canyons to navigate. You will be climbing up and down ladders and navigating very tight spaces. People love the colors and intimacy of this canyon.
- Which Tour Company do you use? It can be very confusing to figure out which tour is best for you. They all seem to offer the same thing but with extremely different pricing and time slots. After a ton of research I went with Antelope Canyon Tours and was really pleased. Before booking them I had a lot of questions and called regularly. They seem a bit gruff on the phone but after being there I realize that is because they deal with a lot of tourists and their attitudes daily. It is run 100% like a business, no fluff or feelings involved.
- Kens Tours are a great option if you want to do Lower Antelope Canyon
- Antelope Canyon Tours offers a lot of different options
- Dixie’s Lower Antelope canyon tour is very well known and can fill up fast
- What is the difference between the photography tour and a regular tour? Beyond the price tag of these two tours, a lot is different! If you have a DSLR camera and a tripod (you can rent one ahead of time from the tour company for $30) definitely do the photography tour. With the regular tour they are rushing you through to stay on a timeline. You don’t have time to set up your shot as you are made to keep up with your group leader. It is only for those who want to “see it with their eyes.” The photography tour, which is what I did, is a completely different experience. They stop tours so you have the canyon to yourself and are ensured to snap the perfect photo. They also set you up in all the famous spots so you can get that photo which brought you to Antelope Canyon to begin with. You are not rushed during this process and it makes the entire tour so much more enjoyable.
- What do you need to bring?
- I recommend bringing a scarf to tie around your face. You take an open air jeep to the canyon and the winds can pick up quickly once you are there so wearing a scarf will definitely help keep it out of your nose
- A bottle of water – this is necessary in the summer as it can get pretty hot. However, don’t drink it too fast as there are no restrooms at the canyon
- Comfortable shoes for navigating through the sands in the canyon
- A plastic bag and rubber bands for protecting your camera from the sand
- What is not necessary? They will NOT let you bring a bag or backpack in the canyon. So whatever you need, must fit in your pockets or in a small fannypack. Do not be surprised if you get turned away if you have more than this. They must remain strict on this rule to protect the canyon
- Words of Advice? Go to the bathroom before you pull up to the tour company. There is a small store before turning on to their street and I highly recommend using their facilitates. Otherwise, it is porta potty at the tour company
I hope I answered all of your questions but if not, please don’t hesitate to reach out by commenting below or sending an e-mail!